4 Easy Cleaning Projects for Your Bathroom
Video
Just a little time spent cleaning those oft-forgotten corners can really make a difference in a roomís appearance. Home improvement writer Jakob Barry shares his tips for making your bathroom gleam, with spring cleaning ideas that are quick and sustainable.
Even when bathrooms are cleaned regularly, they seem to lose their shine in areas that arenít part of the standard upkeep. For example, you may scrub the toilet and the sink and wash the floor once a week, but what about spots that are a little more out of the way, like shower walls or the bathroom ceiling?
If youíre planning to do some spring cleaning in the next couple of months, here are a few easy and frugal DIY projects that arenít out of anyoneís league and will help bring the sparkle back to your bathroom.
Removing mold or mildew
Most of our bathrooms don't resemble the spacious and glistening ones found in home improvement catalogues. They are lived in and used by entire families, and once in a while they spring a leak or suffer from moisture problems. During the winter, when windows are closed and ventilation is reduced (and sometimes in the summer, if the air is humid and the AC isnít running), water vapor in the bathroom can cause excessive condensation.
When this occurs frequently, it creates the perfect environment for mold and mildew to grow and spread. If you find yourself in this predicament, use bleach, which works great for removing those black splotches. However, if you'd prefer more eco-friendly cleaning products, two good non-toxic options are tea tree oil and vinegar.
When it comes to tea tree oil, add drops to water in a spray bottle and apply it to the specified area. Depending on whom you ask, the number of drops may vary; I start with five and if after scrubbing I notice itís not working, then I adjust the amount for better results.
When it comes to vinegar and water, the ratio is usually one to one, and you can mix them in a spray bottle or in a bucket and then apply the mixture with a sponge.
NOTE: Vinegar should not be used on marble, stone, or wax surfaces, as it will ruin the finish and possibly cause corrosion. Also, if you donít like the smell of vinegar, donít worry: it wears off after a few hours!
Cleaning grout
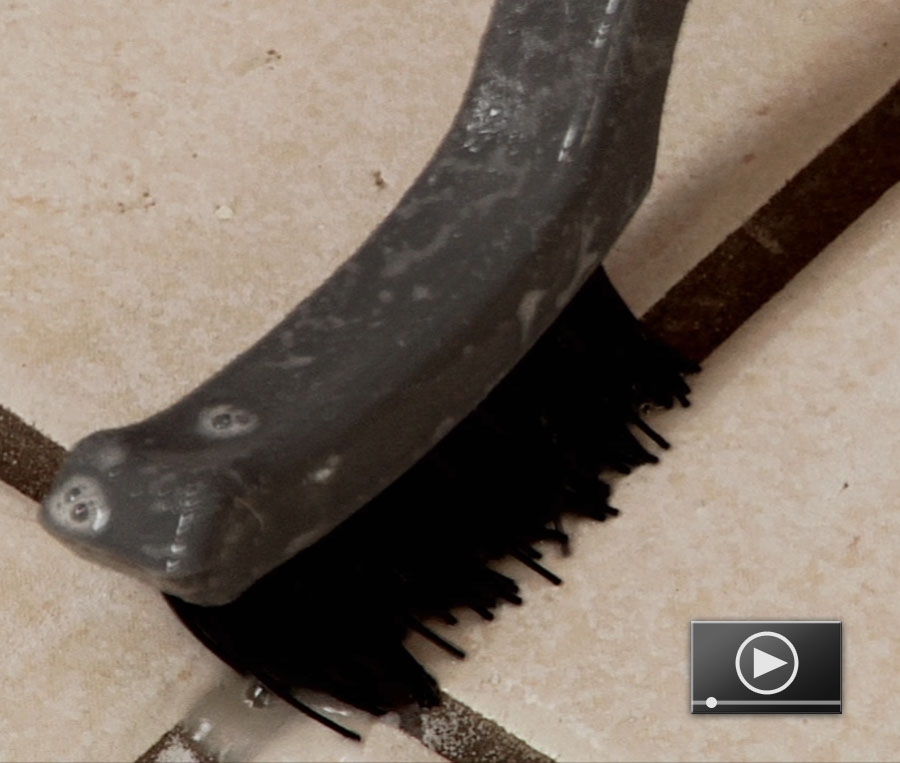
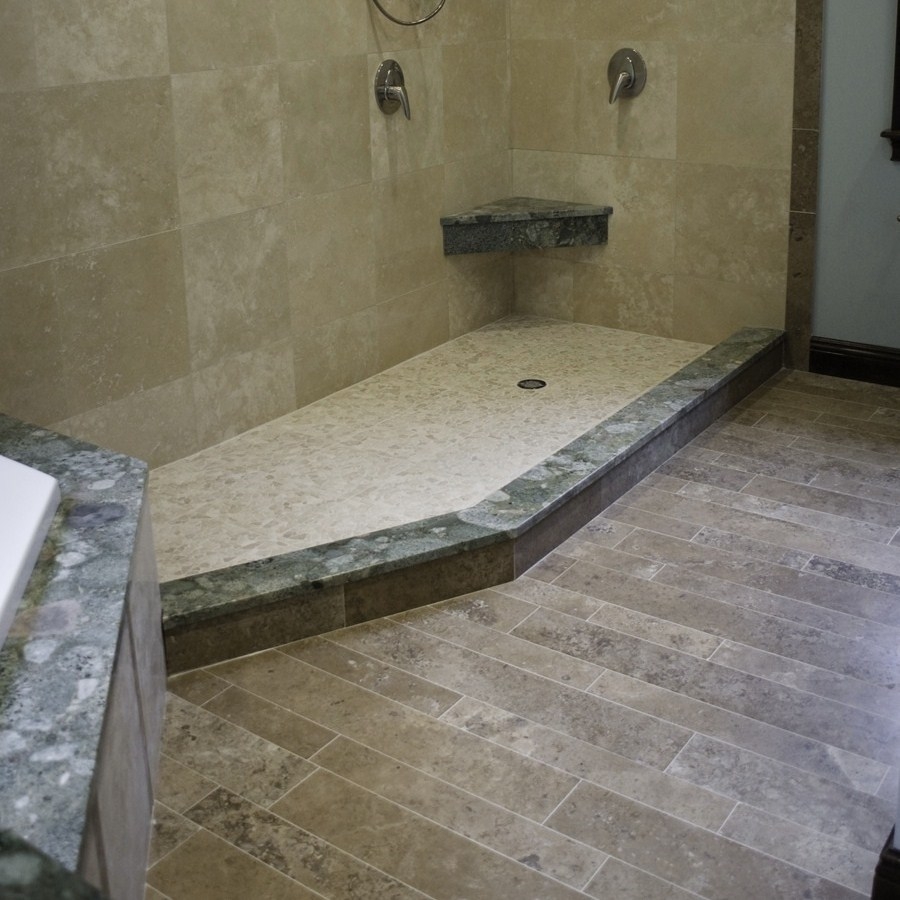
Even without a mold and mildew problem, normal wear and tear in the bathroom can dirty grout beyond belief.
When this occurs, Iíve found that a cup of hydrogen peroxide mixed with water, preferably in a spray bottle, is an effective and cheap way to attack such stains. Use an old toothbrush for scrubbing and the formula should work well.
NOTE: For a number of reasons, grout will start cracking over time. If you find a few very small cracks, you can fill them with a little caulk by rubbing it in with a finger. For anything more, you may need to hire a professional.
Removing soap scum
Ironically,† although soap scum builds up because a homeís occupants are into basic hygiene and shower regularly, soap scum nevertheless harbors bacteria. According to a journal article published in Applied and Environmental Microbiology, soap scum film is a potent breeding ground for microbial communities known as biofilms. The scum also dulls parts of the bathroom and simply looks terrible.
By regularly wiping down the shower immediately after use, while the crud is softer, you can reduce this buildup. Even if the layer of soap scum has hardened, steaming the bathroom is a good start. Then mix water with baking soda, make a paste, and apply it to the scummy areas, letting it sit for at least 20 minutes. Once the crusty stuff begins to soften, scrub hard and repeat if necessary.
NOTE: Using a shower gel instead of bar soap can reduce buildup.
Painting
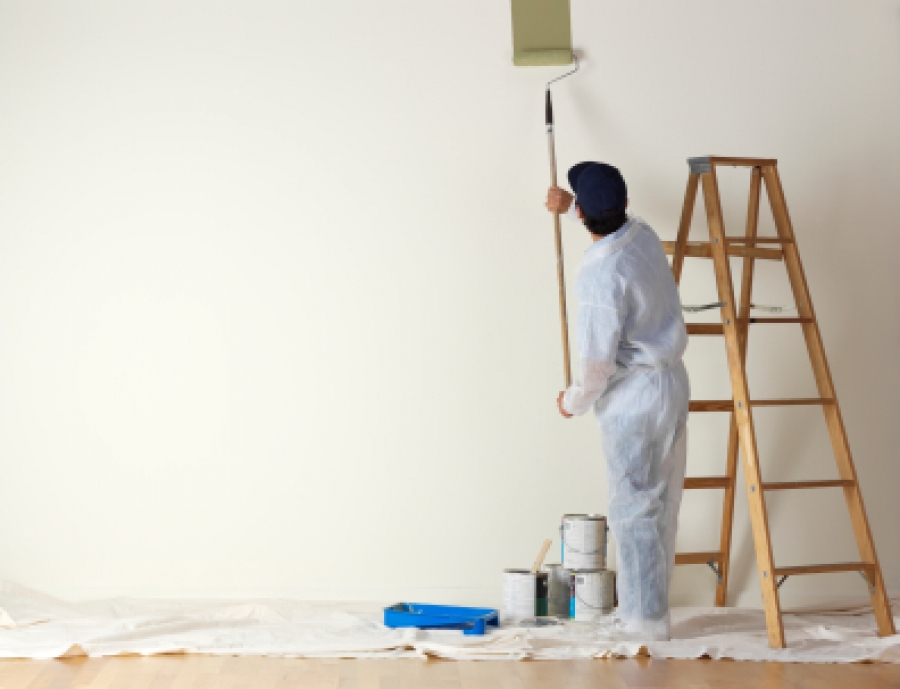
After you wash away the mold, clean the grout, and remove the soap scum, your bathroom is probably looking much better, except for one thing: it could really use a new paint job. However, the sudden thought of having to paint a room may be a little scary if itís not something youíve done before. Nevertheless, since bathrooms are usually small compared to other rooms, they are good painting projects for beginners; even novice painters can complete this paint job in just a few days.
If youíre willing to take on this project, the most important things to keep in mind include good preparation, such as making sure that ceiling and wall surfaces are clean; selecting a paint formulated for application in damp places; and keeping the room dry and well ventilated when applying the actual paint. Donít underestimate the value of high-quality paint.
NOTE: While certain paints inhibit the growth of mold, any incessant mold or mildew problem probably results from a leak somewhere in the walls. If you think this is the case, have a professional check it out before you spend time painting. Otherwise all your hard work may need to be redone.

Jakob Barry
Jakob Barry is a home improvement journalist for Networx.com and blogs for pros across the U.S. such as Providence, RI, tile contractors.


