Set The Mood: Install A Dimmer Switch
-
font size
decrease font size
 increase font size
Video
Three recessed ceiling light fixtures flood the fireplace in our family room. Sometime after we moved in, the dimmer switch that controls the lights stopped functioning properly. It turned the lights on and off, but did not dim them. We were not concerned with our inability to dim the lights and affect the mood of the room because the light bulbs' brightness at that time was not an issue. Recently, we started replacing our incandascent light bulbs with compact fluorescent light bulbs (CFL). The CFL bulbs we purchased have a higher lumen output than the incandescents, resulting in a brighter light. It was now time to solve our dimming problem.
For the most part, traditional incandescent light fixtures are able to be dimmed with a dimmer switch. Pendants, sconces, recessed, and ceiling fan lights (not including ceiling fan motors) are all able to be controlled by a dimmer switch, as long as the incandescent or CFL light bulb is dimmable. Dimmer switches come in several styles that are readily available at your local home improvement store, such as rotary dial, slide, and switch and slide. These types of dimmer switches are referred to as triac dimmers. Triac Dimmers control the amount of voltage that is allowed to flow through a circuit to a light fixture, allowing you to adjust the brightness.
"I performed the following 10 steps in less than 30 minutes and was able to replace my old switch rather easily."
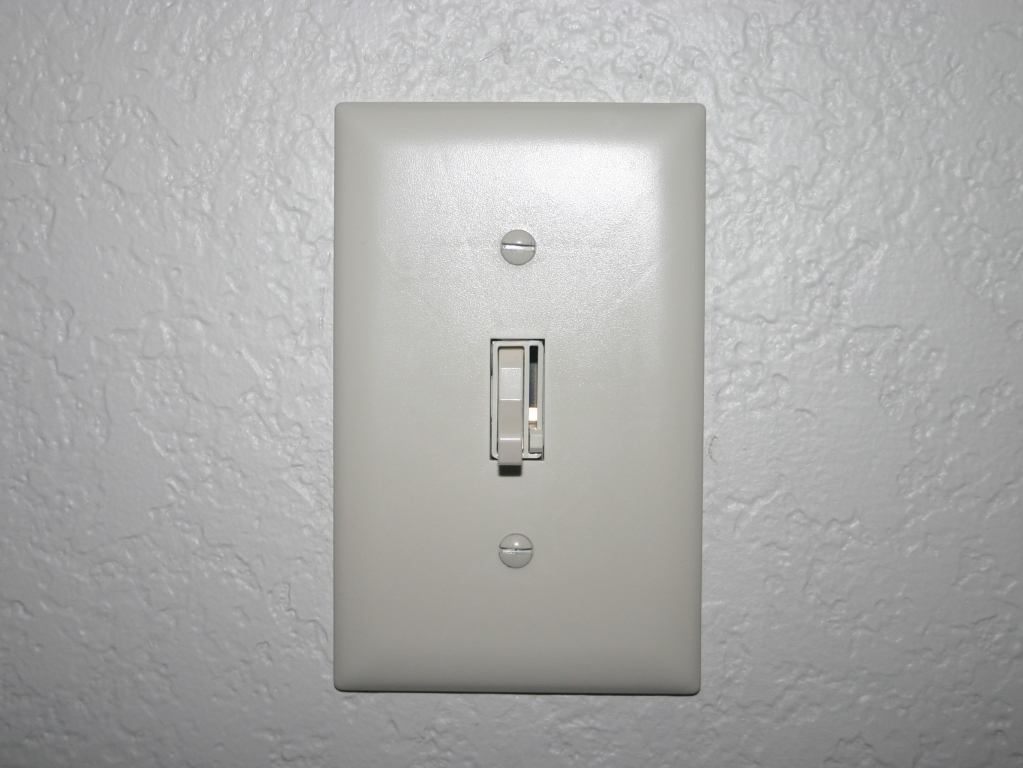
Our light fixtures are wired two-way (light can be controlled from two switches) to a single pole dimmer switch; however, three-way dimmer switches are also available. Prior to purchasing a dimmer switch you should determine the total wattage load of the fixture(s) you want to control, and purchase a dimmer switch that is rated to meet the demand of the fixture(s). We elected to go with a switch and slide dimmer that was rated for 600W to control the three recessed ceiling fixtures that are 75W each.
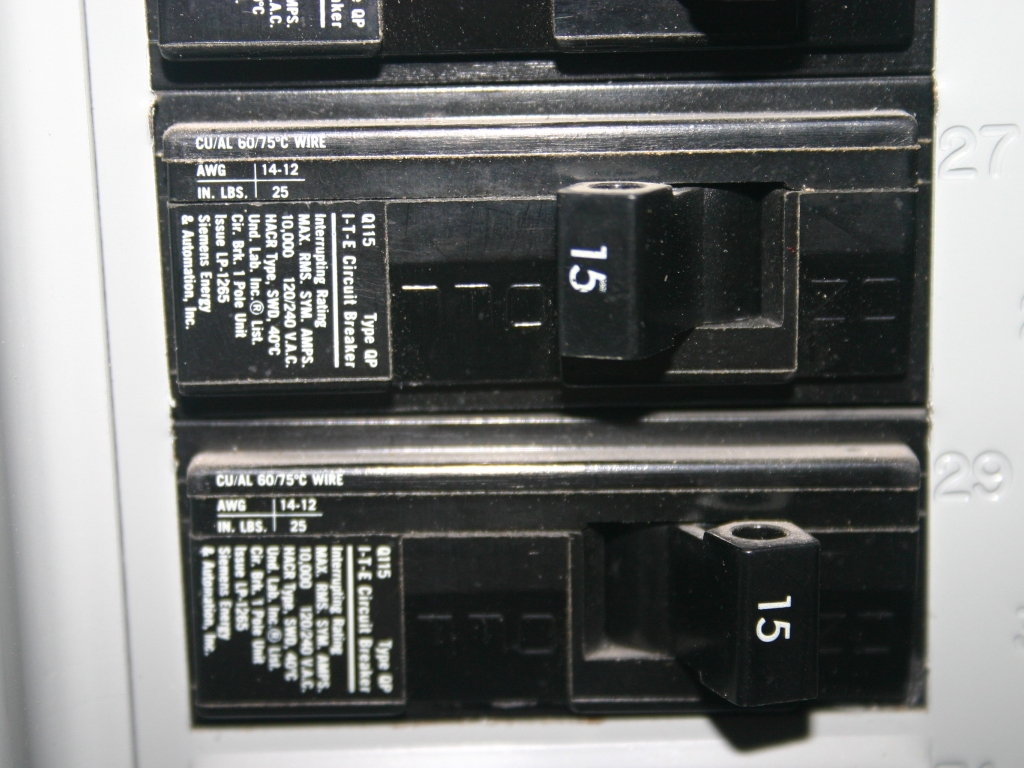
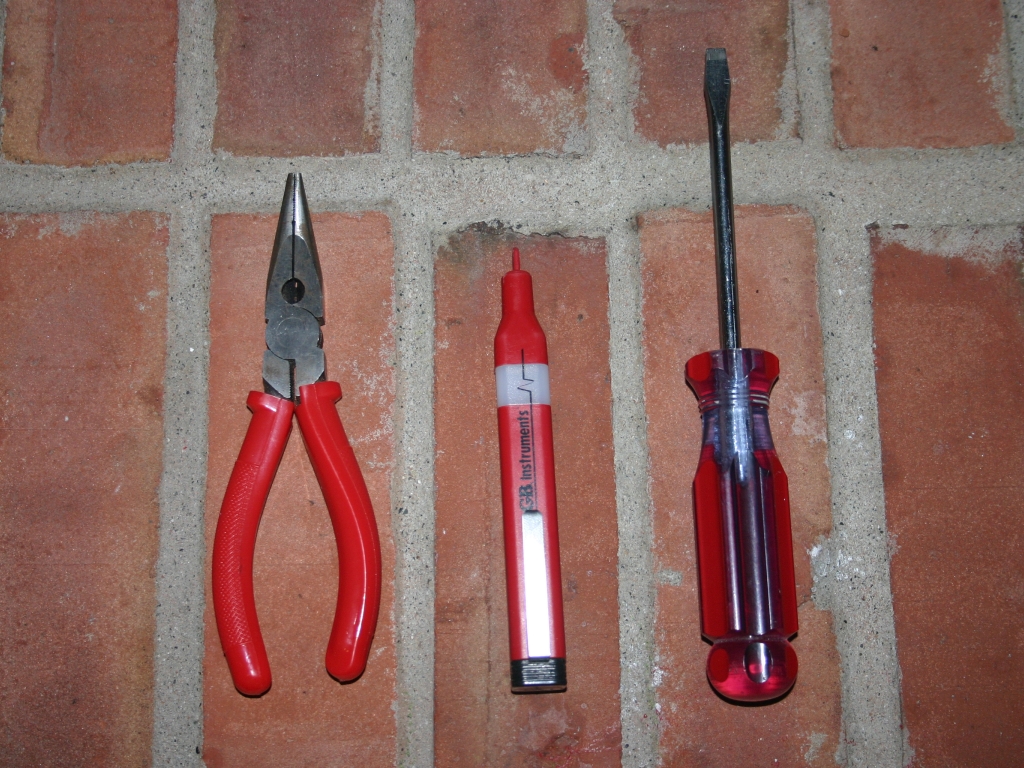
Prior to installing a new dimmer switch, you should thoroughly read the installation instructions and properly shut off the electricity to the circuit at the panel. I used three tools to install the new dimmer switch: a voltage tester, a screw driver and needle nose pliers. I performed the following 10 steps in less than 30 minutes and was able to replace my old switch rather easily.
- Turn of the electricity to the circuit and test the circuit for power with a voltage tester or multimeter.
- Remove the face plate and unscrew the switch's mounting screws.
- Use the voltage tester or multimeter to verify that the power is off.
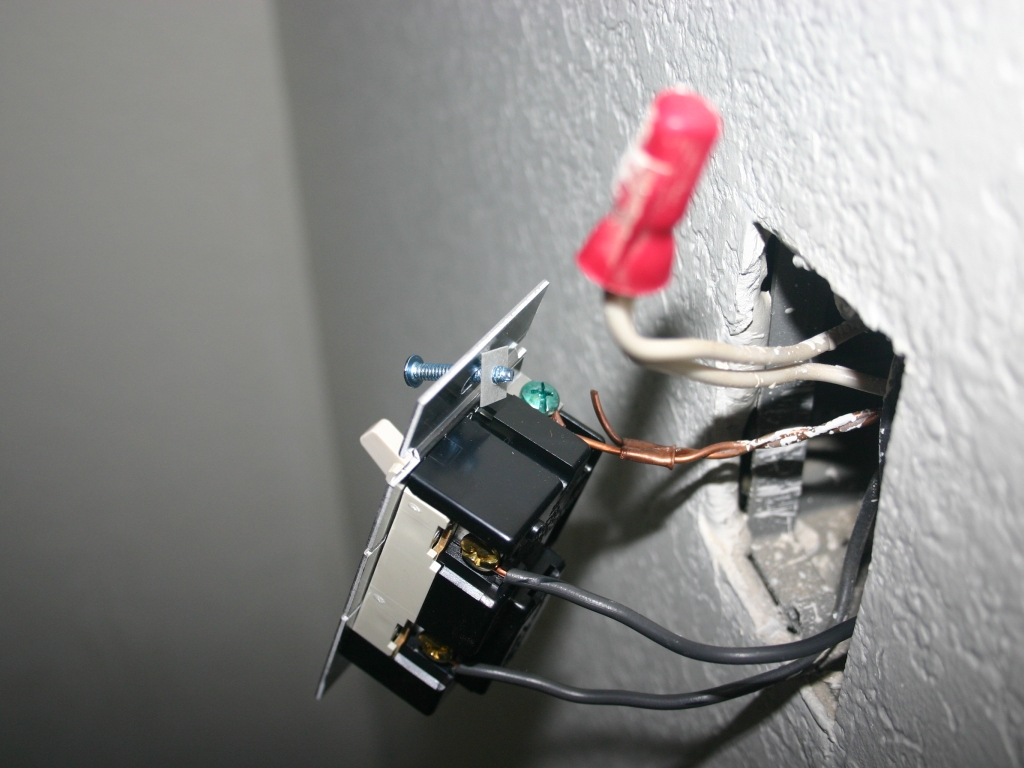
- Disconnect the wires from the terminals and remove the old dimmer switch.
- Attach the ground (copper or green) wire to the new dimmer switch ground.
- Straighten or snip the existing curled wires and strip the wire insulation to expose copper wire.
- Attach each of the hot (black) wires (2) to each of the terminals.
- Carefully flex wires back into the box and mount the switch to the box.
- Turn on power to the circuit and test the dimmer switch's ability to function properly.
- If the lights turn on and off and dim, attach the face plate.
An older home's wall switch box may not be large enough to contain a dimmer switch. In such cases, you should remove the old box and replace it with a new "old" work box that tightens to the backside of the drywall inside the wall.


Jeff Calcamuggio
Jeff is an Editor-at-Large for Buildipedia.com who writes and edits Featured At Home and Knowledgebase content. Prior to joining Buildipedia, Jeff's work experience included carpentry, construction documentation, specification writing, construction administration, project management, and real estate property inspection. Jeff is a member of the Construction Specifications Institute (CSI) and an educator at Columbus State Community College and enjoys challenging DIY home improvement projects.
Ā