Wallpaper Removal
A few years ago, our family moved into a home built in the 1980ís. The home has a nice exterior, other than the overgrown landscaping, and the interior plan is functional; however, the decor is original and is in need of updating. While my wife is a big fan of 80ís music, she can do without the decor from that era, and was determined on updating everything during our first month in the home.

After some time, we each developed our own ideas on what we wanted to do with the home. Despite having worn finish materials throughout, we felt we could live with the existing finishes and continue to use them, expecting further damage from our young children as time goes on. What was really eating at us, though, were the different floral patterned, visible relief wallpapers found in the kitchen and bathrooms. We were able to basically agree on what we wanted to do with the kids' bathroom, so we decided to start there.
We were excited to get started and remove the old wallpaper from our children's bathroom. Our neighbors had told us about their horrific experience in removing wallpaper from their 1980ís home. We brushed it off and chalked up their stories to lack of time and knowledge. That won't happen to us, we thought. I have helped put wallpaper up; how hard can it be to take it down?
Prior to starting, I thought it would be best to ask some questions. I asked the neighbor what he did, so as to not do the same. His suggestion was to paint the wallpaper, because nothing he did to remove the wallpaper had worked. Having a general understanding of what paint on floral relief wallpaper might look like and how difficult it would be to remove the wallpaper at a later date, for myself or someone else, I felt it would be best to not cover up the problem, but just to deal with it. Full of optimism, I sought counsel at our local paint and home improvement stores. They were somewhat helpful, providing techniques I could use along with various products they sold, such as liquid wallpaper removers, perforation tools, and knifed hand tools. Not yet entirely confident, I made some phone calls to friends in the industry.
Everyone had their own ideas on how to remove the wallpaper. Isn't that normally the case? Some suggested scoring the wallpaper and using a liquid mixture of water and vinegar or fabric softener, while others suggested using a steamer. It wasn't until I spoke with a friend who had drywalled for a number of years that I understood the bigger picture.
Evidently the problems my neighbors had, and those I was about to deal with, were due to the wallpapering methods of those that came before us. Wallpaper, when installed correctly, includes four basic steps: cleaning the surface of debris, priming/sealing the drywall, sizing the dry primed/sealed drywall surface, and adhering the wallpaper to the wall. Cleaning removes small particles that may be on the wall before and after the other steps to ensure a smooth surface to adhere to. Wallpaper primer/sealer acts to seal the drywall and provide a protective coating over the drywall paper surface. And sizing improves the grip of the adhesive and allows it to dry in a uniform manner.
 It was suggested by my drywall friend that the issue with our home's wallpaper was that it may not have been primed or sized properly. I learned that when drywall isn't primed/sealed and/or sized properly (or in this case, at all), the adhesive is absorbed by the paper facing of the drywall. In some cases, the adhesive can be absorbed deep into the gypsum core. He thought it would be best to warn my wife that after we got into this, we may need to replace the drywall. In all honesty, painting the wallpaper didn't sound like too bad of an idea at that point. However, I could hear my father's voice ringing in my ear, "If you haven't got time to do it right the first time, when are you going to have time to do it over?" It was unfortunate that cost cutting measures of the 1980ís were affecting me in 2009, but the wallpaper had to come off, drywall or no drywall. My cup half full at this point, I neglected to mentioned the possibility of drywall removal to my wife.
I had scrapers and putty knives in the garage, along with water, vinegar, and fabric softener in the house. I visited the local home improvement store and armed myself with some perforation tools just in case. Have you ever tried to separate two pieces of notebook paper that have been glued together by your child with Elmer's craft glue? Who would? Basically that was the task in front of us: to separate paper that had been glued onto paper, and hope for the best. The bathroom is basically 100 square feet, with 8í-0Ē tall walls. After we tested all of the suggested products and concoctions, we settled on the warm water and vinegar mixture. We decided to replace the wood trim, so we removed it; however, if you are planning on keeping the wood trim you should continually wipe it down to ensure that the mixture does not sit on the trim for an extended period of time, potentially leaving a film.
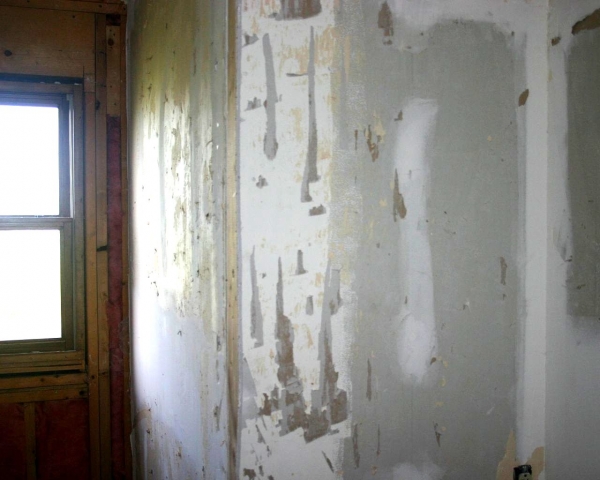
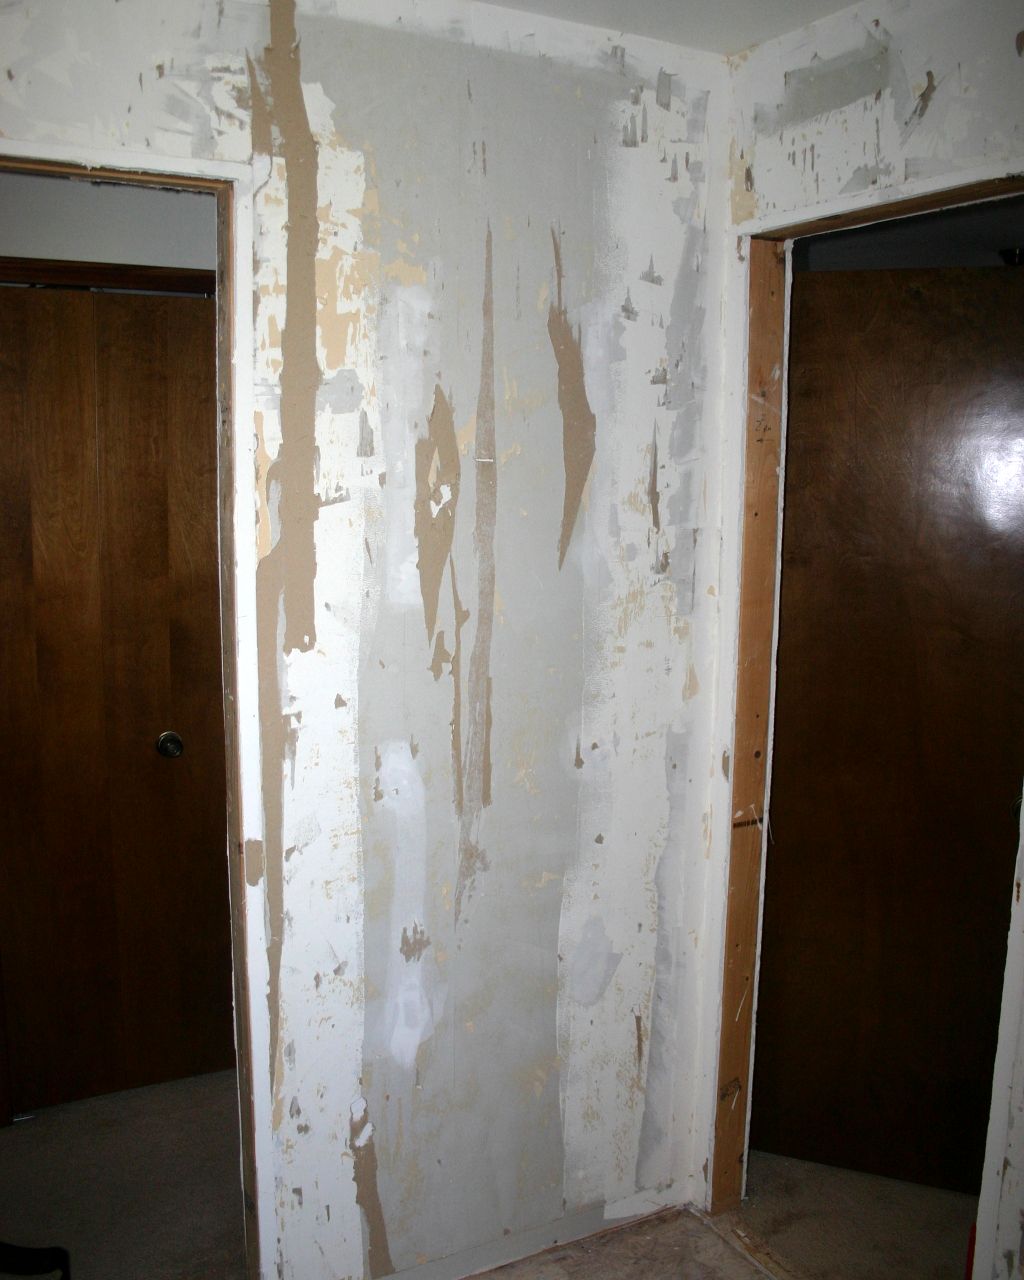
Digging into the work at hand, we sprayed and let the mixture soak into the paper, sprayed and let it soak, then tenaciously scraped for 8 hours over two days. In a few cases, primarily over skim coated joints and fasteners, the wallpaper came off with relative ease. However, most of the wallpaper came off in small pieces or chunks. After all of the wallpaper was removed, we were tentatively relieved. Looking around the bathroom walls, it appeared as though the drywall was fairly intact. There were some ragged paper surface edges and a handful of locations that revealed the gypsum core. The wallpaper, with exception of the backing in some locations, had been successfully removed. We shifted our focus to understanding how to repair the damaged drywall and finalizing our finish selections. We decided to apply a knockdown finish to the walls prior to painting. I like the idea of applying a knockdown finish to help conceal cosmetic blemishes caused removing the wallpaper and by an imperfect skim coat, especially since I am not a professional drywaller.
Wallpaper Removal Steps
- Drop The Area. Lay out drop cloths in the area where you are removing wallpaper. This will make clean up easier.
- Protect Exposed Wood Trim. Continually wipe down trim to ensure that the mixture does not sit on the trim for an extended period of time, potentially leaving a film.
- Prepare Wallpaper Removal Mixture.
- Hot water and vinegar (1/2 cup of vinegar per 1 gallon of water)
- Hot water and fabric softener (1/2 cup of fabric softener per 1 gallon of water)
- Hot water and vinegar and fabric softener (1/4 cup of both vinegar and fabric softener per 1 gallon of water)
- Other methods include using steamers, store purchased liquid wall paper removers, and trisodium phosphate.
- Apply Mixture to Wallpaper. Wet the surface, allowing time for the mixture to penetrate the wallpaper. A pressurized bug sprayer is recommended to apply the mixture. Tip: The more you wet the wallpaper the easier it will be to remove.
- Remove Wallpaper. Tip: Start at seams or loose areas. The mixture will penetrate more in these areas. A putty knife can also be used to relieve wallpaper edges.
- Remove Wallpaper Backing. Most wallpaper has a backing that will need to be removed separately. Tip: Wet backing with mixture prior to removal as in step 4. Use putty knife at an angle that will not damage the drywall.
- Clean Wall. Use warm water and a towel to wipe down and clean drywall of any remaining wallpaper and adhesive.
Tools Needed
- Drop Cloths
- Pressurized Bug Sprayer
- Putty Knife
- Perforation Tools, if desired
- Trash Bags
- Towels

Jeff Calcamuggio
Jeff is an Editor-at-Large for Buildipedia.com who writes and edits Featured At Home and Knowledgebase content. Prior to joining Buildipedia, Jeff's work experience included carpentry, construction documentation, specification writing, construction administration, project management, and real estate property inspection. Jeff is a member of the Construction Specifications Institute (CSI) and an educator at Columbus State Community College and enjoys challenging DIY home improvement projects.
†
