Sprinkler System Installation Guide
-
font size
decrease font size
 increase font size
Okay, the planning's done, you've bought all the parts, now you're in the yard, shovel in hand, ready to start. In this helpful video, we'll show you the steps to a perfect sprinkler system installation, including trenching, connecting the water source, installing shut-off valves, working with PVC pipe, building a valve manifold, connecting wires, installing sprinklers and flushing your system.
Irrigation System Installation -- Part 1
alt=""
Step by step video guide showing you how to install an automatic irrigation system. Includes trenching, connecting to main water supply, installing a system shutoff valve, cutting and connecting PVC pipe, back-flow prevention, putting together a sprinkler valve manifold and connecting valve wires.
Irrigation System Installation -- Part 2
alt=""
Part two of Rain Bird's step by step video guide showing you how to install an automatic sprinkler system. Includes anti-siphon valves, valve wiring, connecting to sprinkler timer, working with PVC pipe, connecting sprinklers, flushing the system to remove debris, and rain sensors.
Step 1
Place a stake or flag at every sprinkler location as indicated on your layout. Use string to show where the pipe will run.
STOP! Make sure you know where all gas lines, power lines and cable TV lines are before you start to dig. Be sure to call your utility companies if you need help.
Step 2
Dig trenches following the string. Mark the sprinkler locations with flags or the stakes. Typical trench depths range from 6 to 12 inches.
To run pipe under existing walkways you can "drill" using water pressure. Get a piece of PVC long enough to go under the walk, glue a slip-female thread adapter to one end and attach a hose. On the other end glue a slip-male thread adapter and connect a Jet Spray Nozzle (available at most home improvement and home & garden retailers).
Dig your trench up to the walk on both sides. Now turn on the water and work your way through. It may take a while, and it will get muddy so turn off the water once in a while to let the water soak in.
To make trenching easier ask your local tool rental supplier about a "power trencher." If you are using a Poly Pipe, ask about a pipe pulling machine, which will bury pipe without digging up your lawn. Be sure to put enough space between valves on the manifold so that they can be removed in case they ever need to be replaced.
Step 3
Hook up your water supply. Did you check with your Rain Bird Dealer to find out which connections are right for our local codes and conditions?
Step 4
Assemble your valve manifold. Connect the back-flow preventer if required.
PVC pipe is available in a variety of diameters and wall thickness'. Your system will operate better and be more durable using a larger diameter (3/4", 1", or 1 1/4"), heavier gauge (schedule 40) pipe.
Poly pipe is mostly used in colder climates. Poly pipe is more flexible and is less likely to be damaged by freezing. Rain Bird does not recommend using poly pipe for the main line connecting pipe.
PVC cement is applied to the inside of the fitting and the outside of the pipe. Quickly insert pipe all the way, giving a 1/4 turn to distribute the cement and hold a few seconds.
A primer is available to prepare the pipe and fittings for gluing. Read the manufacturers instructions before using PVC cement.


Poly is assembled by sliding a clamp over the pipe, insert the fitting all the way then bring the clamp into position and tighten.


Step 5
Place lengths of pipe along the string after laying out the right sprinklers and connectors at each stake.

Note: Using swing joints or EZ Pipe makes positioning sprinklers easier.
Step 6
Start assembling moving from one sprinkler location to the next. Don't connect the sprinkler until everything is assembled so that you can flush the system with water to clear out any dirt that got in the pipes.
Step 7
Manually flush the system.
Turn on the water at the "shut-off" to supply your system, then operate the valves manually to flush the system. Open each valve to flush the pipe with water, then close.
Refer to the valve instructions for manual operation. You should do this with each valve.
Step 8
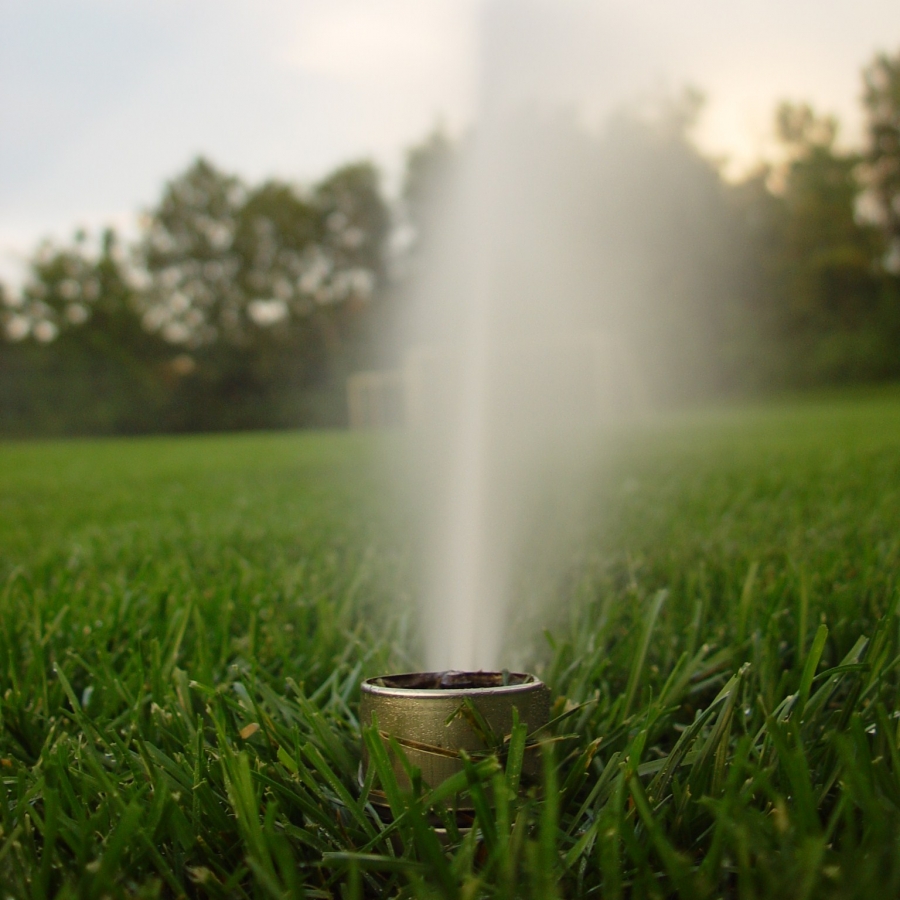
Attach the sprinklers after flushing the system with water.

Step 9
Wire the valves to the timer following the instructions that come with your timer. Be sure to write down which timer "station" runs which zone and keep these notes near your timer.
Now test each zone, using the timer to control the valves. Make any adjustments to the distance and directions of the sprinklers.
When everything is working right, bury the pipe.
Rain Bird Corporation, a privately held company, founded in 1933, manufactures and provides irrigation products and services for farms, golf courses, sports arenas, commercial developments and homes in more than 130 countries around the world.
