Maintenance Tips: Bathroom Vanities
-
font size
decrease font size
 increase font size
Bathroom vanities are comprised of a base or furniture cabinet, a countertop mounted to the top of the cabinet, a sink, a faucet, and a drain stop assembly located at the bottom of the sink which allows water to drain or be collected. Maintaining each component can be overwhelming, given that there are several different styles, manufacturers, and types of materials used. However, there are only a few components that require regular inspection and/or maintenance to ensure proper function.
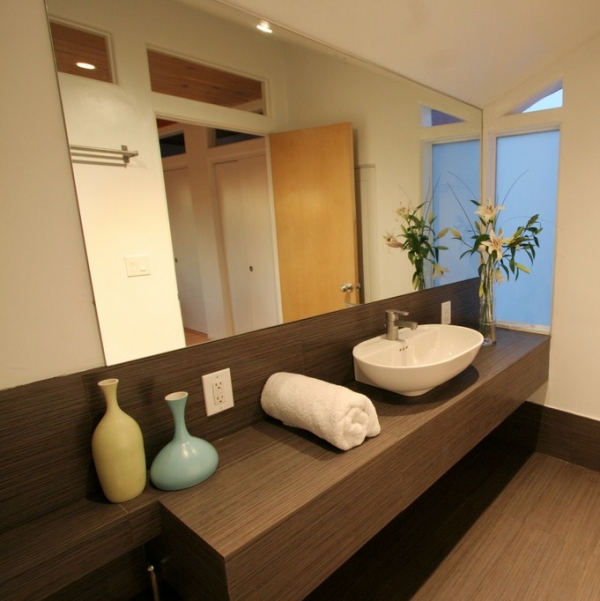 Flickr | jermeylevinedesign | CC BY 2.0
Faucets
Bathroom Maintenance Tips
Maintenance Tips: Bathroom Exhaust Fans
Maintenance Tips: Bathtubs and Showers

Maintenance Tips: Toilets
One of the most important steps in maintaining a bathroom vanity, aside from regular cleaning, is maintenance of the faucet. Over time, faucets may drip and leaks may occur around the base and under the countertop. Depending on the age and manufacturer of the faucet, replacement parts might be available and may even be covered under the warranty. If leaks are found, the necessary repairs should be made or the damaged parts should be replaced. Prolonged leaks could eventually cause water damage to the cabinet and surrounding flooring.
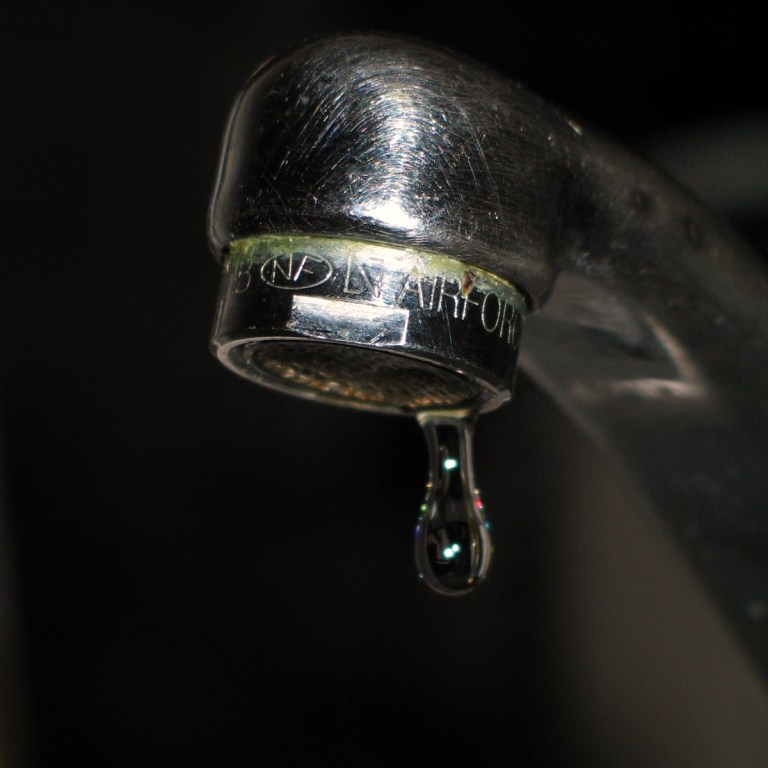
Aerators, located at the end of a faucet spout, can cause problems if not cleaned regularly. Small particles of debris from the supply piping may collect along the aerator screen, causing water to flow slowly. An aerator can be easily removed by unscrewing it with your hand. Disassemble the parts carefully to be sure none are lost down the drain. Debris in the aerator can be removed by rinsing it upside down under water. If necessary, gently scrub the aerator with a toothbrush. Reassemble the parts by hand and screw the aerator tightly to the faucet after cleaning.
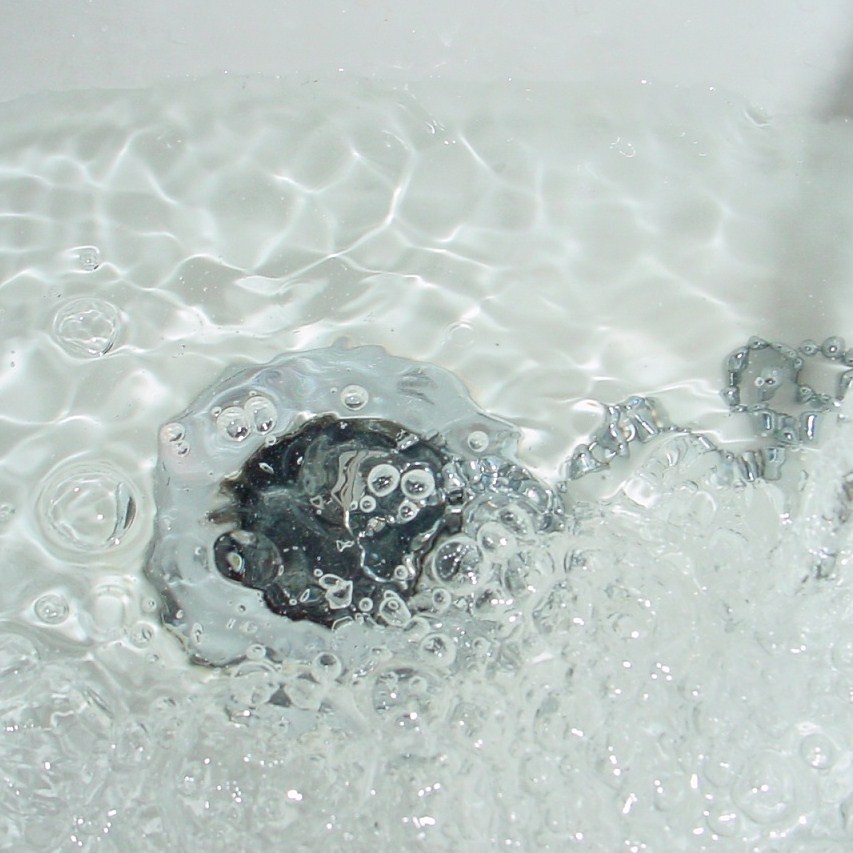
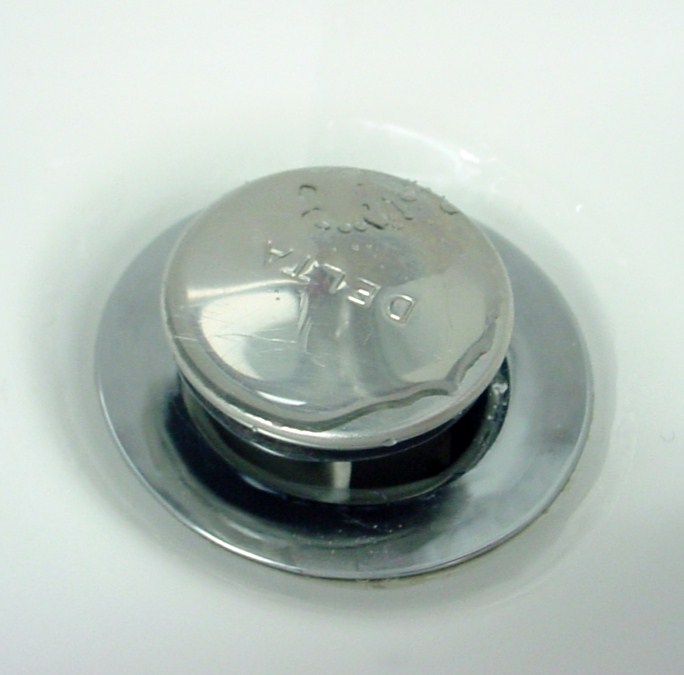
Drain Stop Assembly
Bathroom sinks generally have a drain stop that is controlled by a lever located on the faucet. The lever controls the stop and allows water to drain or be collected in the sink. Depending on the usage, the controlling screw or clip, which is located underneath the sink, may become unattached from the assembly and cause the lever to not function properly. This can easily be remedied by reattaching the clip or tightening the screw. While it's out of sight and typically not high on the priority list, becoming familiar with the drain stop assembly will pay off down the road. At some point the stopper will not move correctly and adjustments may be needed to ensure that it functions properly. Even when it is working, you should consider physically removing the stopper itself for the purpose of cleaning.
 During routine use, all substances rinsed down a drain have the potential to build up, forming a residue along the drain pipe walls. This residue can cause slow drains or even water backups. Removing and cleaning the drain stop will not only help to reduce buildup and help prevent clogged drains, but will also remove bacteria and reduce the spread of germs. After disassembling the drain stop, the stopper should be scrubbed, soaked in a cleaning solution or vinegar, and washed in a dishwasher. You may also choose to remove the drain pipe trap, where hair and debris often collect. The drain pipe trap can be scrubbed and soaked in a cleaning solution that will not harm the type of piping material you have in your home. Be sure to reassemble the drain pipe and drain stop prior to using the sink again. If your drain is still slow or backing up, there are several chemical products available at your local home improvement and grocery store that can be used. Be sure to wear gloves when working with these types of chemicals. Snaking the drain line with a drain auger may be required for more persistent clogs caused by blockages.
Countertops
Aside from ensuring that the above components are working properly, preventing water from causing damage to the countertop, cabinets and surrounding walls and flooring is an important step in bathroom vanity maintenance. Depending on the type of material used, the sink and backsplash can be one continuous piece, although commonly the backsplash and sink are separate and require a bead of caulk to be run along the seams where they are joined to the countertop. Caulk and sealant can last anywhere from one to twenty-plus years, depending on the type used and the quality of the previous application. On a yearly basis, inspect the caulk to ensure that water can not penetrate the surface and cause damage. If you find deteriorated caulk and/or sealant, simply remove the existing bead entirely and apply a new continuous bead in it's place.
As is the case with cleaning the drain stop assembly and piping, cleaning the surfaces of a vanity on a weekly basis will reduce the spread of germs. Keep in mind some materials can be damaged by abrasive cleaners. Depending on the materials of your countertop, sink, and faucet, use soap and water, an antibacterial cleaning solution, or a more specialized cleaner that is approved for use with the materials being cleaned. Cabinets can be dusted and cleaned with wood cleaners or any other type of cleaner, depending on what the cabinets are made of. Last but not least, keep all hardware, drawer slides, hinges, drawer and door pulls tightly fastened to promote proper function and usability.


Buildipedia Staff
The Buildipedia research and writing staff consists of dozens of experienced professionals from many sectors of the industry, including architects, designers, contractors, and engineers.
Website: buildipedia.com/