Installing Track Lighting in Your Home
Video
Follow our step-by-step guide and successfully install track lighting.
Installing track lighting in your home can really spruce up a room and give it new ambiance. Join our host, Jeff Wilson, as he demonstrates how to easily install new track lighting to brighten up your home.
As with any DIY installation, begin by fully reading the manufacturer's instructions and be sure you have all the tools and materials you need before you start.
Step by Step
-
Make sure that the power is off in the area in which you are working.
-
Install the bracket into the box.
-
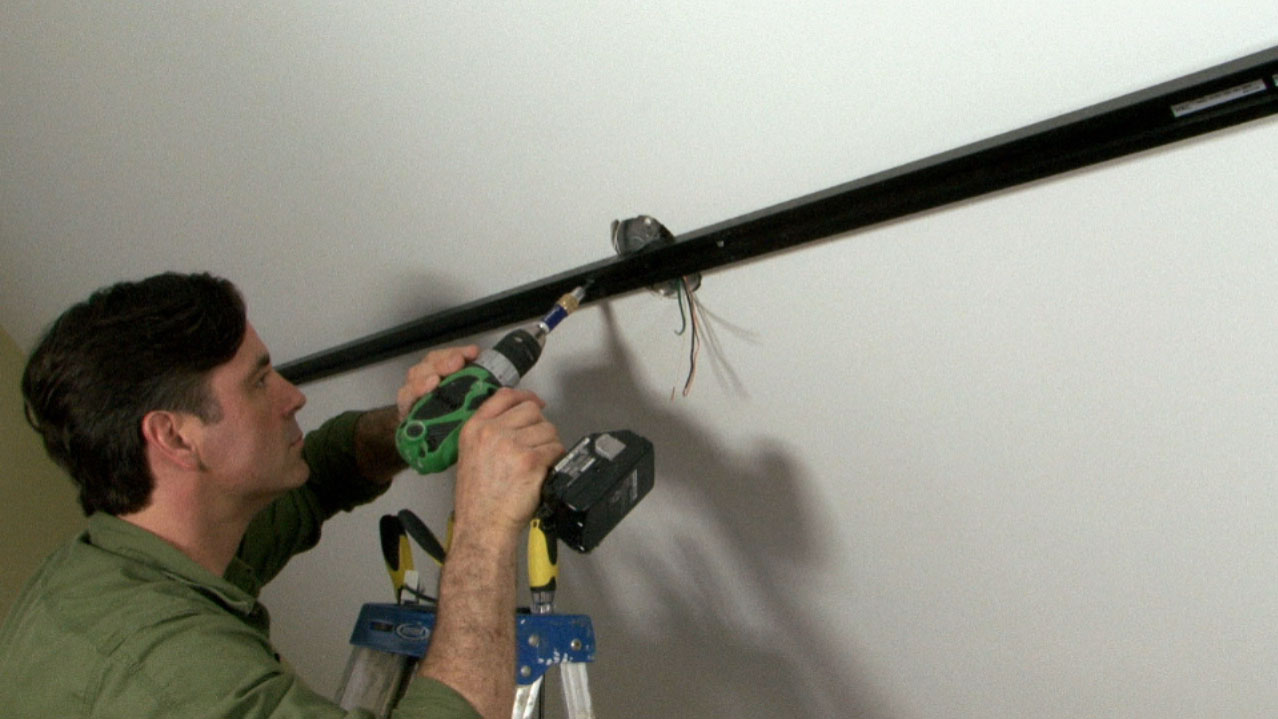
Roughly lay in the track and check for level. Mark where you will need to drill holes for the anchors.
-
Remove the track and drill the anchor holes.
-
Place toggle anchors in each of the drilled holes.
-
Install track securely with bolts.
-
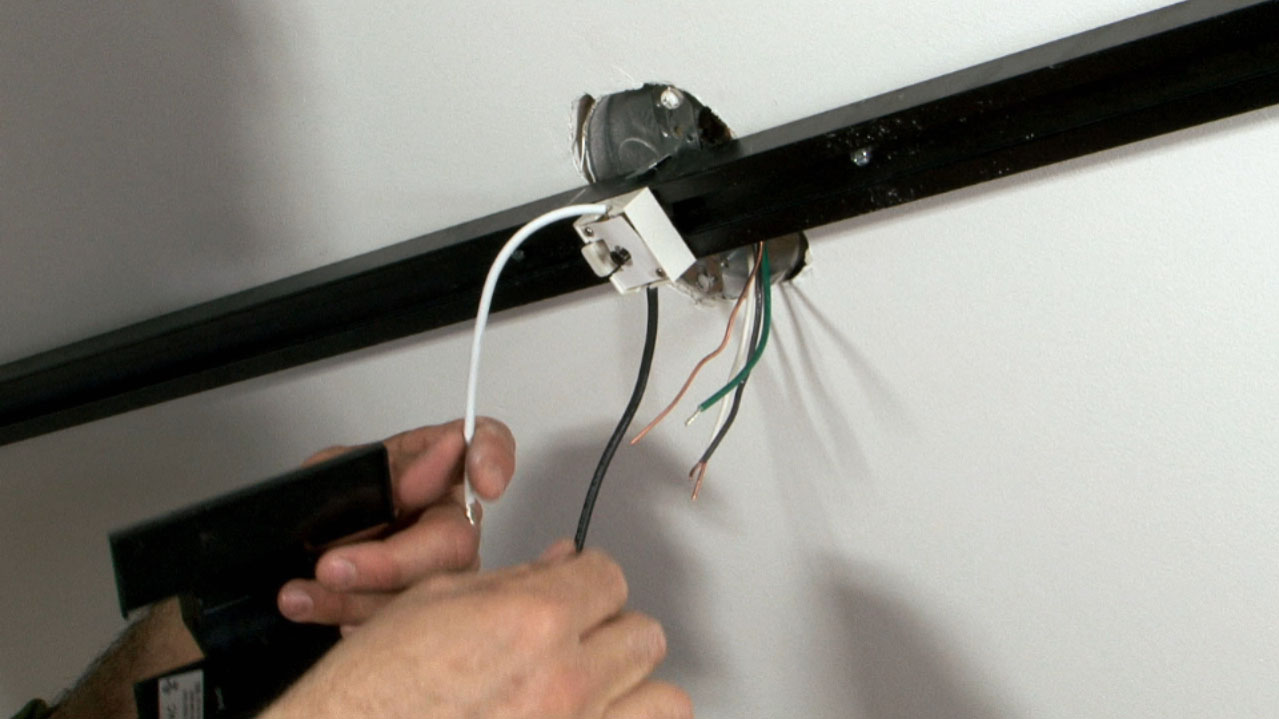
Hook electrical block up to the track by placing it in the track and turning 1/4 turn to engage it with the track. Or, check the manufacturer's instructions.
-
Make your electrical connections with the wire nuts. The black wire goes to the black, the white goes to the white, and the green wire goes to the copper ground wire.
-
Tuck the wires back into the box and cover with the trim piece.
-
Assemble the light fixture housing (if necessary per the instructions) and place the light bulb.
-
Place the light fixture into the track and turn 1/4 turn until it clicks into place.
-
Point and focus the lights where you wish.
-
Turn the power back on.


Buildipedia Staff
The Buildipedia research and writing staff consists of dozens of experienced professionals from many sectors of the industry, including architects, designers, contractors, and engineers.
Website: buildipedia.com/
