What to Do about Ice Dams
-
font size
decrease font size
 increase font size
Video
Having ice in your gutters is not simply an inevitable part of winter. Icy buildup along gutters is symptomatic of uneven heating and snowmelt. Ice dams can result in damage to your home, but you can take steps to safely remove them. You should also consider performing the following simple maintenance tasks once warmer weather arrives in order to prevent ice dams from forming in the future.
In colder climates, when conditions are right, an ice dam can take shape on your roof. For those of us in the Northern Hemisphere, winter has arrived. According to the National Oceanic Atmospheric Administration (NOAA), this year�s winter is expected to be wetter than average in the Midwest and Pacific Northwest, in addition to being colder than average across the northern states and along the East Coast. The NOAA 2011-2012 Winter Outlook predicts that the resulting combination of colder temperatures and higher moisture levels than average may translate into a potential for ice damming to occur.
When Ice Dams Occur
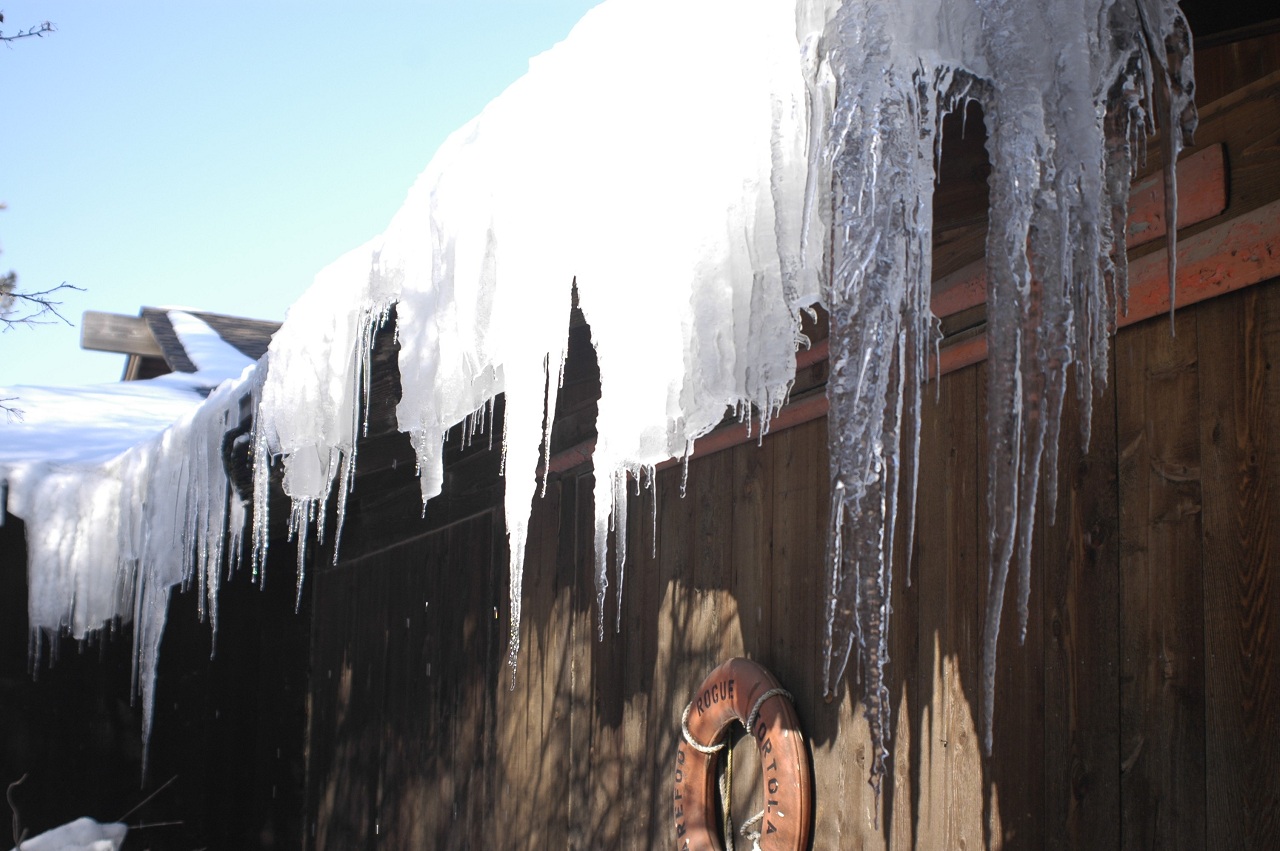
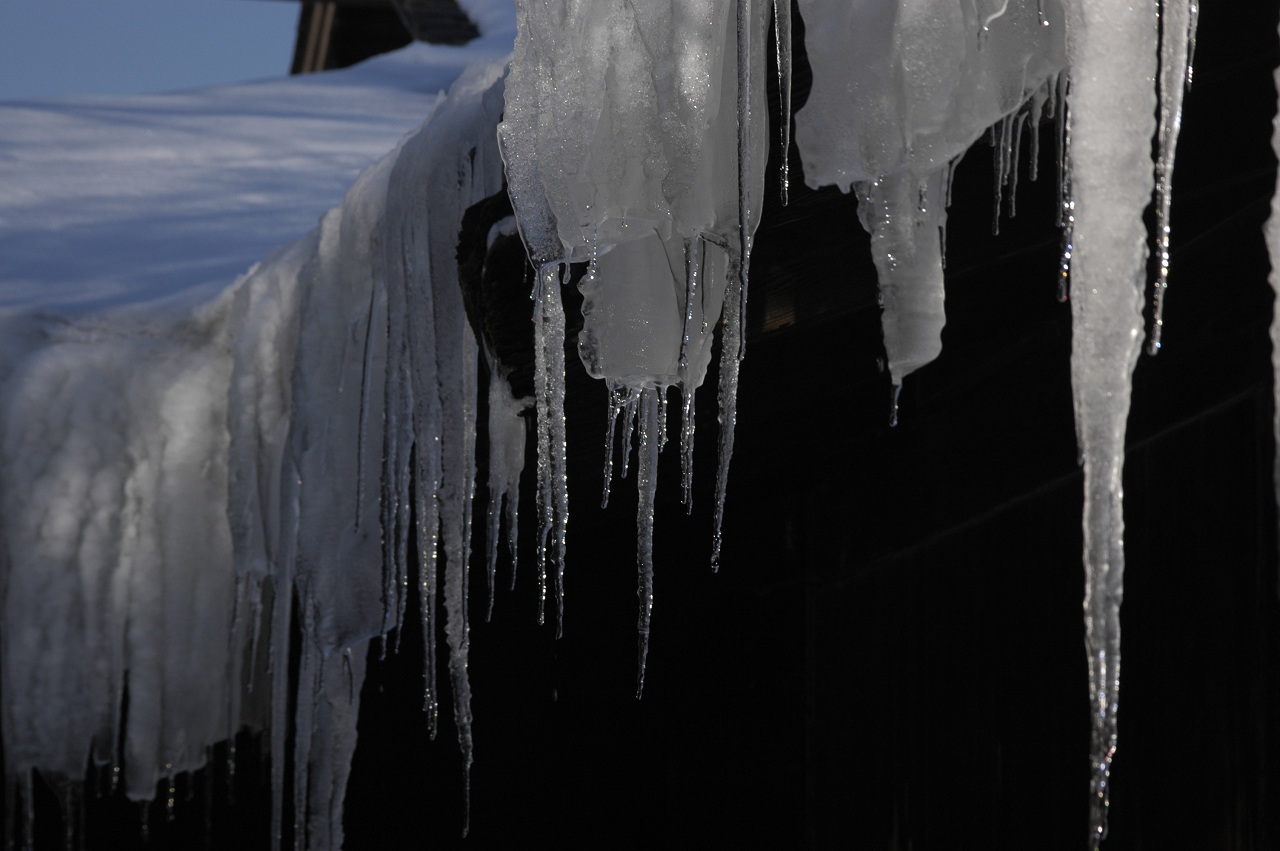
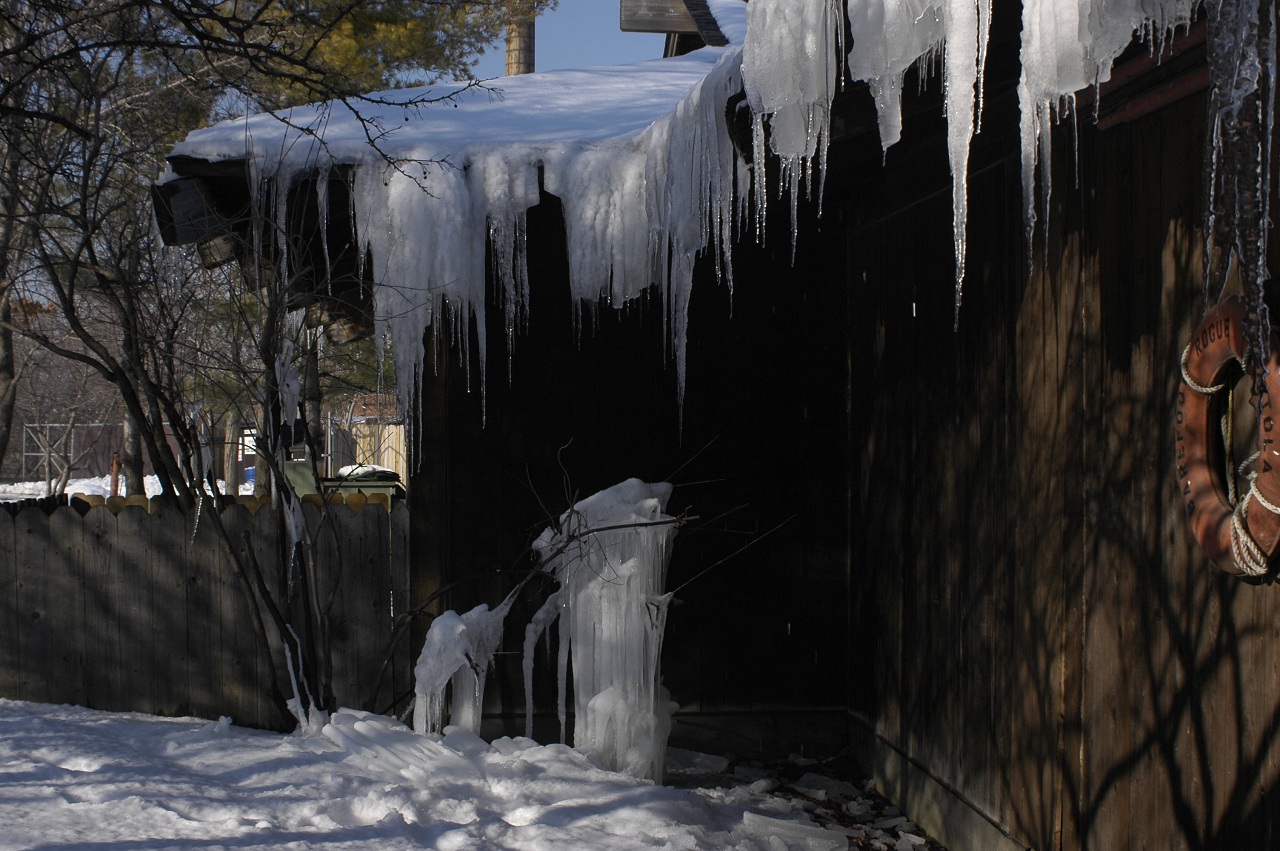
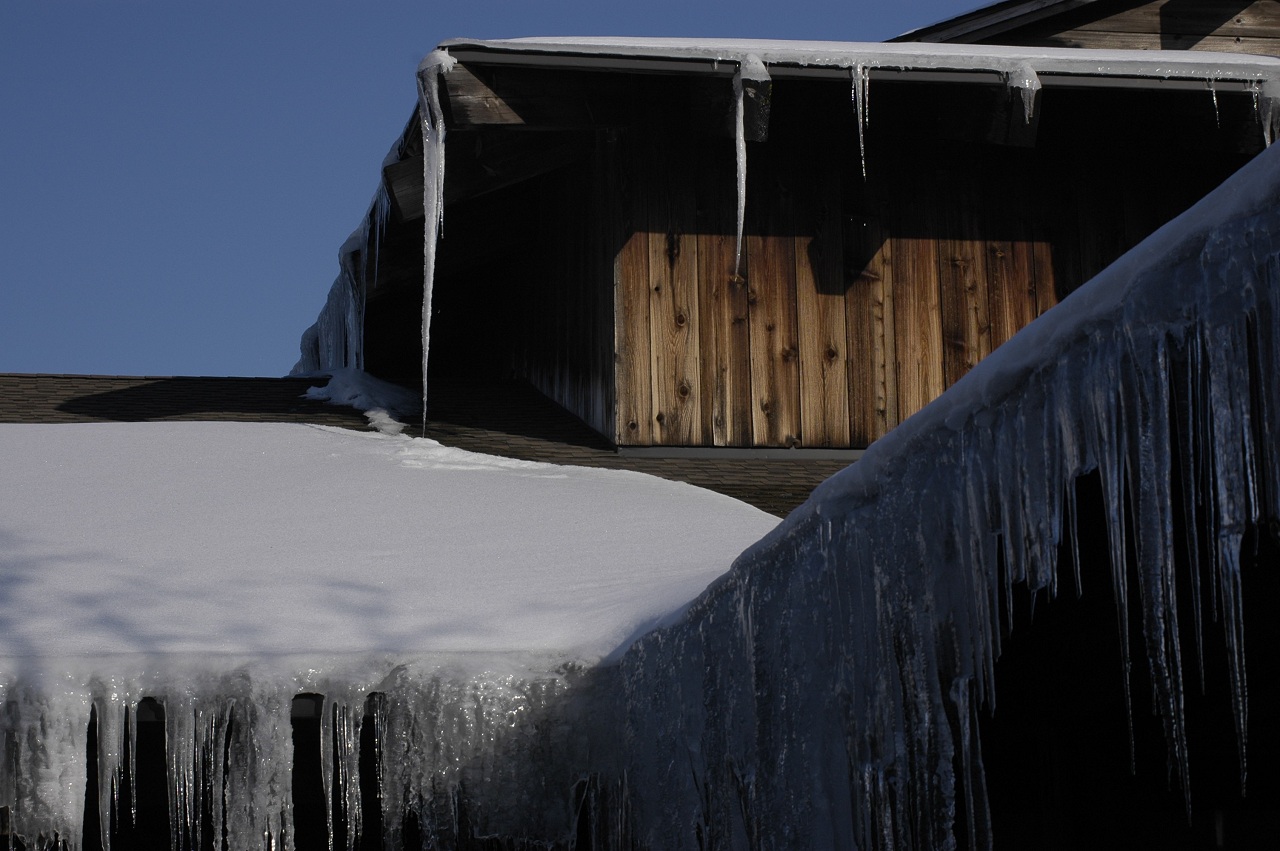
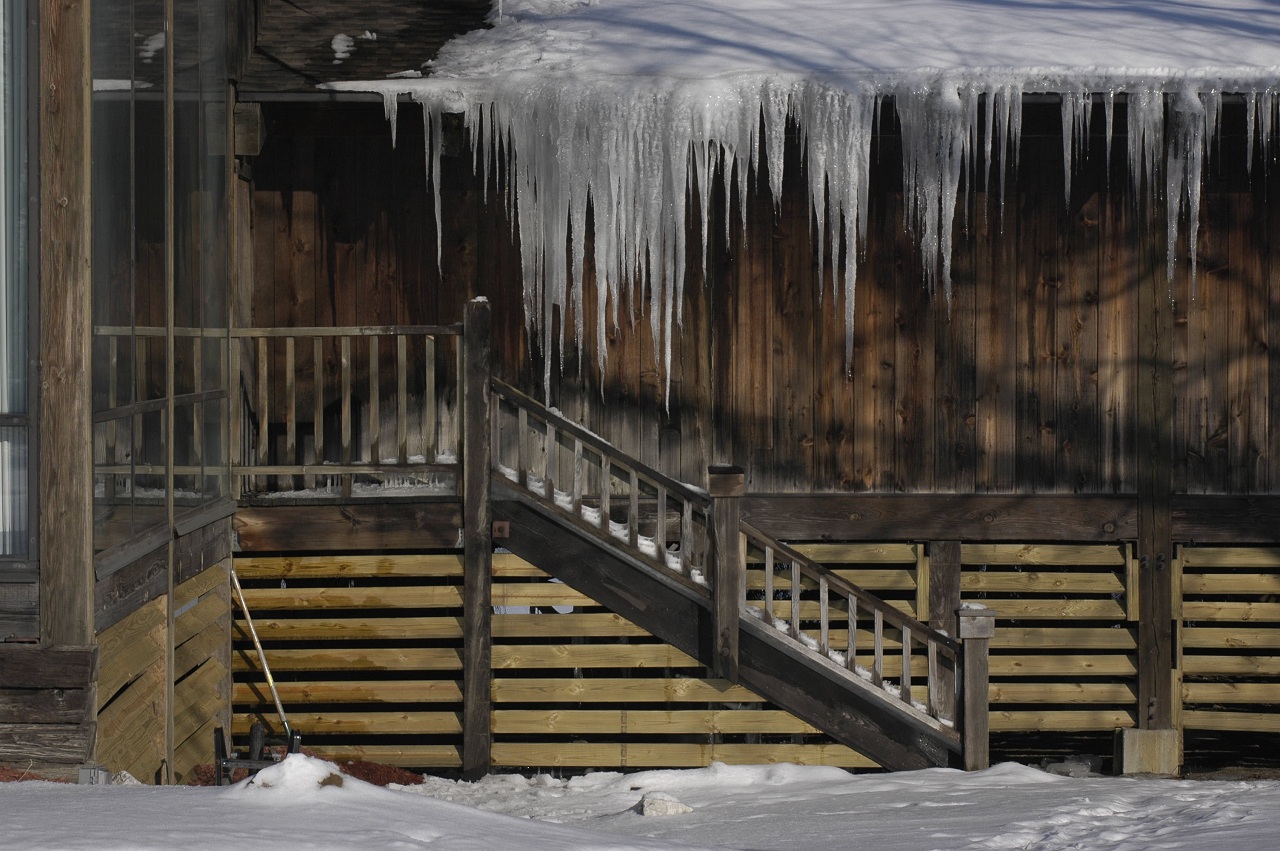
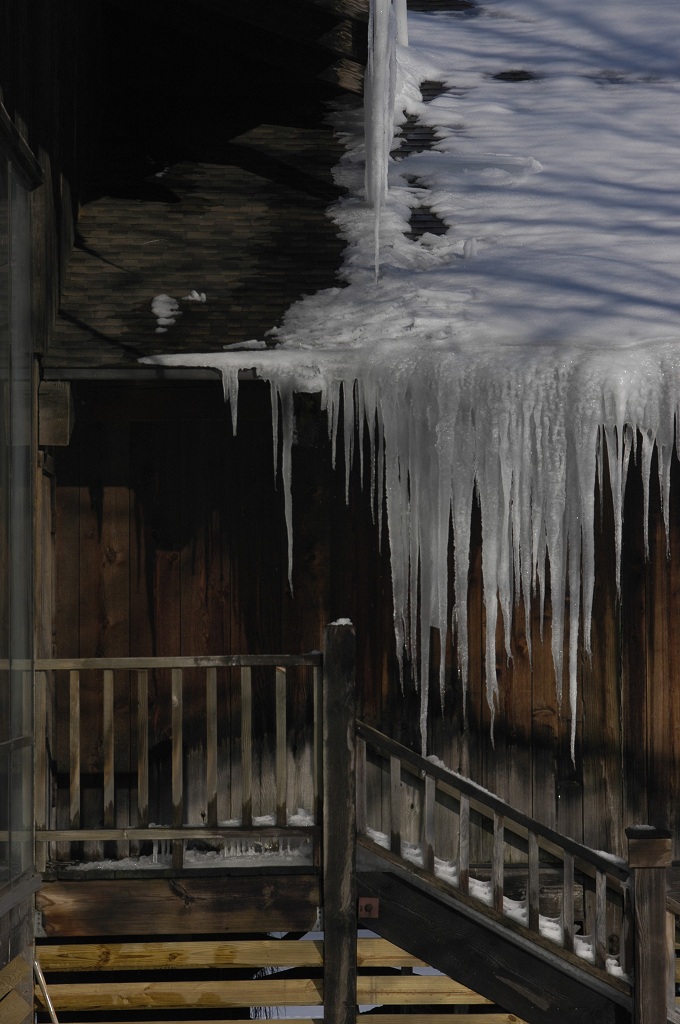
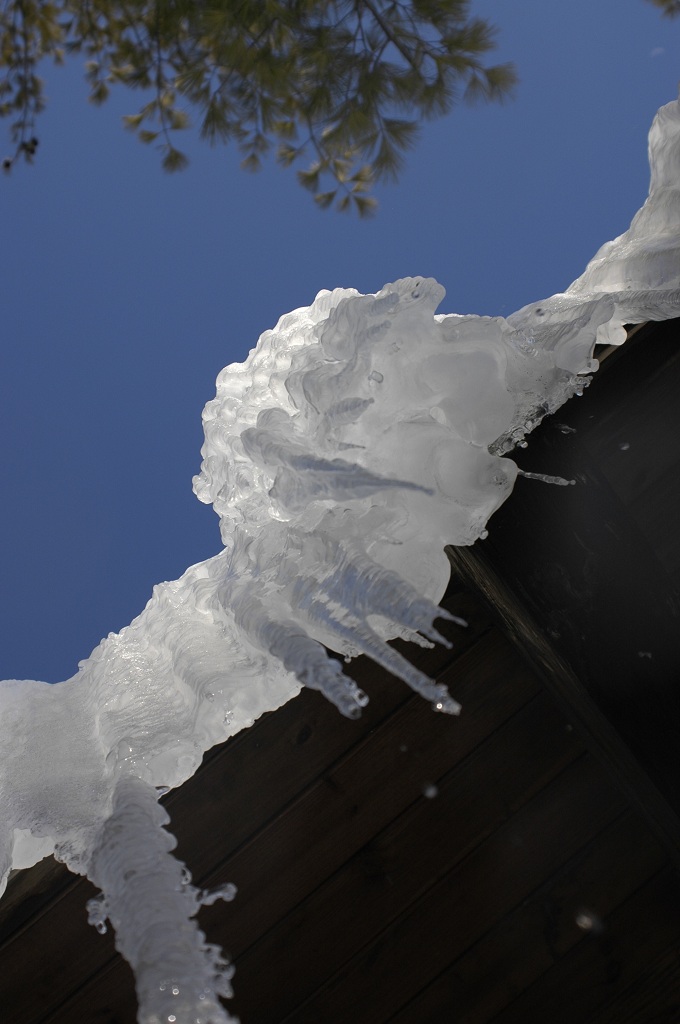
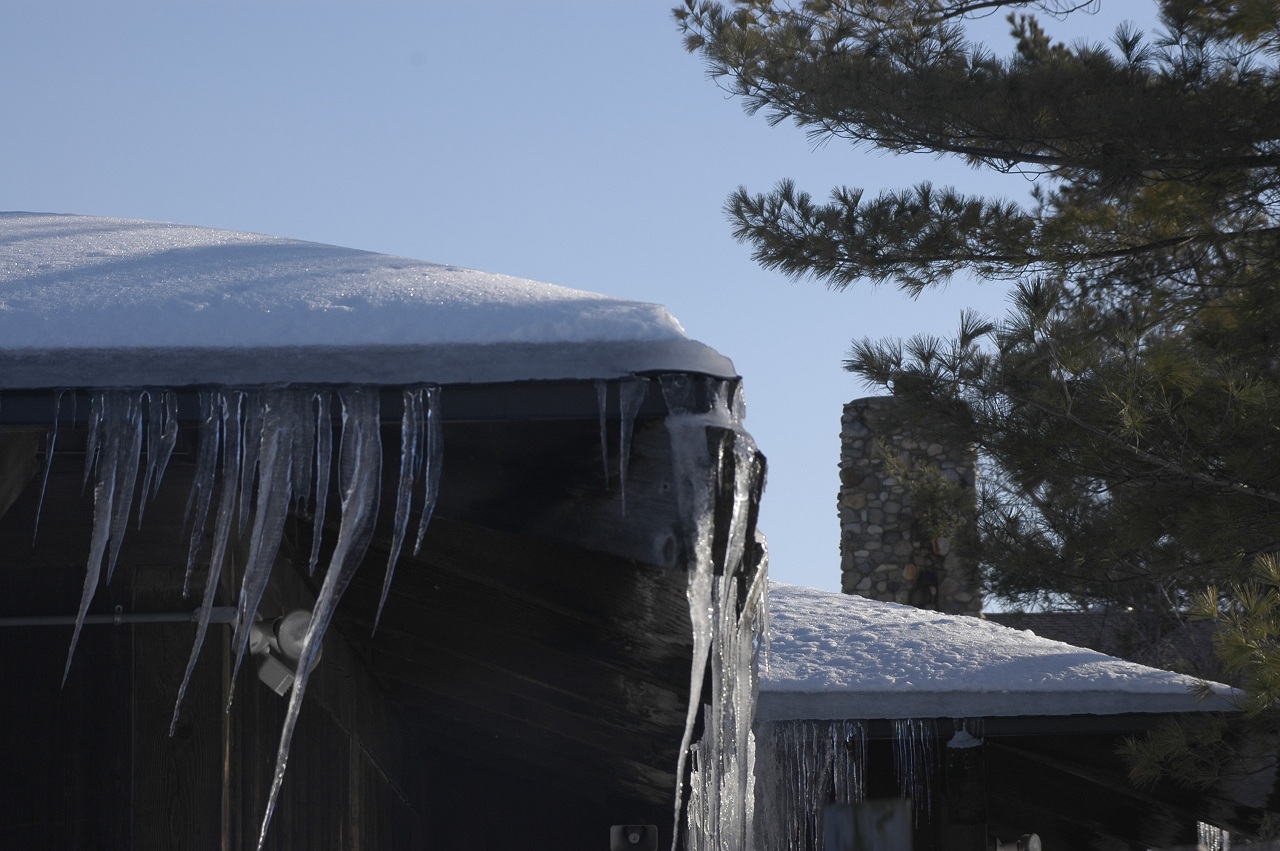
Ice dams normally occur after a heavy snowfall and consecutive days of temperatures below freezing. Radiant heat from the attic beneath the roof (or in some cases, from the sun above) melts the snow and ice accumulations. As the water drains, it crosses a cold overhang or enters a gutter and then refreezes. As the process repeats itself during the day, an ice dam emerges. Ice dams trap melted snow and ice behind the overhang and gutter. Where the water collects, it makes its way under roof shingles and seeps into the attic space. Water inside an attic has the potential to cause damage to the structure, insulation, and interior finishes.
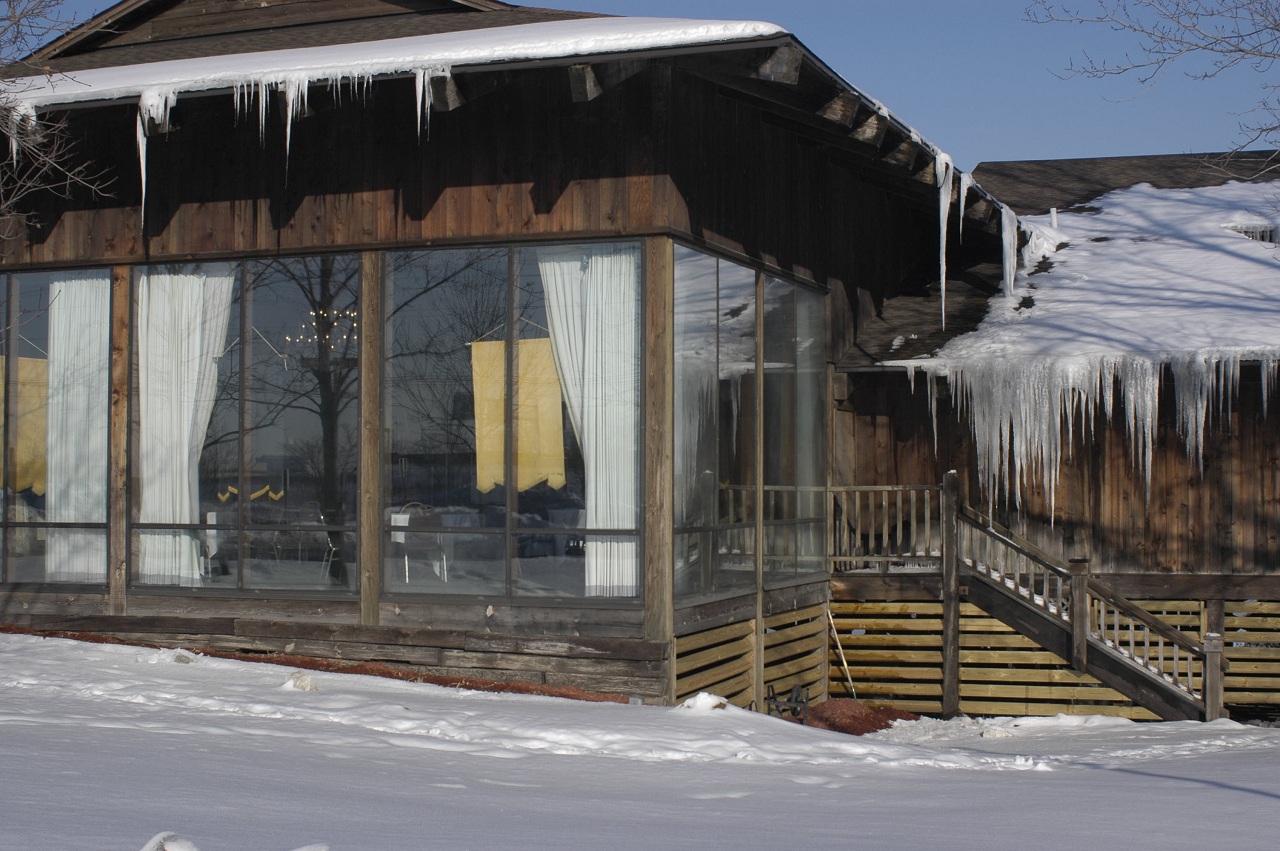
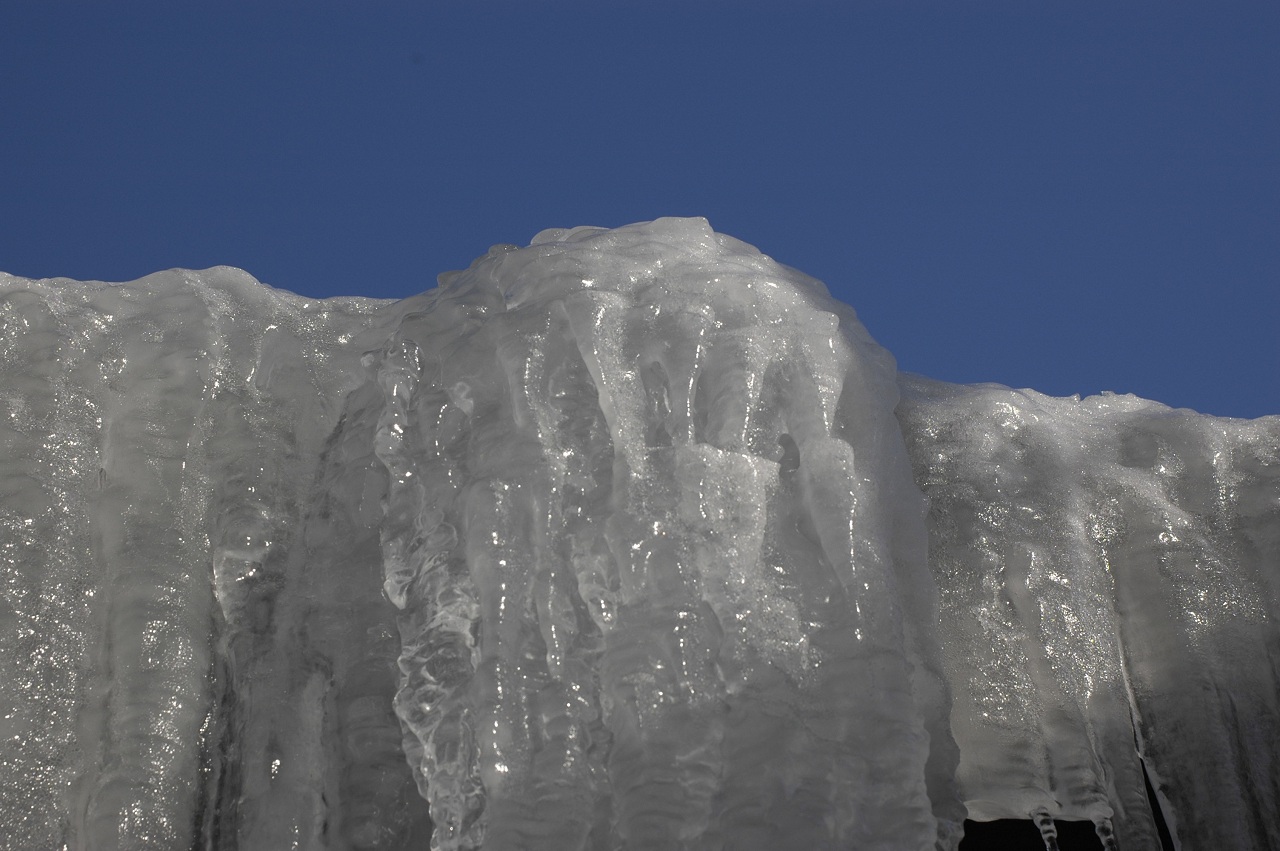
While eaves lined with icicles may be beautiful to look at, the resulting damage from an ice dam can be anything but. The weight of ice is enough to twist a gutter, pull it loose, and eventually bend it under the pressure of the load. Mold and mildew have the potential to grow inside an attic or in the wall and ceiling cavities. Wet insulation is ineffective, and water-soaked, rotting wood or drywall loses its structural integrity. A visual inspection after a heavy snow and during freezing daytime temperatures is the best time to look for indications of ice damming. Common signs of an ice dam on the exterior of a home during the colder months may include an overhanging buildup of snow, with formations of icicles along a gutter, as well as ice formations behind gutters, along the face of the exterior wall, beneath a soffit, or along a vent. Signs of an ice dam may also be present in the interior of a home. You might notice water-stained drywall where a ceiling meets the wall in an interior finished room or you may find moist insulation and stained sheathing and/or wood structural members in an attic. During the warmer months, visual clues beneath an eave such as staining, rusting metal, or peeling paint may present themselves and can also provide some indication of a past problem, possibly an ice dam.

When an ice dam occurs during the winter months, it is important to address the problem. However, anything that may be done at this time should be considered a Band-Aid, at best. Time should be spent implementing preventative, long-term measures during the warmer months that will follow. The immediate problem of an ice dam can be resolved in a variety of ways, none of which require you to get on your roof, risking life and limb. While determining which method will work best for you, consider the surrounding building materials. Using a corrosive ice melt can shorten the life of a drip edge, gutter, downspout, or the surrounding vegetation, while chiseling or scraping along a roof surface can damage the roof covering. The following methods are safe to use on and around surrounding building materials and can be effective, depending on the extent of the ice dam.
Rake the surface of a roof, using a roof rake. Preferably, use a roof rake that lifts the horizontal blade off the roof surface. Keep in mind that the whole roof doesn�t need to be cleared. Clear any formations that are prohibiting the drainage of water, providing a clear path for water to drain from behind the ice dam.
Use a non-corrosive chemical deicer. Calcium magnesium acetate (CMA) and sodium acetate (NAAC) are non-corrosive and are available in a liquid, pellet, or sleeve form. A sleeve filled with a non-corrosive snow/ice melt is a timed-release solution. The sleeve should be laid perpendicular to the gutter, overhanging the eave, and run vertically up the roof surface. This placement allows for a drainage path into the gutter.
If neither of these options solves the problem, you may want to hire a professional ice dam removal company. These professionals will remove an ice dam using a low-pressure steamer that is not harmful to the roof covering, gutters, or other exterior materials. Depending on where you live, you can expect to pay $300 an hour or more for this type of service � and, no, your homeowner�s insurance policy will probably not cover the cost. ( A homeowner�s insurance policy will typically cover any resulting water damage caused by an ice dam, but not the maintenance to remove an ice dam.) Because all policies are different, it�s best to contact your agent for more information about what your homeowner�s insurance policy covers as it relates to ice dams and damages.
Ice Dam Prevention
Once winter has passed, preventative, long-term measures should be taken to prevent the problem from occurring again in the future. Keeping your gutters clean and free of debris is helpful; however, this step alone probably will not prevent ice dams. Quite often a homeowner�s response to ice damming is the installation of heating elements along an eave. While these are effective at reducing ice dams, they can shorten the life of your roof and add to your electric bill. They also fail to address the root of the problem. As previously mentioned, heat from the attic beneath typically causes ice dams. Ideally, the underside of the roof deck would be the same temperature as the exterior side of the roof deck. In order to achieve this, air leaks from the interior spaces below should be sealed; the attic space should ventilate efficiently and be adequately insulated. The best part about implementing these measures is that it not only protects your home from future ice dams, it increases your level of comfort during cold winter months and also reduces energy costs.
Air leaks, or what are commonly known as drafts, occur at penetrable locations along a ceiling, beneath an attic. Common locations where air has the ability to leak into an attic include gaps between sheets of drywall; holes through which wiring runs; and around an attic hatch cover, a chimney, recessed lighting, or plumbing and mechanical vents. During the colder months, as heat rises through your home, these gaps will allow warm, humid air to circulate into the unconditioned attic. Locating and sealing these leaks will prevent a rise in the ambient temperature of your attic. Energy Star has developed a helpful guide, �A Do-it-Yourself Guide to Sealing and Insulating with Energy Star,� that provides information about what materials, precautions, and methods are necessary to seal attic air leaks.

Proper ventilation is also necessary. Natural ventilation occurs when air enters soffit vents, travels unobstructed along the underside of the roof deck, and exits through a ridge vent, gable vent, and/or hat vent. Mechanical ventilation that is temperature-controlled is also effective at reducing heat buildup inside an unconditioned attic space. Proper natural ventilation can be achieved by following the U.S. Department of Housing and Urban Development (HUD) "Minimum Property Standards" (MPS 403-3):
As a general rule, one square foot of net free vent area per 300 square feet of attic floor or area to be vented is recommended.
In the rare situation where no vapor retarder is used and proper distribution of under eave and ridge vents cannot be achieved, one square foot of net free vent area should be provided for each 150 square feet of attic floor or area to be vented.
For a balanced system, ventilation should be equal at the under eave (intake) and ridge (exhaust).
In cases where a balanced system cannot be achieved, always provide more than 50% of the total required ventilation at the under eave and the remainder at the upper portion of the roof.
All openings greater than 1/8 inch must be screened to prevent insect penetration and louvered to protect against the entrance of rain and snow.
Insulation�s effectiveness is measured by an R-Value. The higher the R-Value, the greater a material�s ability to resist the movement of heat through it. Depending on when your home was built, the insulation inside the attic may or may not be adequate. Energy Star has a helpful table on its website that defines what level of insulation in walls, floors, and attics is cost-effective for various climates within the United States. Or you could take it a step further and use the U.S. Department of Energy's Zip-Code Insulation Program to determine how much insulation you should add and where to achieve the recommended insulation levels for maximum energy efficiency.
In addition to sealing air leaks, properly ventilating, and adequately insulating, the next time your roof is replaced you should consider installing water and ice dam protection along the eave as opposed to standard underlayment. Waterproof membranes are required for new construction by the 2009 International Residential Code (IRC) for asphalt shingle roof systems installed on homes that have a history of ice damming. Water and ice dam protection, or what is known by roofers as self-adhering, modified bitumen membrane, should be installed along the eave, atop the sheathing, extending at least 24� up the roof surface past the exterior wall line of the structure. It should also be installed inside valleys, along rake edges, and around flashed penetrations. Self-adhering, modified bitumen membrane is virtually impermeable, meaning water cannot pass through as a vapor or a liquid. It is important that any interior exhaust systems direct humid air to the exterior side of the roof and that all passive functions within an attic (ventilation and insulation) be proper and adequate. Should they be inadequate, or should air leakage occur, condensation could develop on the underside of the sheathing where water and ice dam protection is installed, and a different series of moisture problems would persist.
Knowing these steps for the safe removal of ice dams, and the home repair efforts that will prevent them from forming in the first place, might save you from bigger maintenance bills in the future.

�


Jeff Calcamuggio
Jeff is an Editor-at-Large for Buildipedia.com who writes and edits Featured At Home and Knowledgebase content. Prior to joining Buildipedia, Jeff's work experience included carpentry, construction documentation, specification writing, construction administration, project management, and real estate property inspection. Jeff is a member of the Construction Specifications Institute (CSI) and an educator at Columbus State Community College and enjoys challenging DIY home improvement projects.
�