How to Install a Tileable Shower Base
-
font size
decrease font size
 increase font size
Video
Basic tiling skills can be very useful in many home improvement projects, but some tiling projects can prove daunting for even experienced DIY'ers. Installing tile for a custom shower is one of those projects. That has often meant leaving the job of custom showers to the pros – until now. Now there are new preformed bases on the market that allow a “do-it-yourselfer” with basic tile skills and tools to install a custom shower. Join our host, Jeff Wilson, for a tutorial on installing a tileable shower basin in a custom bathroom.
Building or renovating a bathroom involves many decisions regarding finish materials and fixtures, especially a bathroom with a custom shower. Ceramic tile is a common choice for showers because it offers both a variety of styles and colors and a durable waterproof surface. One major aspect to consider when planning to use ceramic tile in a custom shower is the base construction and waterproofing method. The most common method involves carefully waterproofing the shower base area and then pouring a mortar basin, perfectly sloped so that the water runs into the drain. Unless you are a professional, it’s hard to get good results with this method – either the base leaks or it has an uneven surface when you’re done.Using a prefabricated, tileable base is one way to make a custom shower a more accessible project for a DIY'er. Not only can it eliminate about 10 steps in the project, it makes it easier to achieve professional-looking result.
For this project, we’ve selected a 36” corner shower Tile Basin from KBRS. It is a prefabricated base with a fiber-reinforced epoxy coating that installs very quickly and provides a surface ready-made for tile. KBRS makes shower bases in many standard sizes, but they will also make custom bases to fit specific needs.
How to Install a Tileable Shower Base
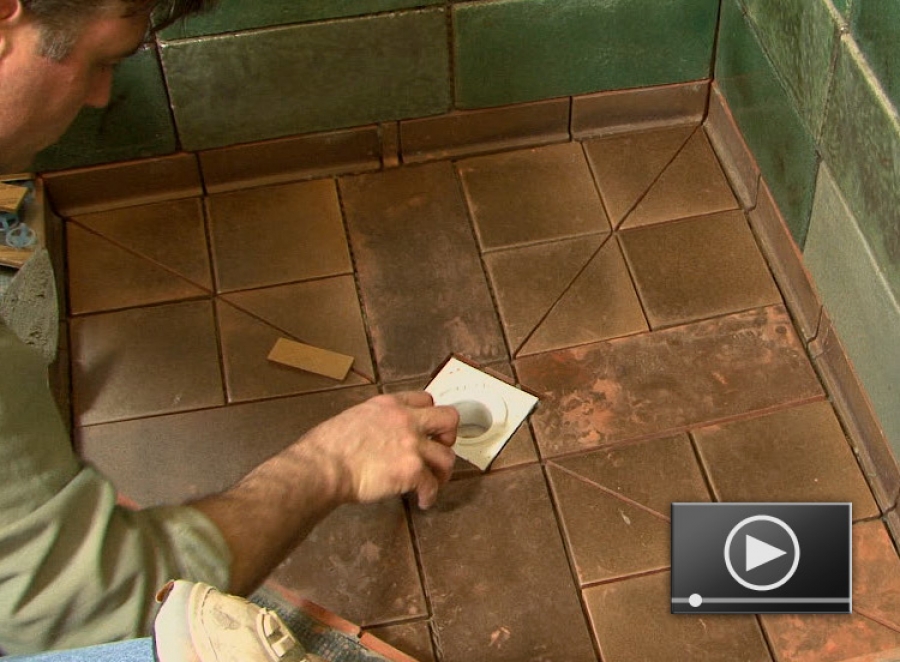
The first step to installing a prefabricated tileable shower base is to rough-in the shower drain. If you have an existing drain or a new drain already in place, dry-fit the shower base to be sure the drain location fits the base properly. If you need to install a new drain, use the shower base or a manufacturer’s template, to identify the proper location for the drain.
The KBRS tile basin sets directly to the subfloor with a latex-modified thinset mortar. The thinset mortar typically comes as a dry powder and is mixed with water. Be sure to read the manufacturer’s directions prior to mixing to determine the proper ratio of dry mortar to water. In a bucket, mix the dry mortar and water, using a strong stirring stick or drill paddle to mix as water is added. The desired consistency of the thin-set is similar to peanut butter. Let the mixture sit, or slake, for about 10 minutes prior to application.
Next, using a 3/8” U-notched trowel, spread a layer of thinset where the base will sit. Apply the thinset evenly to ensure that the base sits level with no bare areas and air pockets. You want the base to sit flush with the top of the drain flange.
Custom Bathroom Series
How to Tile a Custom Bathroom
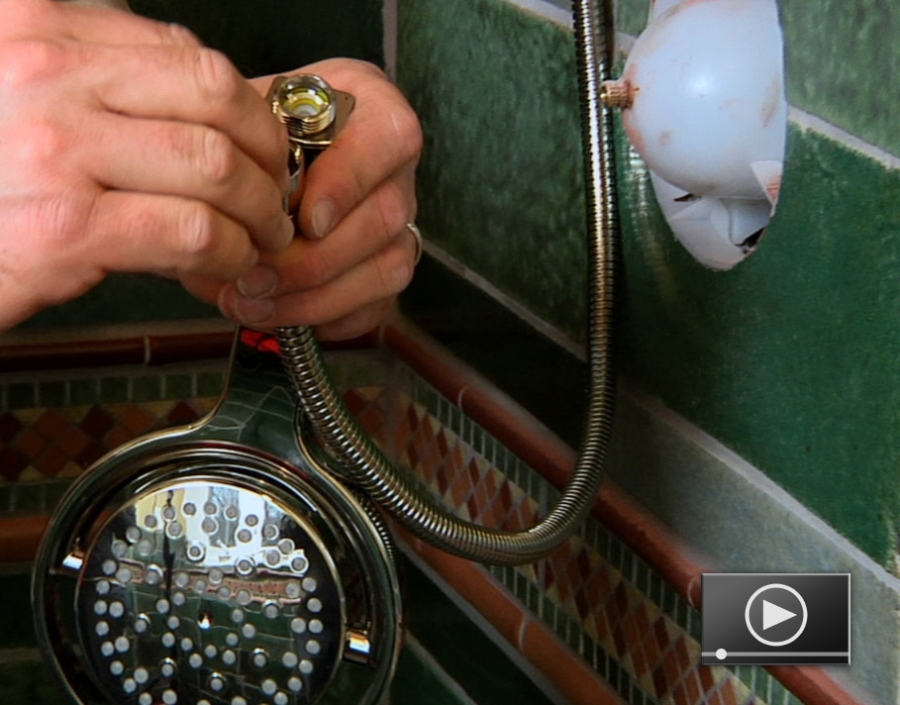
How to Install a Handheld Shower Fixture
How to Install a Glass Shower Enclosure
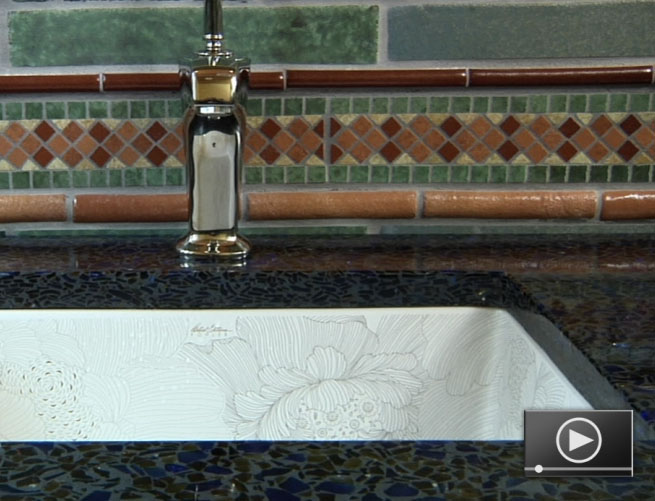
How to Install a Bathroom Lavatory
How to Install A Toilet
Prior to setting the base, add a bead of silicone sealant around the flange where the drain of the tile basin will sit.
Drop the tile basin squarely into place. Once the tile basin is set in place, walk around on it to assure that it’s completely embedded in the thinset.
With the tile basin in place, install the clamping ring onto the collar bolts and tighten the drain flange assembly to hold the tile basin in place at the drain.
Place some weight (like a concrete block or two) on the tile basin and let it sit for 24 hours while the thinset cures. This will ensure that the tile basin stays in place until everything is dry.
Installing Concrete Backer Board on the Shower Walls
With the shower basin in place, it is time to prep the shower walls for tile. In wet locations, such as the shower, it is necessary to use a concrete backer board as a substrate for the wall tile. The backer board is a cement-based product that provides a strong, waterproof foundation for ceramic tile, and it bonds very well with the thinset adhesive used to install the tile.
For this project, we’re installing 1/2” tile backer board to the studs and over the 5” flange on the top of the tile basin.
Begin the backer board installation at the bottom of the wall. The first few pieces will probably need to be notched to fit around the curb on the shower base.
Concrete backer board can be cut with a utility knife or a power saw with a carbide-tipped blade and dust-collection system. Eye and ear protection are a must when cutting concrete board, and a dust mask is highly recommended. Even when using a power saw with a dust-collection system, you should cut concrete board be cut outside.
Start by placing a thick bead of silicone along the inside bottom of the tile basin. Set the notched backer board into place and check to see that the silicone completely fills the gaps at the base. Add silicone if necessary to ensure a good seal to prevent water from leaking behind the backer board.
Several types of fasteners, from nails to self-drilling screws, can be used to fasten the backer board to the rough framing. We’re using special fasteners made for installing backer board. These self-drilling screws have an oversized head designed to prevent “mushrooming” of the cement-based material. Check the manufacturer's directions regarding fastener spacing and placement. Typically the fasteners should be installed approximately 6”-8” apart in each stud.
Once all of the backer board is installed, the final step is to coat the joints and corners with a layer of fiber-mesh tape and thinset. This step is important, as it provides an even final surface for the installation of your tile. It also prevents water from seeping between the joints, should any leak through the tile job.
When the joints and corners have been coated, wait 24 hours for them to cure before starting on the finish wall tile.


Ryan Carpico
Ryan is a Registered Architect who earned a Bachelor of Architecture from the University of Kentucky in 1998. His experience in a broad spectrum of architectural projects includes design and project management in multi-family residential, general commercial, and institutional projects. This architectural experience is balanced with a background in general contracting of residential and light commercial construction projects. Ryan’s knowledge and ability as both architect and builder enable him to address both the technical and practical sides of the comprehensive body of construction knowledge.
Website: carpicodesign.com/