How to Build a Wood Privacy Fence
-
font size
decrease font size
 increase font size
Video
In 1914, Robert Frost wrote, in his poem Mending Wall, "Good fences make good neighbors." You may choose to build a privacy fence on your property for any number of reasons: to increase safety, privacy or security; enclose pets or children; eliminate sight lines beyond your property; or simply to enhance your home's curb appeal. Once you gain an understanding of the materials required as well as layout and installation techniques, building a wood privacy fence is a job many do-it-yourselfers can accomplish.
Fence Basics
Wood fences are the most common type of fence we build today, because of wood's availability, its aesthetic versatility, and its relative low cost of building and maintenance. While it is possible to purchase prefabricated wood fence panels, stick building your fence offers more flexibility, greater control over the quality of materials you use, and, often, a more aesthetically pleasing fence.
 The most common species used for stick-built wood fences include pine, spruce, fir, cypress, red cedar, white cedar, and redwood. When selecting the wood that will make up your fence it is preferable to use heartwood rather than sapwood. Heartwood, which is an older wood taken from the inside of a tree, will typically have fewer knots and won't decay as quickly as sapwood, which is a younger wood taken from the outside of a tree. The wood materials that make up a fence include pickets, rails, and posts.
- Pickets are the vertical boards that make up the finished surface of a fence. They are typically 1/2" � 1" thick, by 4" � 6" wide.
- Rails are the horizontal members to which the pickets are fastened. They are commonly 2" thick by 3" � 4" wide.
- Posts, which are partially buried underground, are the vertical structural members that support the rails and pickets of a fence. They are typically 4" � 6" thick by 4" � 6" wide.
Stick building a wood fence offers the opportunity to be creative; however, it should be noted that several traditional styles of fence are well received by neighbors.
- Picket fences will generally have two rails, with evenly spaced pickets on one side of the fence. They range in height from 3' to 4'.
- Shadowbox fences will have three rails, with evenly spaced pickets on two sides of the fence. Shadowbox fences feature a picket on one side placed alternately to a picket on the opposing side. They are typically 6' tall.
- Board on board fences (see image above) have two or three rails, depending on the height of the fence. Pickets are butted tightly together on one side of the fence. They typically range in height from 3' to 6'.
Creative touches can be added to traditional fences, such as decorative Gothic pickets, curved picket tops, and/or decorative post caps. These details will add flair to what would otherwise be a flat-topped wood fence.


Prior to building a fence on your property, you should have an accurate understanding of where your property lines are located. You will need to contact your local utility companies to mark the location of any underground utility mains that may be located on your property. Be sure you obtain any necessary building permits, consult your local zoning requirements, historic district guidelines, and/or your neighborhood association rules and regulations regarding fences on your property. You might even deliver a hot plate of cookies or bring over an ice-cold six pack to your neighbor's house prior to raising a fence. This will give you the opportunity to have a conversation with your neighbor regarding your intentions, rather than surprising them with your new fence.
Layout
It is best to create a plan on paper, prior to building a fence. This will give you the opportunity to make the adjustments necessary to ensure that the finished appearance of the fence is as expected and it will allow you to accurately estimate how much material you need.
-
After you have planned the fence on paper, you can locate the corners and the ends of the fence on your property. The corners, end, and fence line should be set back from your property line as defined by your local jurisdiction.
-
Accurately place a wood stake to mark the center of all corner and end posts.
-
Drive a nail into the center of the wood stake and run a line of string tautly from stake to stake. Fence posts are commonly spaced 6' to 8' apart. Starting at one corner or an end, measure the appropriate distance to the next post. Define the center of this post and mark the location with a wood stake. Continue this until all posts have been located and staked.
Setting the Posts
Once all of the post locations have been located and staked you are ready to set posts. Depending on the size and complexity of your fence, the posts can be set in one of three ways.
Outdoor Lighting: Technology, Techniques, and Fixtures
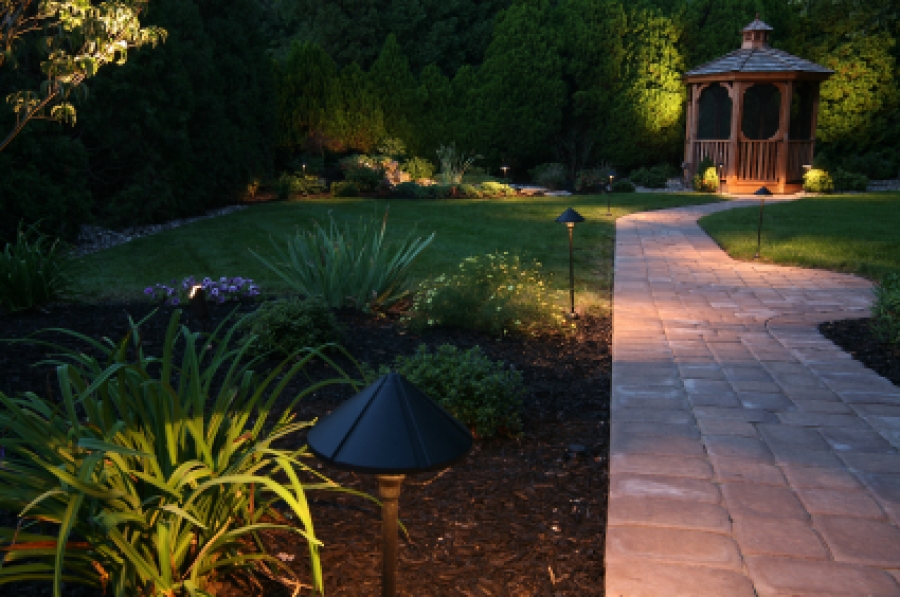
Outdoor lighting illuminates social gatherings, comforts us with additional safety and security, enables us to work or play, and enhances our home garden aesthetics from dusk to dawn. With the variety of outdoor lighting fixtures available, selecting the right one can be somewhat daunting. Understanding the available outdoor lighting technologies, techniques, and fixtures will allow you to make better use of your property after the sun goes down. Read more
How to Refinish a Wood Deck
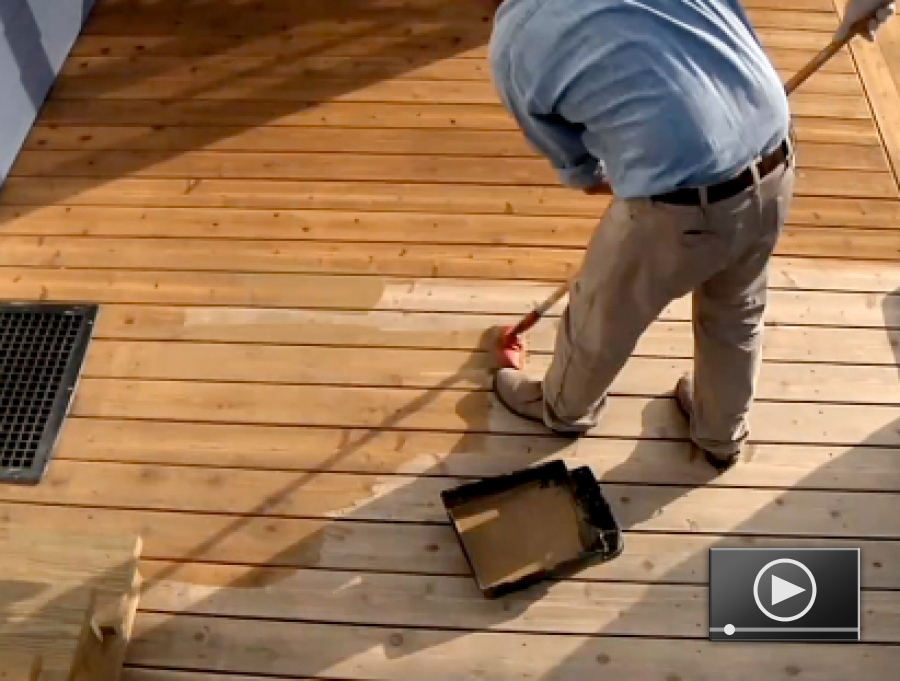
When is it time to refinish your wood deck? Sometimes it�s hard to tell. Use the �splash test� to see if your wood deck needs attention. Take a glass of water and splash it on the most heavily traveled areas. If the water beads up and sits on top of the wood, then refinishing is not required. If the water soaks in and darkens the wood, then it�s time to get on that deck maintenance before any serious damage is done. Join the At Home channel�s host, Jeff Wilson, as he demonstrates how to refinish a wood deck. Read more
- Soil-packed post: Place 6" of gravel in the bottom of the post hole and pack the space around the post with soil.
- Post set in concrete: Place 6" of gravel in the bottom of the hole and fill the remaining space around the post with concrete. Tubular concrete forms can be used with this method, if desired.
- Post anchored to concrete pier: A concrete pier is formed in the ground with a metal post anchor embedded in it. Tubular concrete forms can be used with this method, if desired.
For the purpose of this article we'll assume you are setting posts that are rated for ground contact and able to be cast in concrete. Post holes should be dug with a post hole digger or an auger to a depth of 1/3 to 1/2 of the finished post height above ground and three times the width of the post. For example, if your post will be 6' tall above finished grade and you are using 4" x 4" posts, you should dig to an approximate depth of 36" and a width of 12". If your fence will be taller with larger posts, adjust these measurements accordingly.
-
Place and compact a 6" base of gravel in each post hole and, if desired, place a tubular concrete form inside the hole.
-
Insert the post in the center of the hole and brace the post by anchoring to the ground, two 2 x 4s, one on each side of the post.
-
Ensure that the post is plumb with a level. Do this for each post location, then tautly run string at the top of each post and near the bottom between each post. The string at the top should be used to adjust the height of each post, to ensure they are properly aligned. The string along the bottom should be used to check the alignment at the face of each post. Any necessary adjustments should be made at this time by repositioning the post within the hole.
-
Once the posts are plumb, aligned, and properly located you can pour concrete. Quick Tip: If you don't want to see concrete, terminate the pour before reaching grade, leaving a few inches between grade and the top of the pour. This will allow you to fill the remaining space with soil. If you'd prefer to let water slope away from the post, overfill the hole with concrete. Use a trowel to shape a slope on the surface of the concrete above grade. Time should be allowed for the concrete to cure prior to attaching the fence rails. Depending on the type of concrete you choose to use and the outdoor ambient temperature, you may need to wait 1-3 days before attaching the rails.
Installing Rails and Pickets
Once the concrete has cured for an appropriate duration, you are ready to attach the rails and pickets. Depending on the style of your fence, you may have top rails and bottom rails or multiple rails behind and/or between pickets. You can attach rails to posts by a variety of methods. Shadowbox and board-on-board fences commonly use the simplest method of attachment, known as a lap joint. In a lap joint, a rail is attached to the surface of a post. The upper and lower rails for a shadowbox or board-on-board fence are attached a certain distance from the top and from the bottom of the fence. If necessary, a third rail is installed midway between the upper and lower rails. The location of the rails will vary depending on the height of your fence and its style. When you attach the rails you should start at the upper rail, then secure the lower rail (and finally the middle rail if one was needed). A rail should be cut to length from center of post to center of post and fastened to the post by using two appropriate fasteners. Cut the next rail to length and position the end of the rail so it abuts the previously attached rail. Continue until all of the rails have been attached.
After the rails are attached, it's time to attach the pickets. Pickets with a decorative top will need to be cut along the bottom edge to the proper length and then attached. Pickets that have a flat or curved surface between posts should be marked with a chalk line and cut by using a circular saw after they are in place. Depending on the style of your fence, pickets may be separated or butted together. Quick Tip: If the pickets are separated, cut a block of wood the width of the desired separation. Use the block as a guide to ensure that the pickets are uniformly separated. Additionally you will want to run a string that is taut and level from post to post. This string will act as a guide to achieving a consistent height.
-
Starting at a corner or at the end of the fence, hold the bottom of the picket at the height of the guide string, using a level to ensure that the picket is plumb, and attach the picket to the rails by using two appropriate fasteners at each rail.
-
Move to the next picket, using the block of wood to separate it from the adjacent picket if applicable. Check the picket for plumb with your level on the opposite side and fasten the picket to the rails. Continue this until all of the pickets have been attached.
Finish and Maintenance
Once the pickets have been attached, your fence has been built, but it is not quite complete. Allow time for the wood to dry. The duration of dry time will vary depending on the species of wood, time of year, and your location, so it is best to follow the dry time recommendation of the lumber manufacturer. Once the recommended time has passed, clean the surface of the wood by using a cleaner that removes dirt, debris, and mill glaze. It is neither necessary nor recommended to use a gasoline-powered power washer. Rather, you should clean the surface of the fence with water and a cleaning solution that can be applied with a plastic pump sprayer, brush, or roller and that then can simply be rinsed off with a garden hose. After the fence has been cleaned you should apply one of the three different types of protective finishes (waterproof sealer, paint or stain), as recommended by the finish manufacturer. A high-quality, protective finish will extend the lifetime of your wood fence and protect your investment. The type of wood you selected and the finished appearance you desire will determine whether waterproof sealer, paint, or stain is appropriate.
Similar to a deck, your wood fence will need to be regularly maintained. Depending on what type of protective finish you applied, your fence may need to be refinished on a yearly basis or once every five years. As the fence ages, you should inspect it every year for loose, cracked, and/or damaged pickets, rails, and posts, repairing or replacing them as necessary.


Jeff Calcamuggio
Jeff is an Editor-at-Large for Buildipedia.com who writes and edits Featured At Home and Knowledgebase content. Prior to joining Buildipedia, Jeff's work experience included carpentry, construction documentation, specification writing, construction administration, project management, and real estate property inspection. Jeff is a member of the Construction Specifications Institute (CSI) and an educator at Columbus State Community College and enjoys challenging DIY home improvement projects.
�