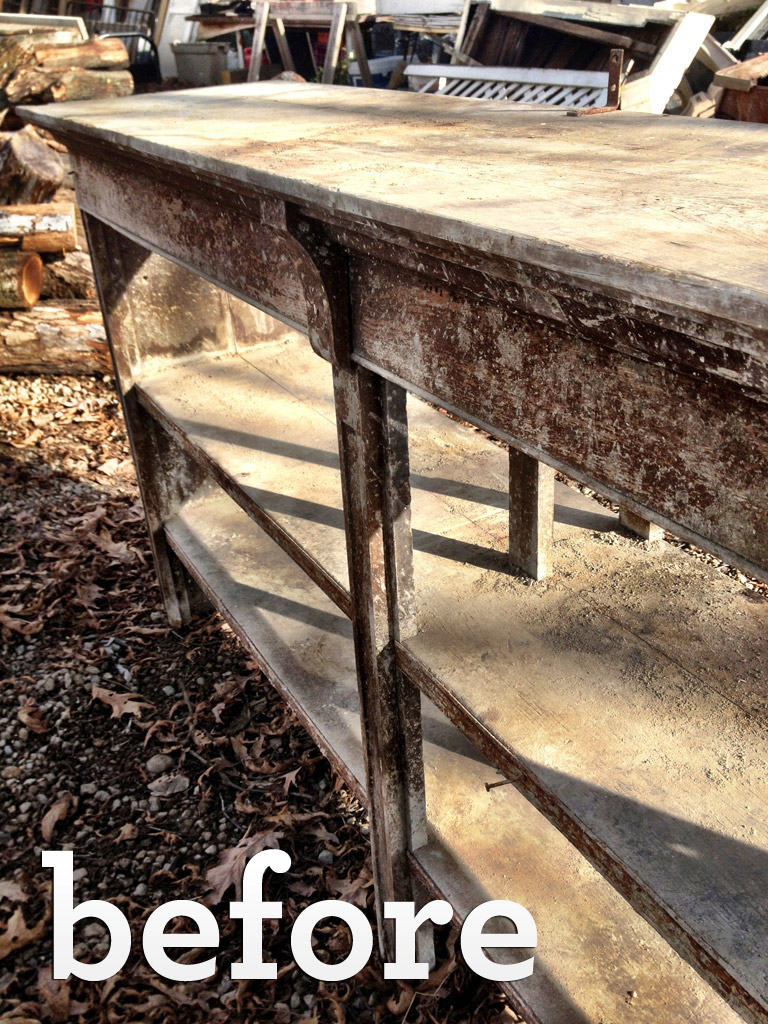
When I came across this battered, hardwood shelf sitting crooked and beaten behind one of my favorite salvage haunts, what can I say � It was love at first sight. The shelf sat teetering in the yard behind the shop on rotten, uneven legs, coated in a double-thick layer of mud and grime, having been rescued from a barn demolition earlier that day.


Peeking through the layered rings of paint, caked cement dust, and grease, I was drawn to the wonderful lines, detailed woodwork, and solid construction of this EPIC industrial shelf.
Although blessed with good light and tons of character, my funky little apartment suffers from a severe lack of storage and features some pretty sad rental amenities. Since moving in, I�ve been on the lookout for something heavy-duty and unique that could not only increase the storage space for my obscenely large collection of kitchen gear but that would also vastly improve upon the miniscule amount of work surface in my kitchen. I set pretty high standards � not only did this dream buffet of mine have to serve double duty, but it had to do so beautifully, gracefully, and profoundly, in my cramped kitchen. (Let�s just say this has been a long process).
Haunted by the potential of this piece, I blew back into town first thing the next morning in a friend�s pickup to load the shelf, as well as a hefty bundle of reclaimed lathe strips. I hauled everything straight into the studio where I buried myself (and a few fine and talented friends) in a plethora of power tools, paint sponges, and polyurethane.

Before getting down to brass tacks with this tutorial, let me begin by saying that this project ain't for sissies! Only those with advanced woodworking skills need apply.
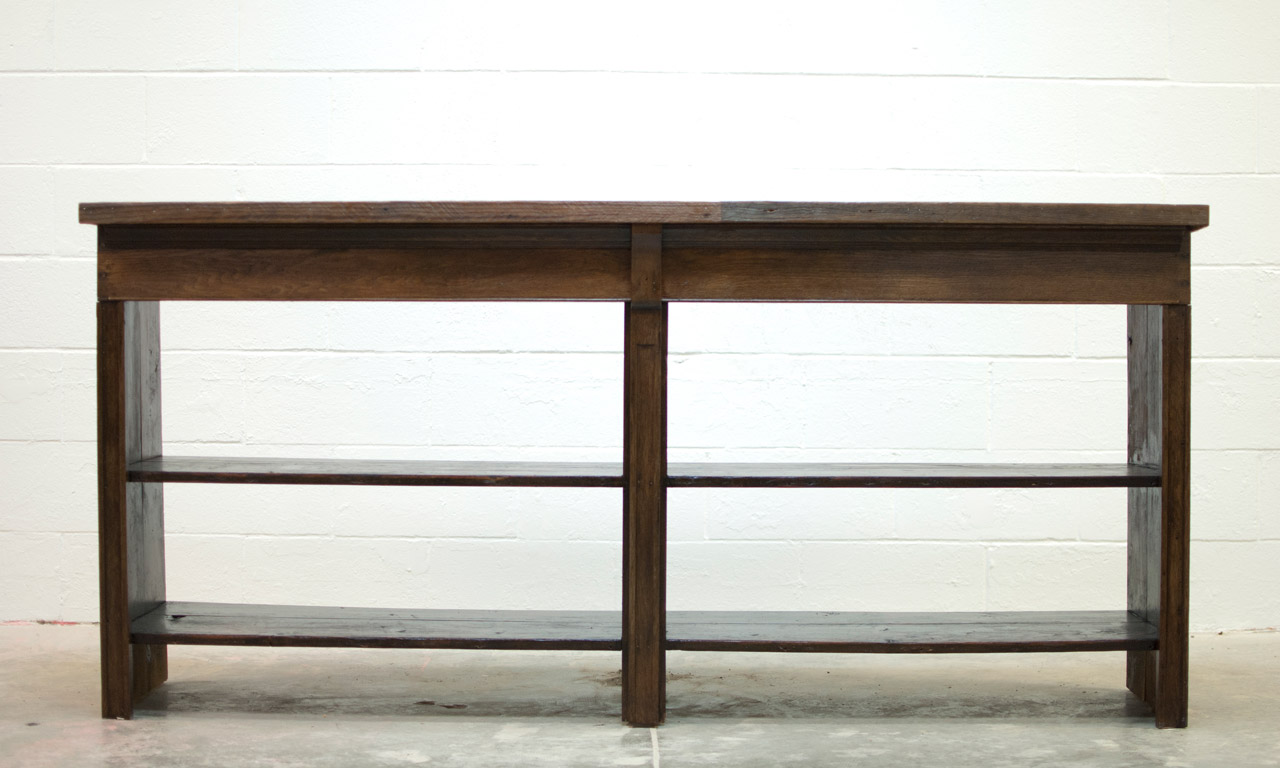
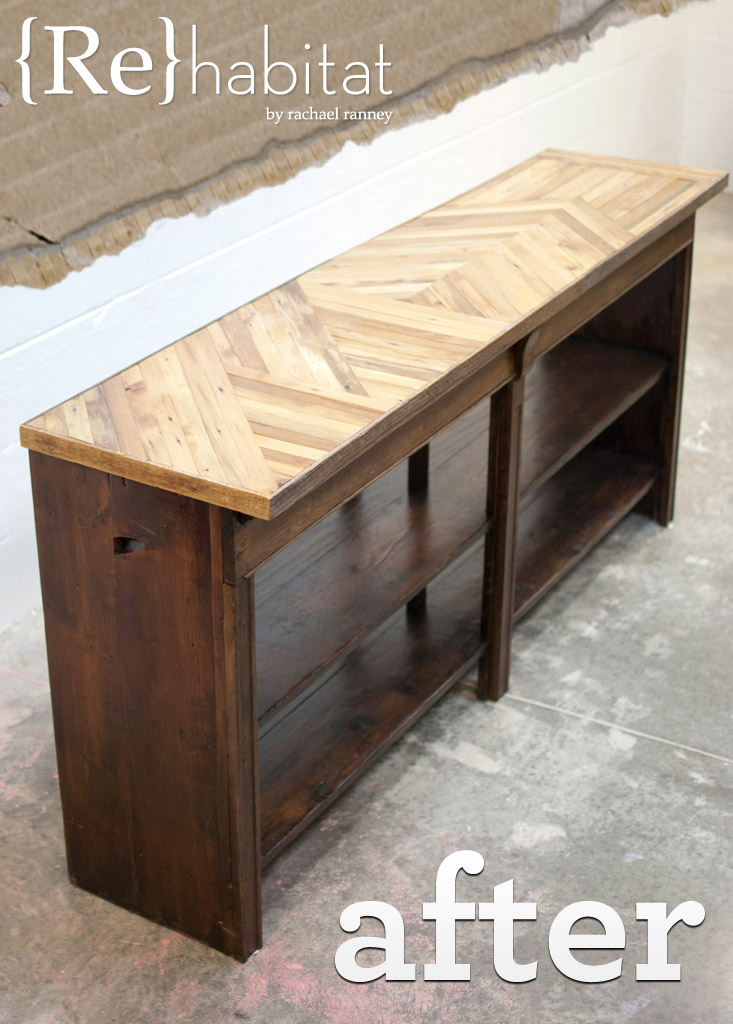
Nothing short of sheer ingenuity, industrial tools, creativity, and brute strength polished the surface of this beast once we brought it back. Now that this buffet is finished, painstaking as it may have been, I couldn�t be more thrilled with the results. The finished piece is beautiful, sleek, and just a little sexy � my kitchen finally feels complete.
Step 1: Trim the legs, level, and clean.

The first order of business was to get this baby safely back on flat ground. Using a reciprocating saw, I hacked away all of the areas of the base that had dry-rotted and then came back with a power sander to level the base. Once the buffet table was balanced on solid ground, I pried off all of the old hardware and screws, then hosed the whole shelf down outside and thoroughly attacked it with a scrub brush.
Step 2: Strip, sand, and refinish.
I didn�t count how many hours of back-breaking scrubbing, scraping, and sanding we spent purifying this beast of its former life before it slowly revealed beautiful wood grain (buried beneath decades of spilled paint and grime). I bounced back and forth between a scraper, a heavy-duty belt sander, and the almighty palm sander, attacking each blemish and stain individually until the entire surface was clear of stains and polished smooth with an extra-fine grit sand paper.
Once everything was cleaned up and dust-free, I applied a coat of pre-stain conditioner to ensure an even application of stain and allowed it to dry. I applied two coats of Minwax Mission Oak Wood Stain using a sponge, wiping and sanding lightly between each thin layer.
Step 3: Resurface salvaged lathes.

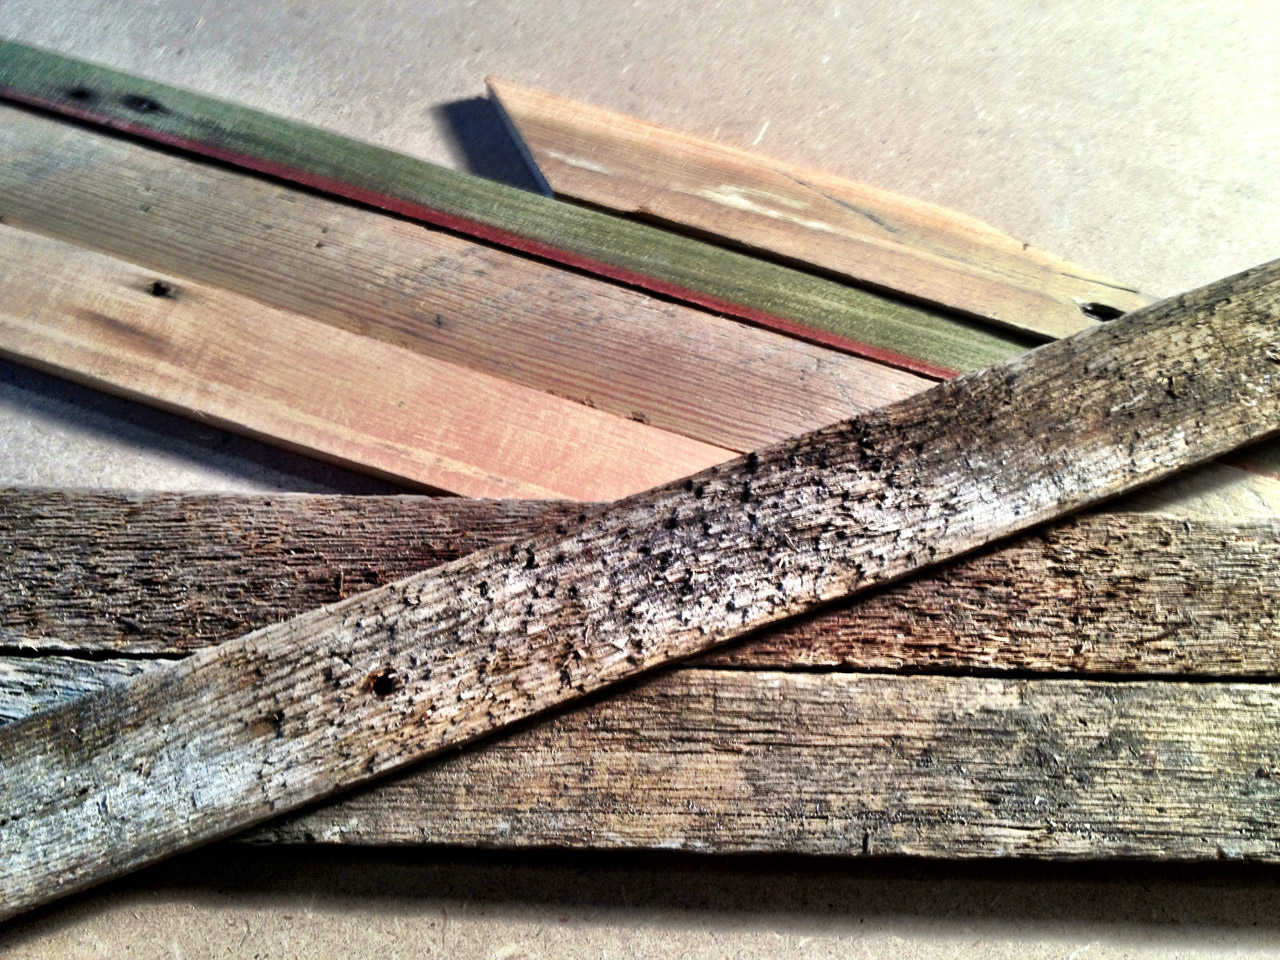
After of a bit of experimentation, we discovered that the best way to clean up my pile of rustic reclaimed lathe strips was to strip off the rough outer layers by using a planer, creating a smooth flat surface and exposing the beautiful grain underneath.
Planers remove sections of wood that are too small to be cut easily and accurately with a saw but are also too thick to be smoothed down with a power sander. Because these lathes had been salvaged from several different demolished buildings, a few passes with a power planer on each of the boards revealed a unique variety of beautiful wood grains, colors, and textures.
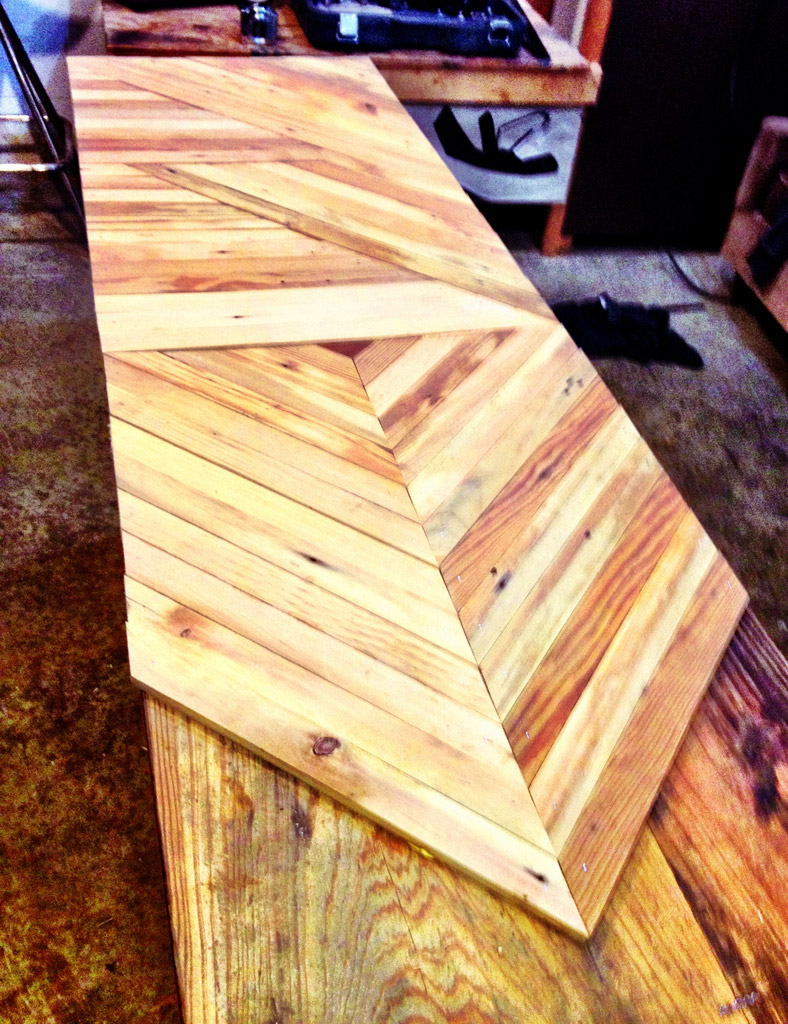
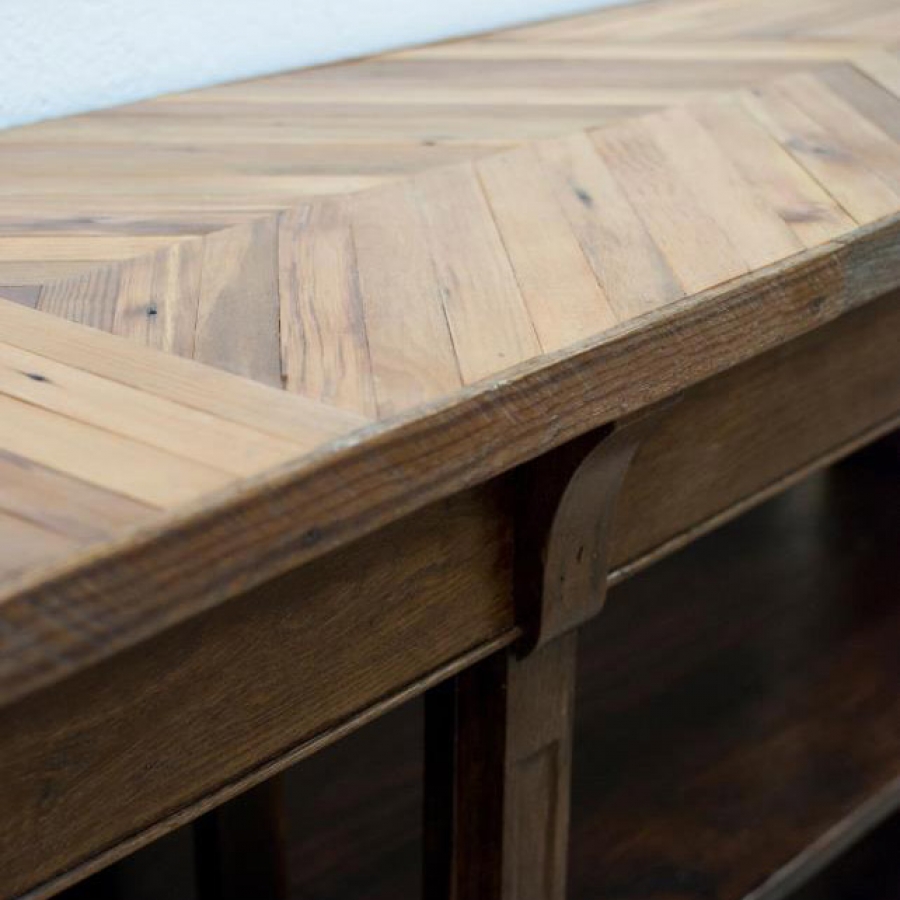
Step 4: Lay out, glue, and frame inlaid lathe countertop.
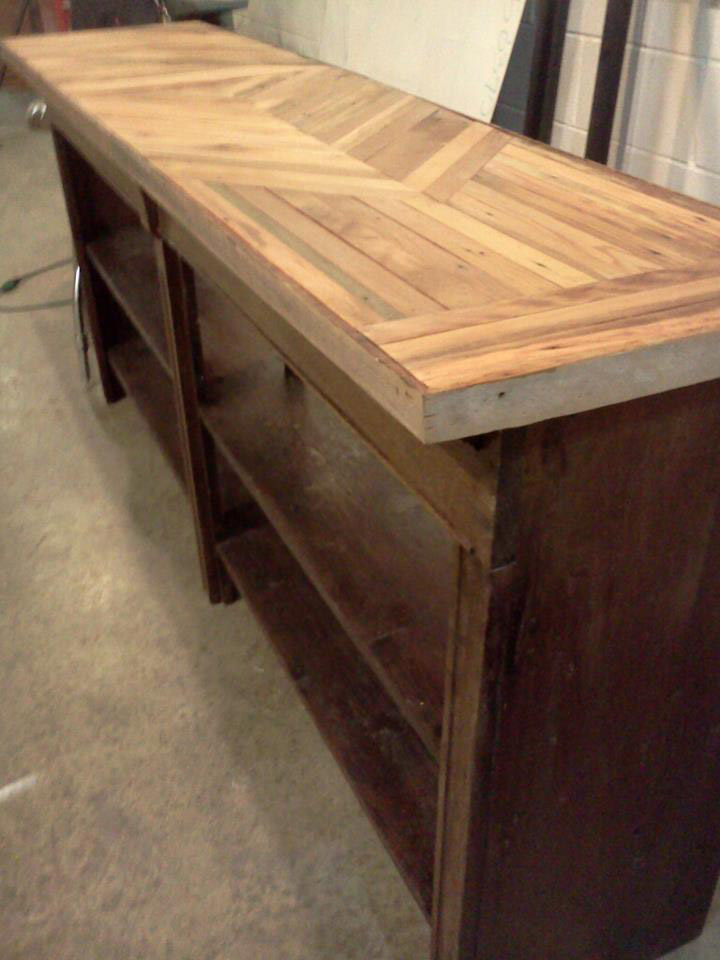
To really breathe new life back into this restored beauty, I challenged myself to create a custom inlaid countertop using the newly stripped, reclaimed lathe boards.


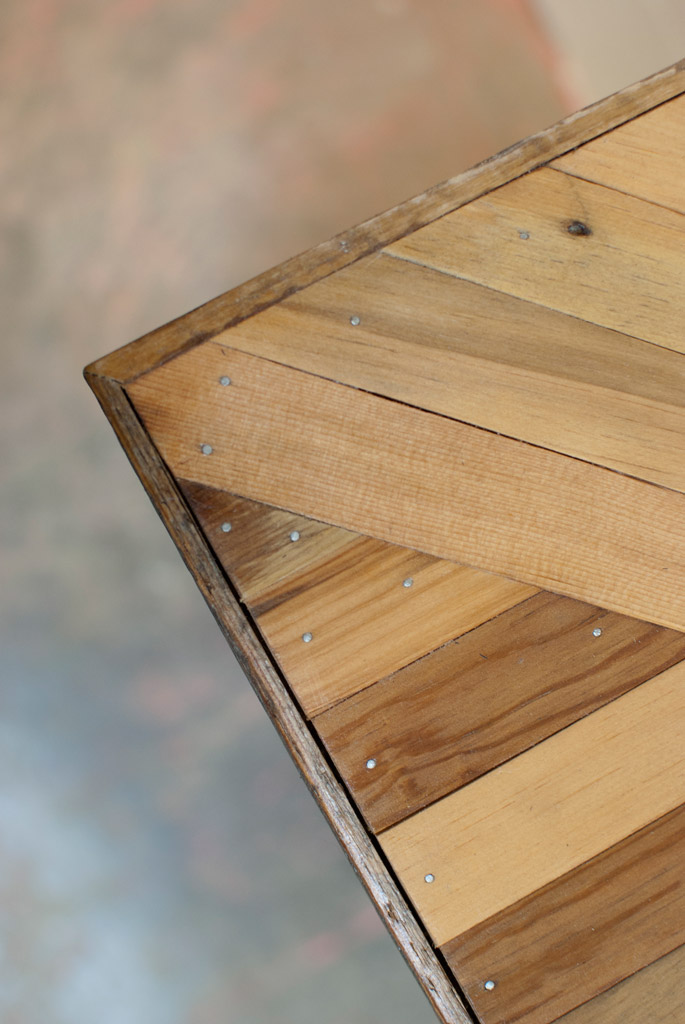
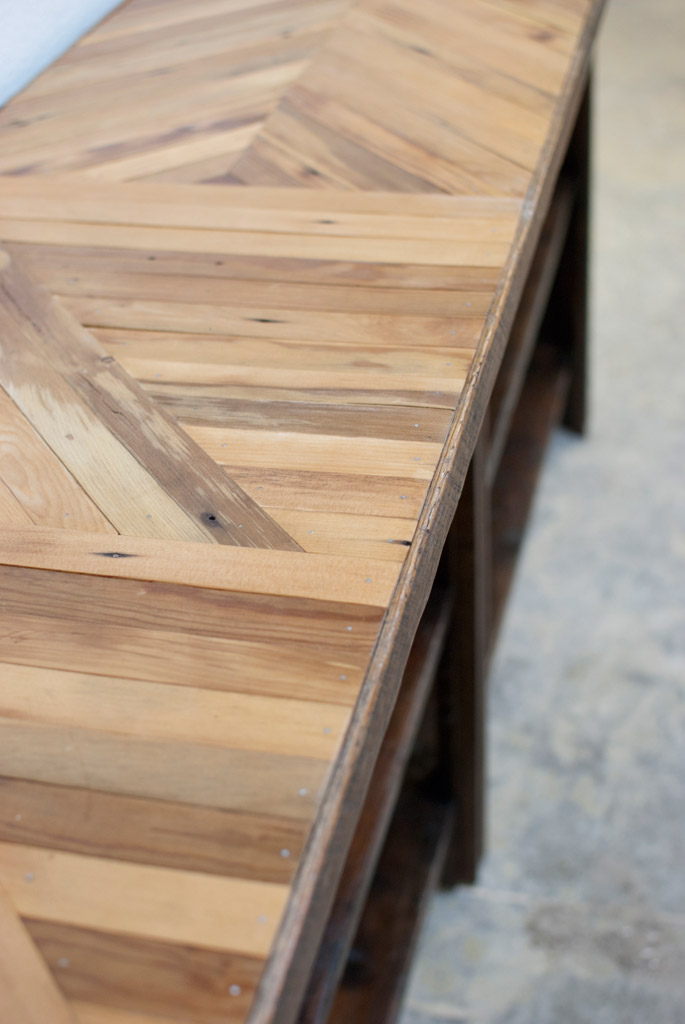
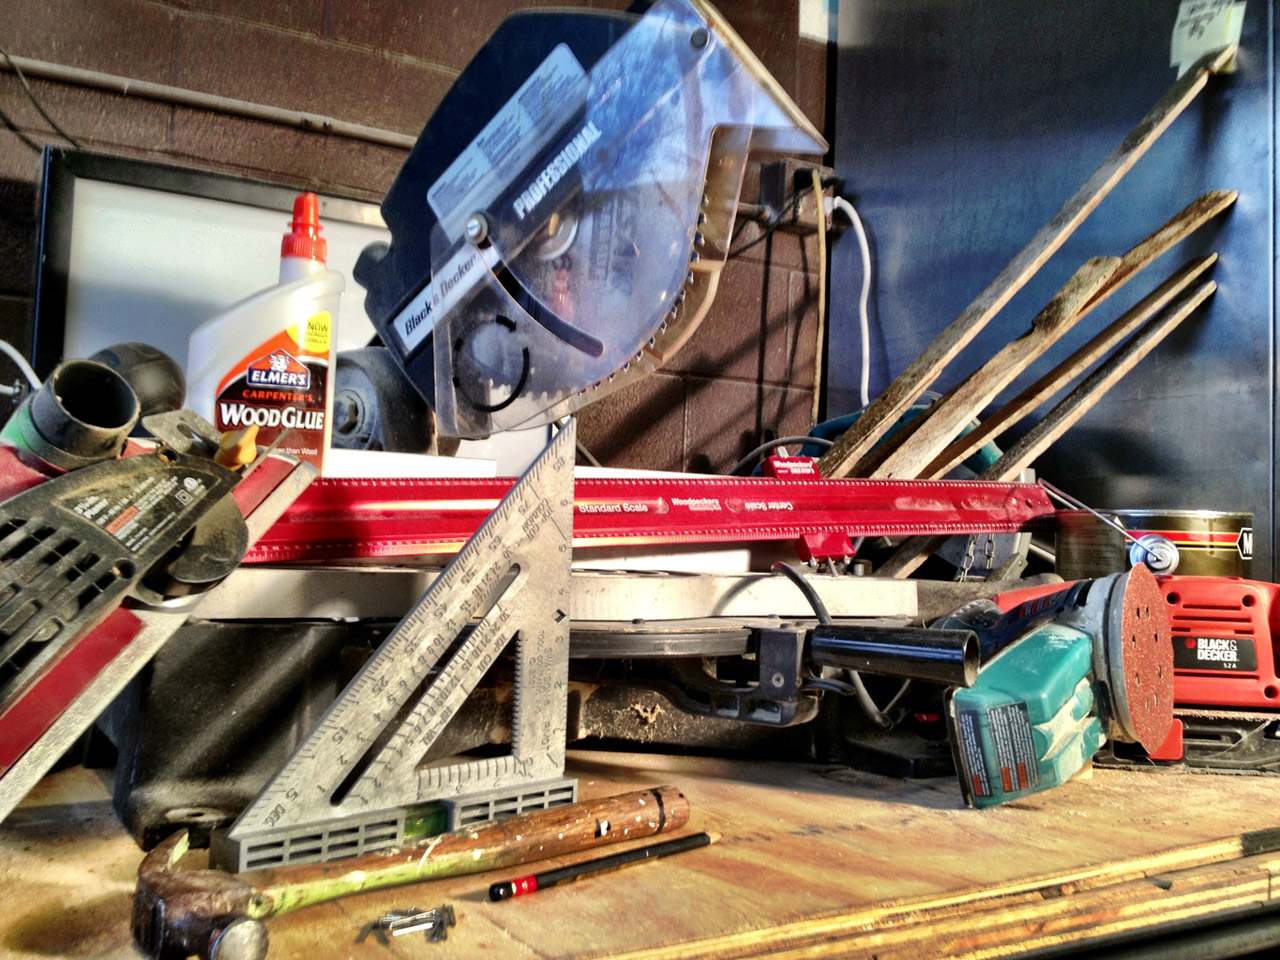
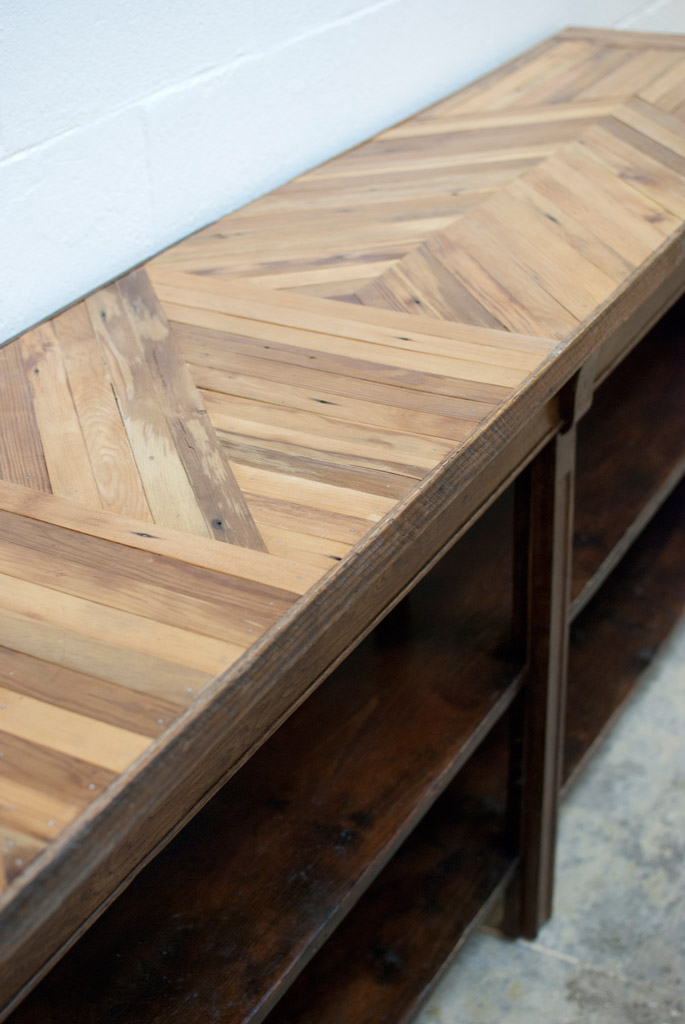
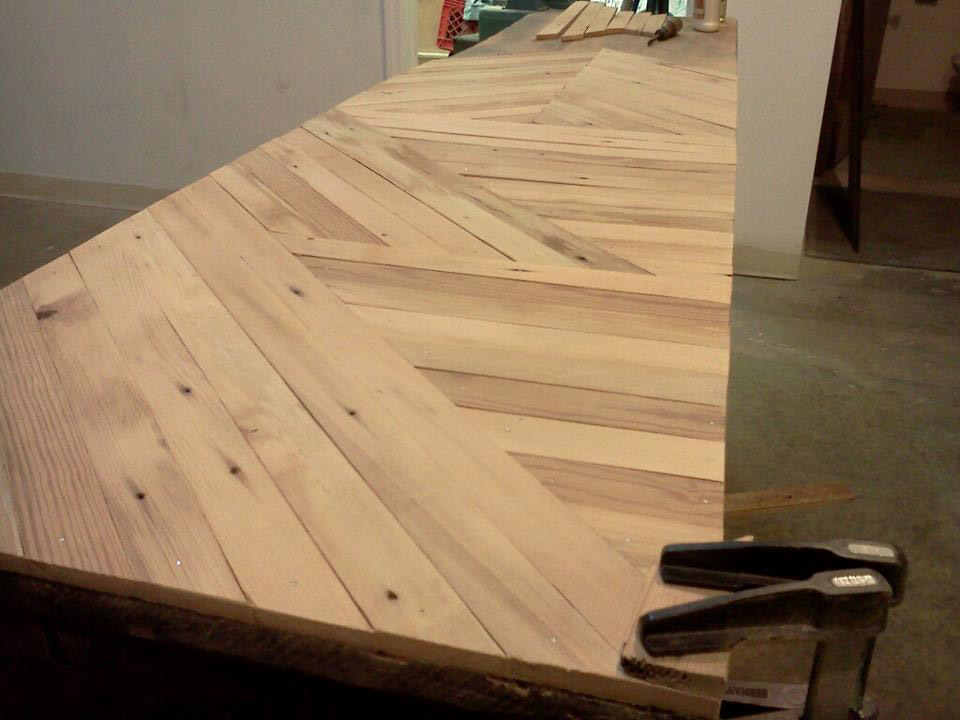
After designing a pattern, I drew it on the raw, roughly sanded top of the buffet. Working slowly, using a straight edge and a carpenter�s square, we carefully measured and cut the lathe strips (this was the tricky part), creating an intricate countertop inspired by the look of a traditional butcher block.
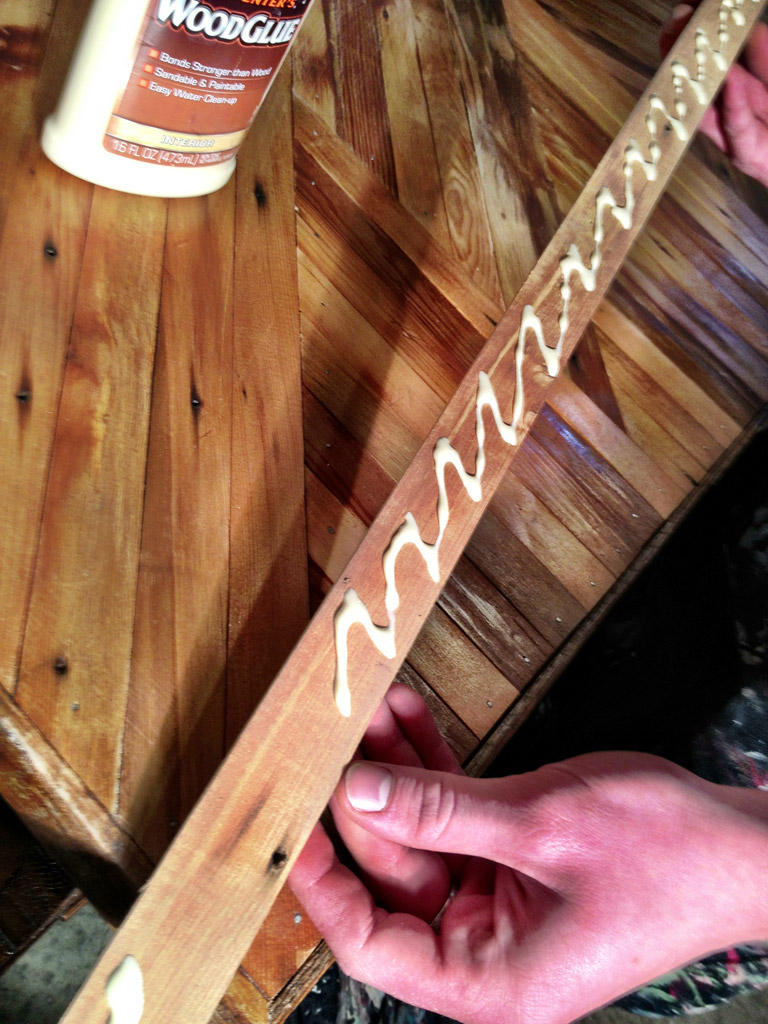
As each piece of lathe was cut, I applied a thin layer of wood glue and drove finishing nails into it to secure them into place one by one.
Once the countertop was complete, I used a few pieces of un-planed lathe to neatly trim the edges of the countertop. I wanted to juxtapose the unfinished raw lathe edge against the intricate wood grains of the finished countertop. (I love how this turned out; it really demonstrates the reclaimed/salvaged nature of this piece.)
Step 5: Seal and protect.


Once the wood glue had completely dried, I sealed the entire piece with a few coats of oil-based polyurethane. This finish should protect the buffet from just about anything and ensure that the finish will live to see many happy years of hearty, heavy use in my busy kitchen.