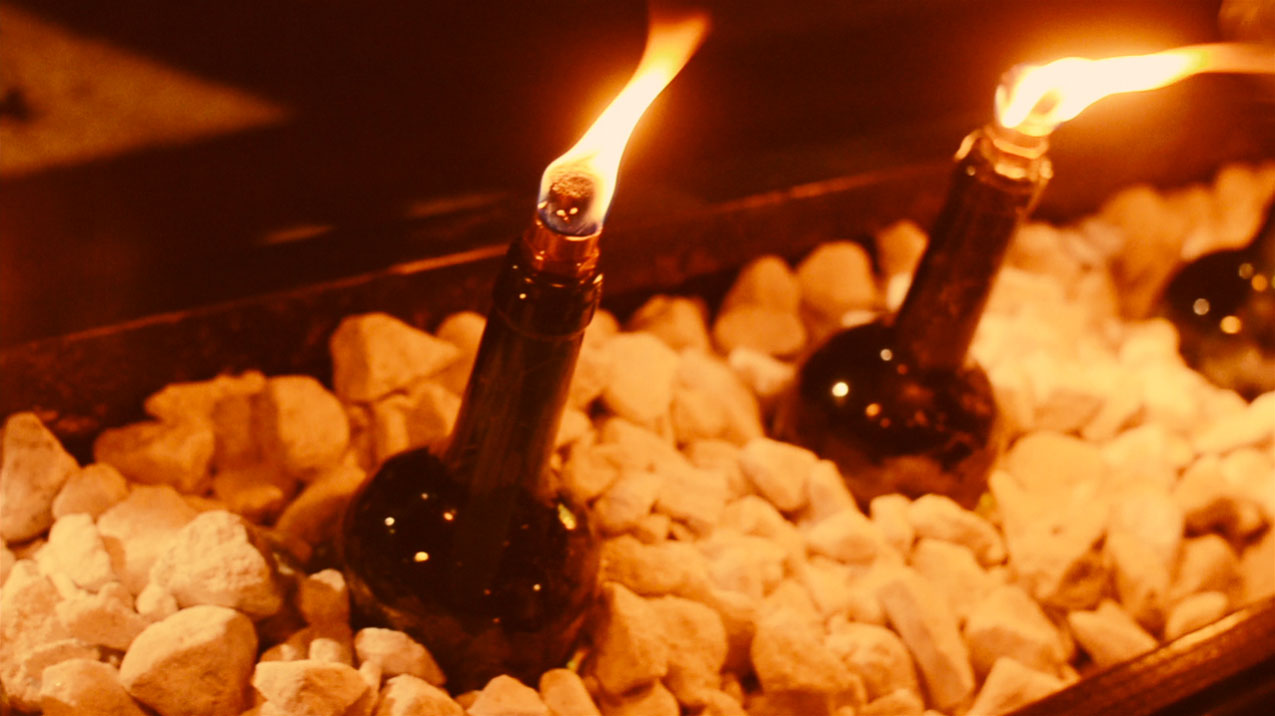
The same passionate artistry that winemakers across the world pour into their vino is often applied to designing the simple and elegant bottles that hold and transport their wines. It seems like a shame to simply recycle these colorful beauties. If you’re like me, you may even have kept a few significant empties as mementos of great times with friends and family. What better use for them than to incorporate these memorable bottles into your home’s landscape by reinventing them as torches and lamps!
One of the most attractive aspects of glass is the way that it plays with light. Below are a few simple ways to reuse empty wine bottles to create some stunning lighting features for your garden. Keep your outdoor parties going long into the night with these elegant recycled wine bottle lighting projects!
All you need to do is raid your recycling bin and visit the plumbing section of your local hardware store to make these DIY outdoor tiki torches and lamps. (Tip: To remove the labels from your empty wine bottles, soak them overnight in a solution of hot water and dish soap. Most labels will peel right off, but you can use steel wool or a wire brush to scrub off any particularly stubborn bits of label or adhesive.)
DIY Recycled Glass Tiki Torch
Step 1: Fill a Bottle with Torch Fuel
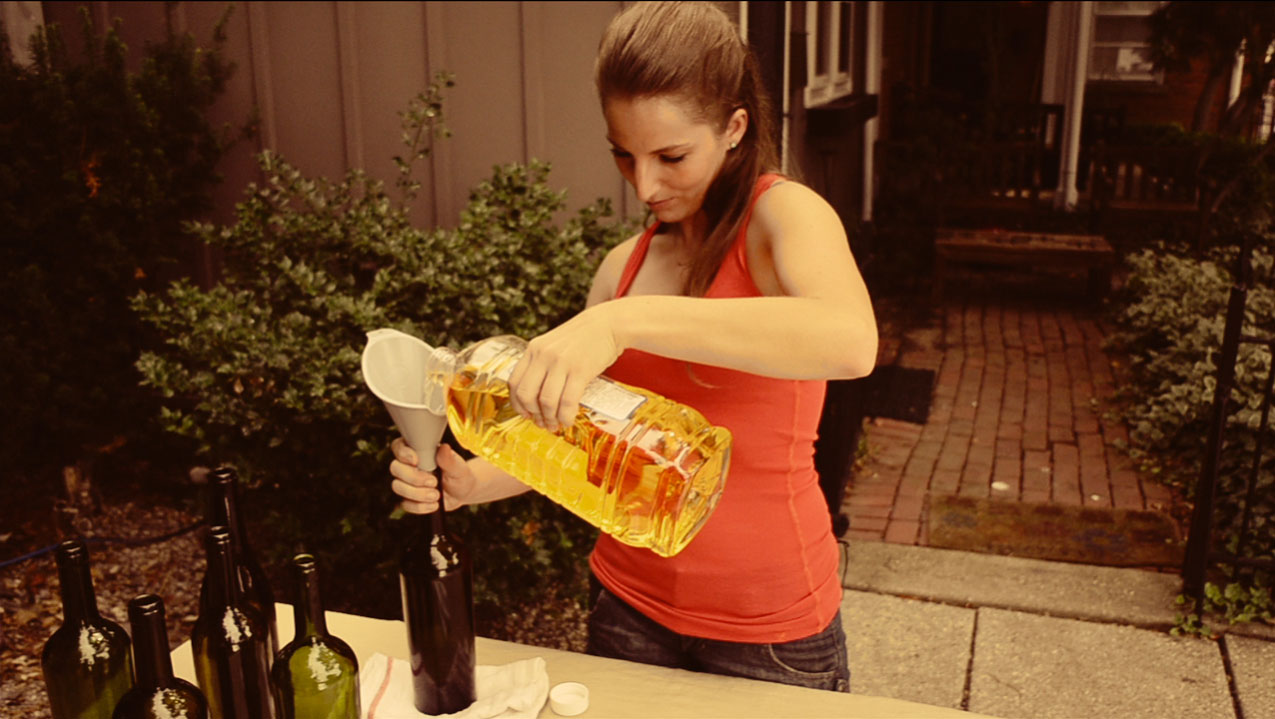
Using a funnel, fill an empty wine bottle with an eco-friendly tiki torch fuel.
Step 2: Add a Wick to the Wine Bottle
Slide the wick through the 1/2” x 3/8” copper male adapter.
Step 3: Seal the Adapter
Wrap 1/2” Teflon tape around the base of the male adapter until it creates a tight seal with the mouth of the bottle.
Step 4: Mount the Hanging Hardware
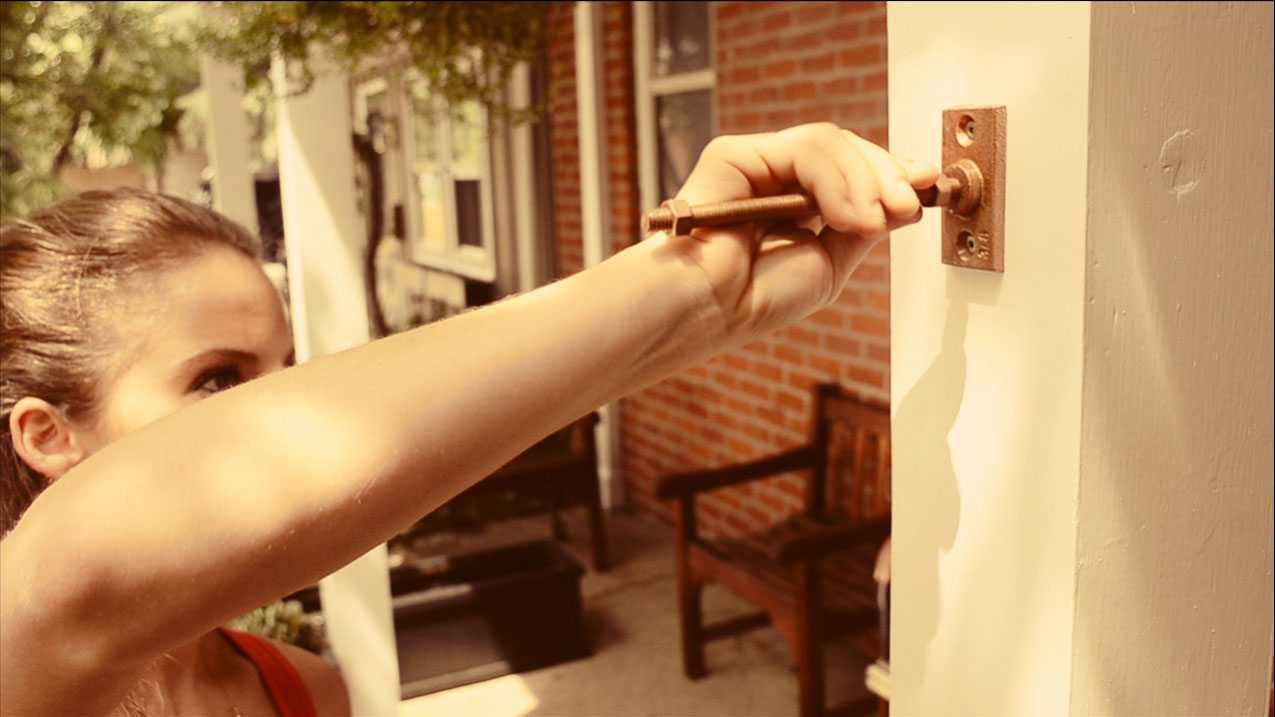
Take the ceiling flange and mark and pre-drill some holes. Then mount the flange.
Step 5: Screw on Hex Nuts and Attach the Rod
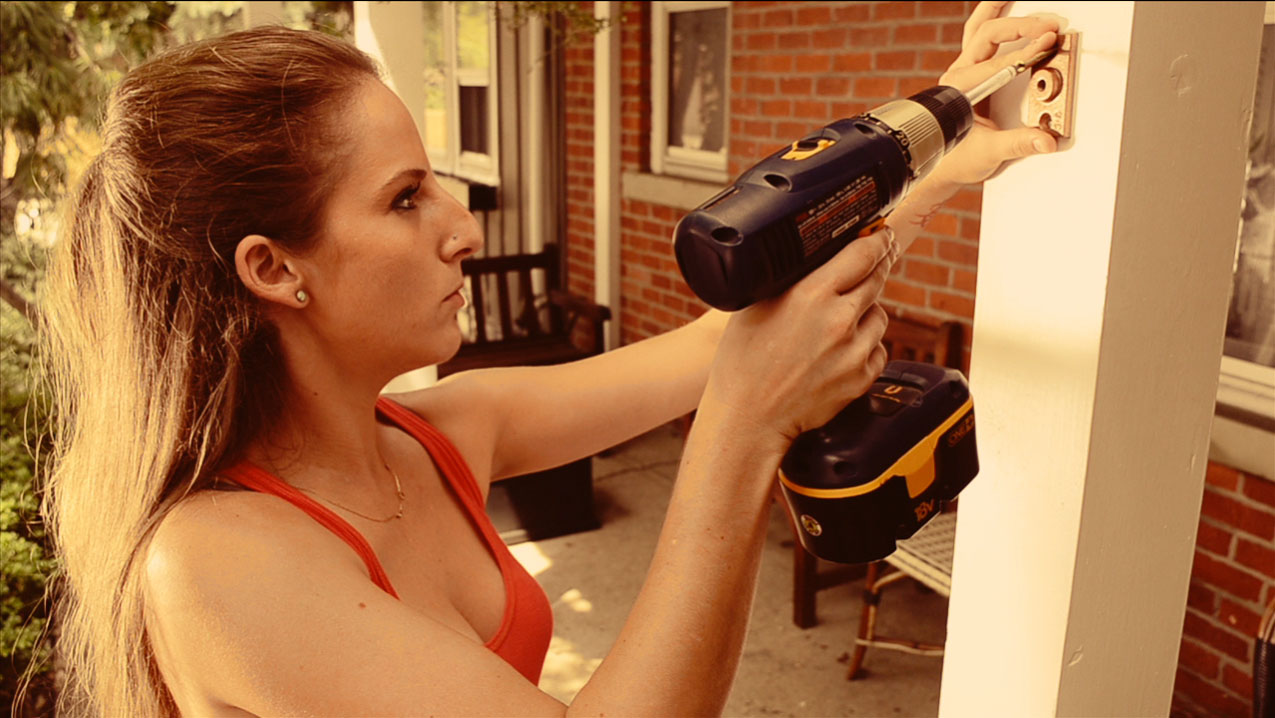
Thread a hex nut on each end of the rod. Then screw the rod into the flange until it hits the back of the post and tighten the nut.
Step 6: Mount the Split Ring Hanger
Screw the split ring hanger onto the end of your rod until it is flush with the ring. Tighten the remaining hex nut by turning it counter-clockwise.
Step 7: Hang the Tiki Bottle
Loosen the screws on the split ring hanger until you can easily slide the neck of the bottle into place. Tighten the screws slowly until the tiki torch hangs securely from the mount.
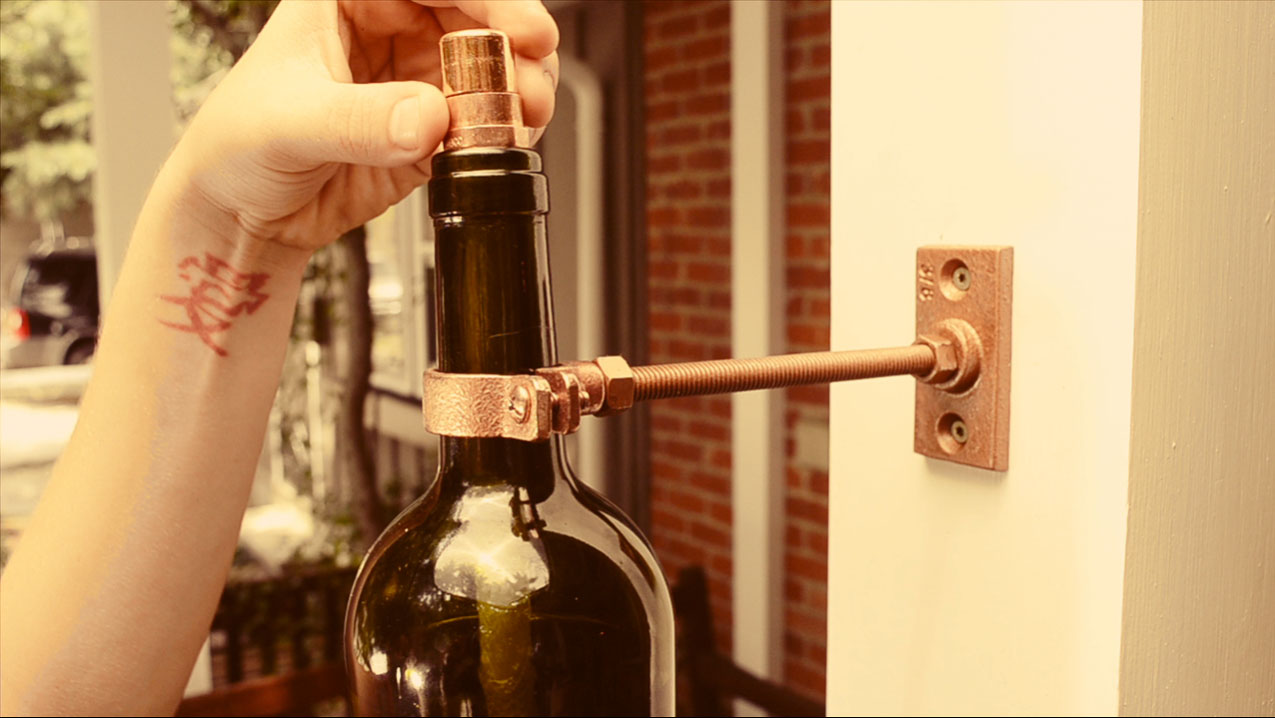
Use the copper cap to keep the wick dry when you’re not using your torches.
DIY Recycled Wine Bottle Fire Feature
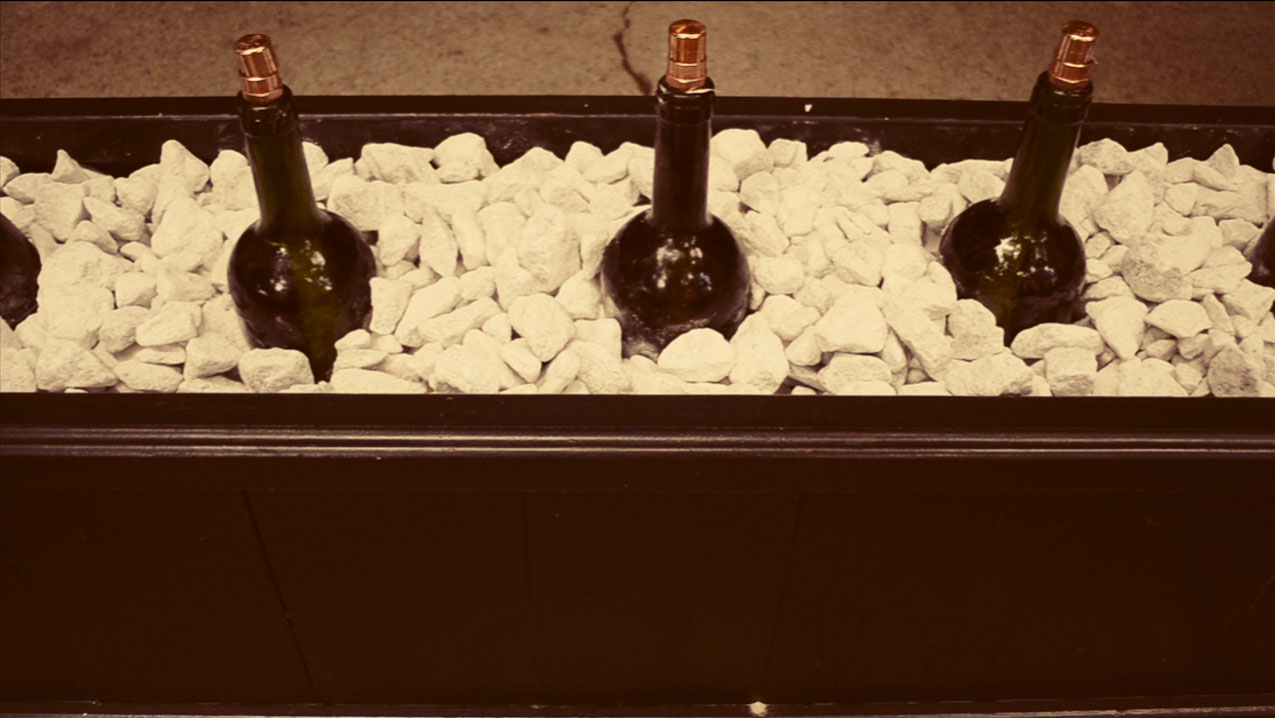
Fall is coming, and many of us enjoy nothing better than a relaxing evening outside with friends and family. This simple DIY fire feature will shed a soft glow over even the smallest of outdoor spaces.
Step 1: Fill Bottles with Torch Fuel
Using a funnel, fill several empty wine bottles with an eco-friendly tiki torch fuel.Step 2: Add Wicks to the Wine Bottles
For each bottle, slide the wick through the copper male adapter.
Step 3: Seal the Adapters
Wrap 1/2” Teflon tape around the base of the male adapter until it creates a tight seal with the mouth of the bottle.
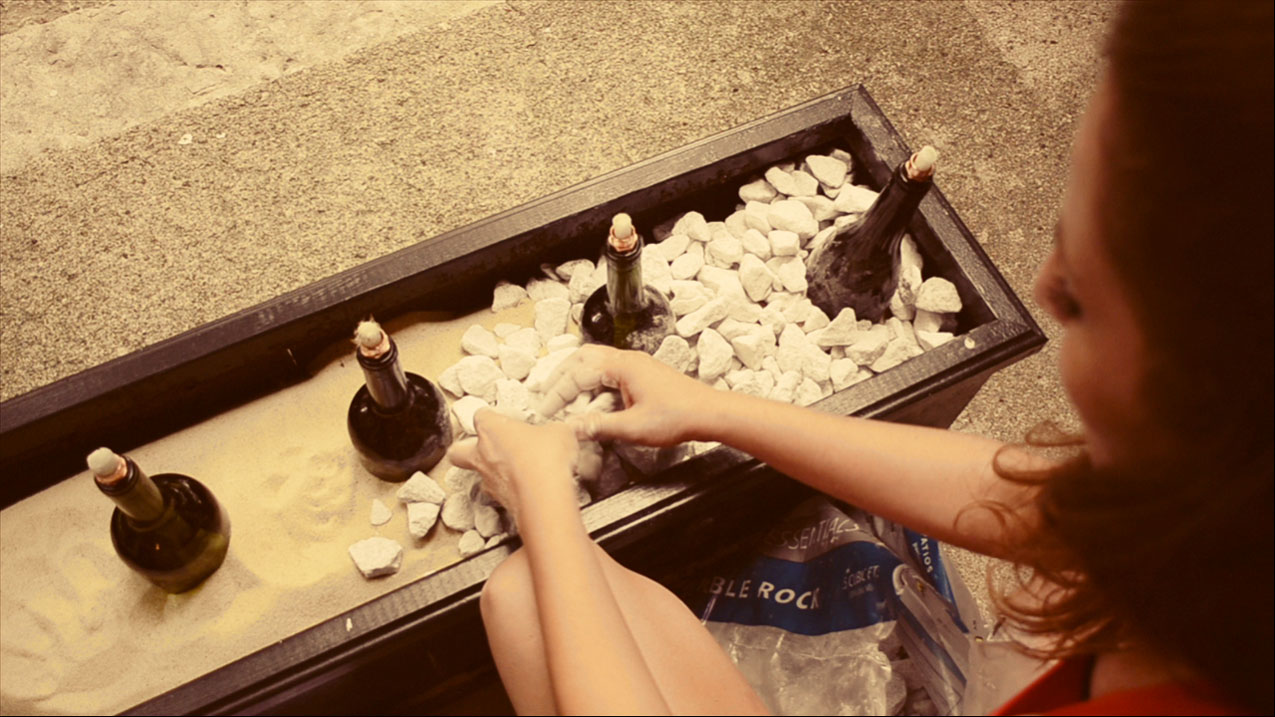
Step 4: Make a Base to Secure the Tiki Torch Bottles
Fill the plastic liner of a flower box with a few pounds of sand and evenly space the wine bottles (4–6) inside.
Step 6: Surround the Bottles with River Stones
Lay a bed of gravel or river stones on the sand, around the necks of the bottles until only the tops are exposed.
Use the copper caps to keep the wicks dry when you’re not using your recycled wine bottle fire feature.
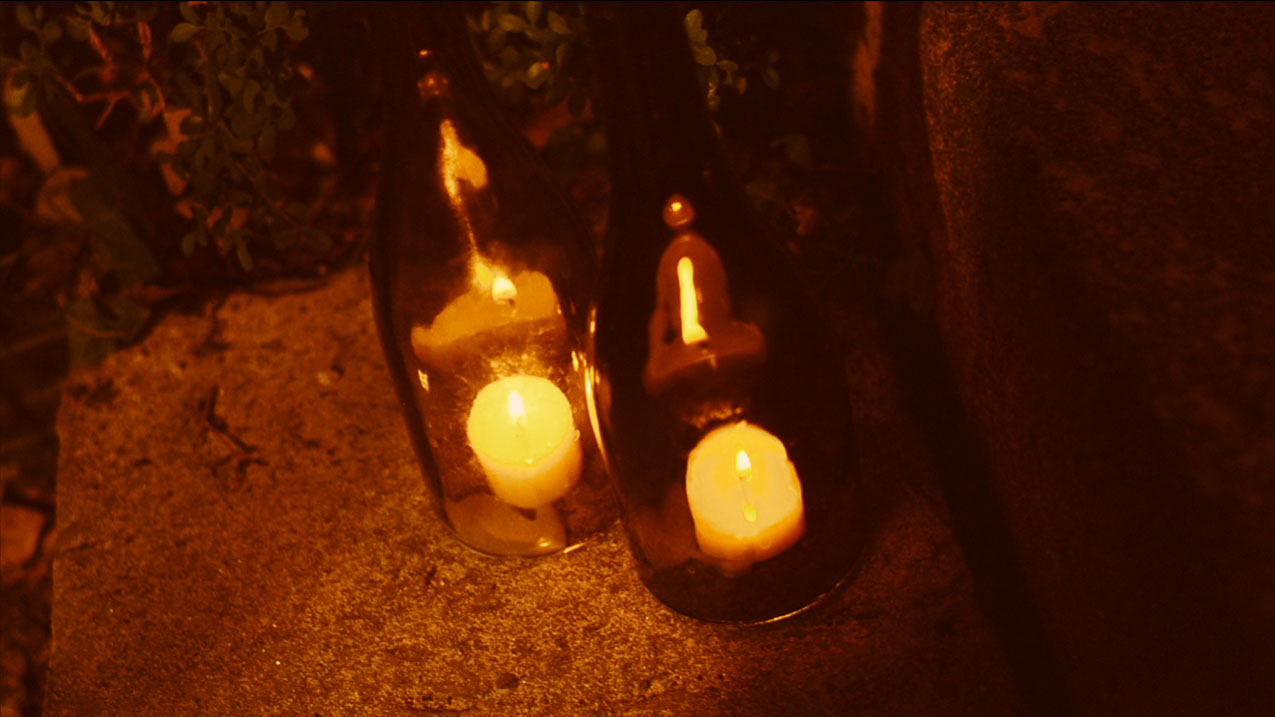
DIY Recycled Wine Bottle Hurricane Lamps

Create a simple but stunning DIY hurricane lamp using recycled wine bottles. I’ve seen similar hurricane lamps go for nearly $300 online, but for the cost of a simple bottle-cutting jig, you can make an unlimited supply. Simply place one of these beauties over a votive candle to create a dramatic flickering luminary for your home or garden.
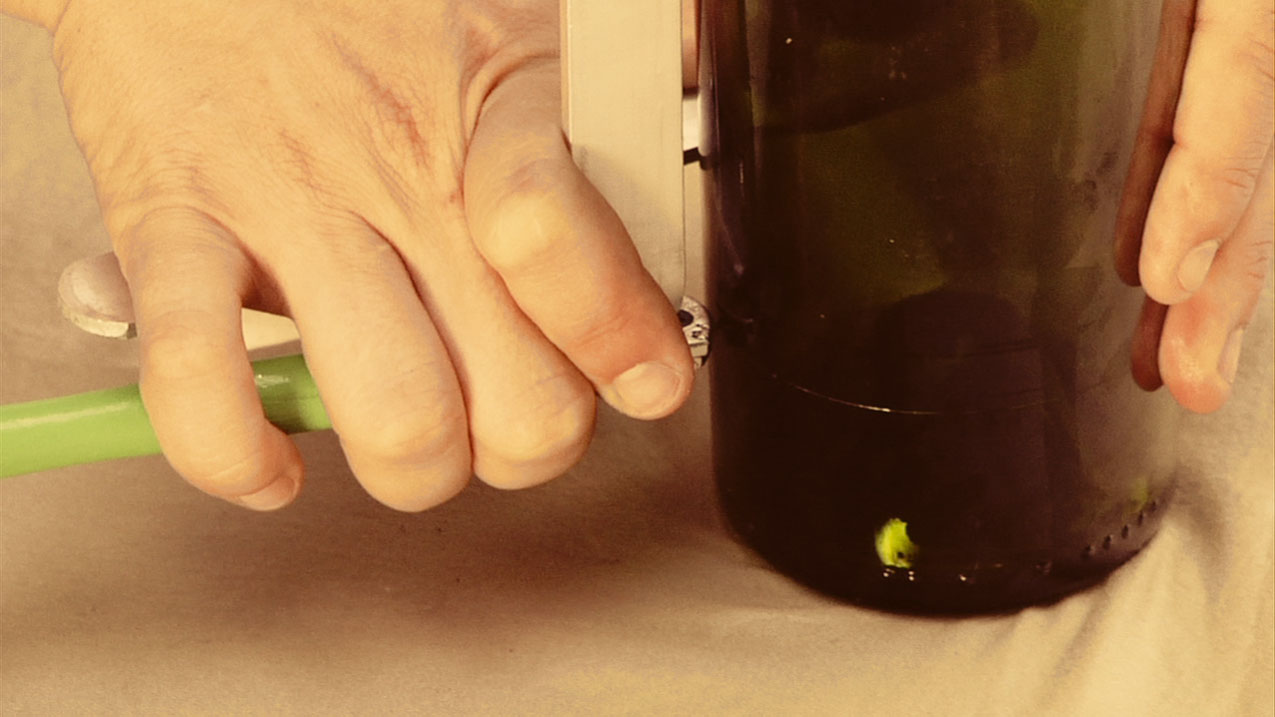
Step 1: Score the Glass with a Bottle Cutter
Using the bottle cutting jig, carefully score a single ring around the bottle where you would like to make a clean cut.
If you’ve never cut glass before, try a few practice bottles first to get the hang of it.
Step 2: Create a Controlled Break
To create a perfectly smooth break, alternate between gently heating and cooling the glass around the scored area until the bottom of the bottle breaks off cleanly.
Begin by pouring boiling water over the scored area until the bottle is warm and you can see condensation inside.
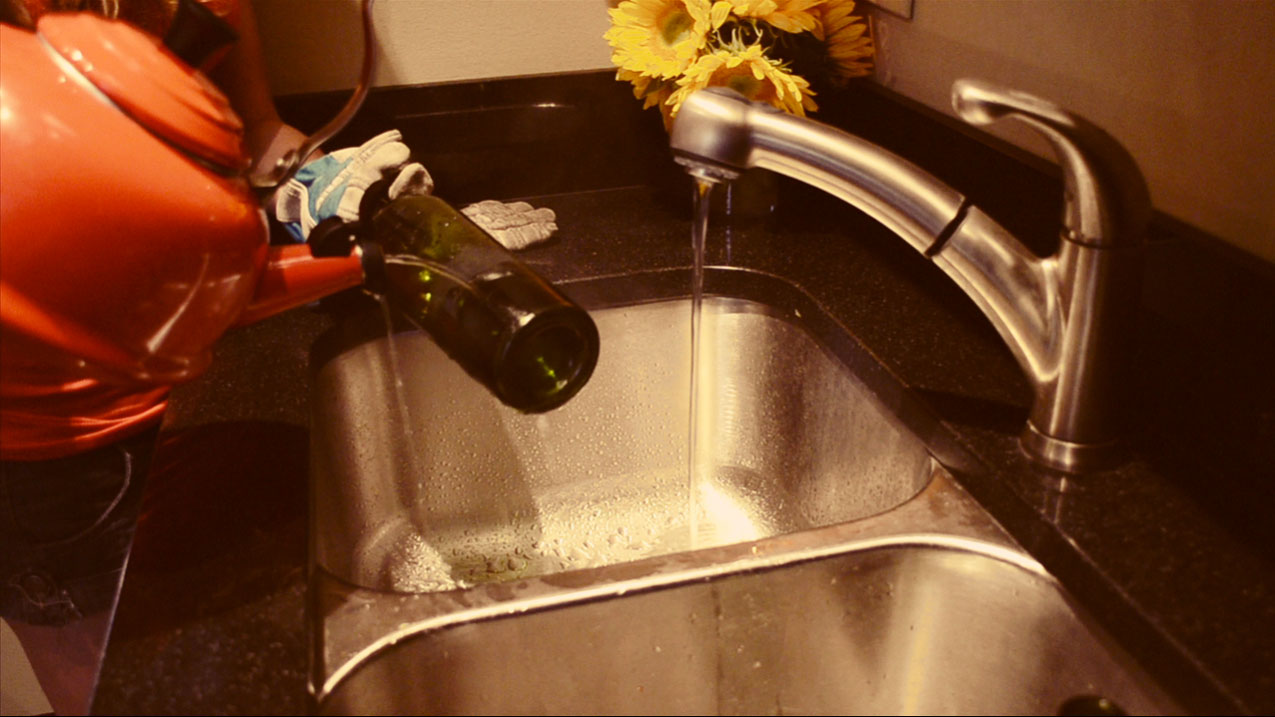
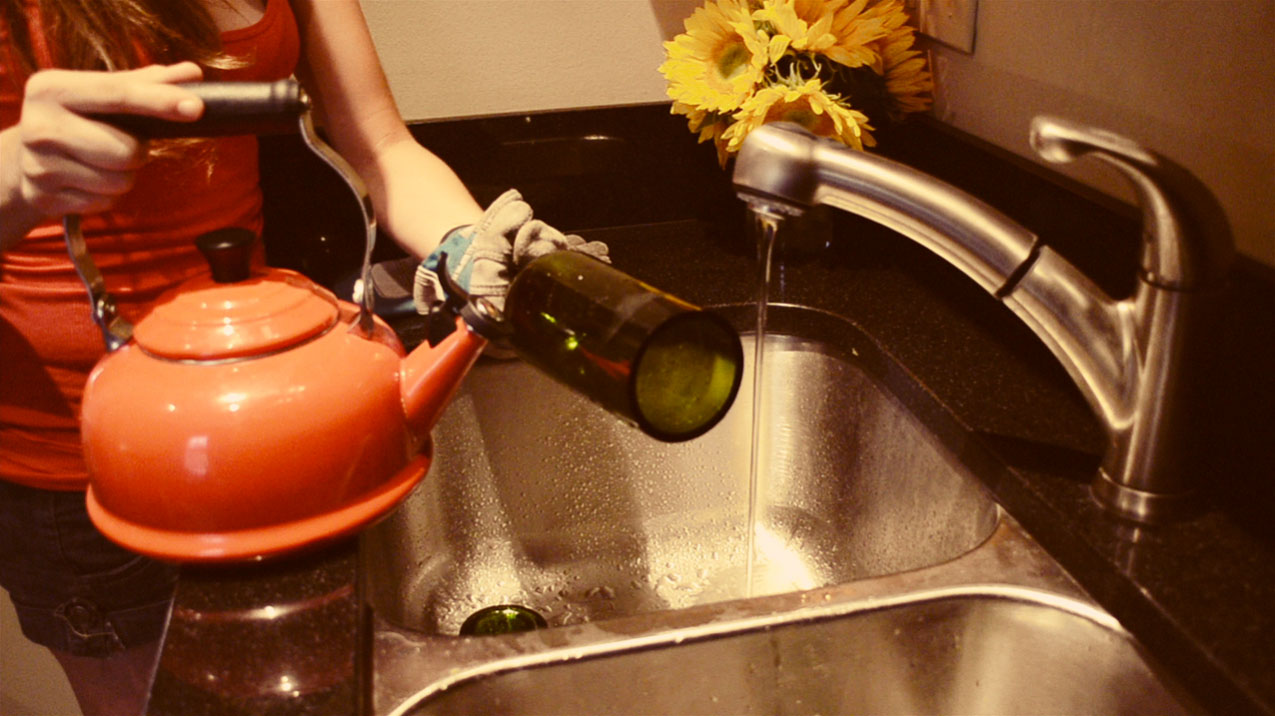
Immediately run the cut area under cool water, spinning the bottle to make sure that you cool the glass around the entire cut.
Alternate between heating and cooling the bottle until the scored line widens. Eventually the bottom of the bottle will fall off, creating a perfectly clean edge.
Step 3: Smooth the Cut Edges
To finish the cut edges, spin your hurricane lamp on sandpaper, starting with coarse and working through medium and fine grades, until the cut edge is smooth.
A few simple lighting ideas and basic materials can really transform your yard into a warm and welcoming place for friends and family to enjoy.

