How to Install a Bathroom Lavatory
-
font size
decrease font size
 increase font size
Video
Bathroom sinks all install in much the same way, despite the wide variety of styles and components available, and the installation of a bathroom sink is a project that just about any DIYer can accomplish. Join our host, Jeff Wilson, as he installs a lavatory cabinet, undermount sink, countertop, faucet, and drain to complete our custom bathroom series.
Once you have chosen your sink, faucet, countertop, and cabinet, it�s time to put them all together and install the bathroom lavatory. For our project, we�ll install a lavatory cabinet first, attach the sink and faucet to the countertop, affix the assembled sink and countertop to the lavatory cabinet, and finally hook up the drain.
How to Install the Lavatory Cabinet
The first step in installing a new bathroom lavatory is to install the cabinet. Although lavatory or vanity cabinets come in many styles and sizes, most are installed by attaching the cabinet to framing or blocking in the bathroom wall.
-
If the cabinet has a solid back, you may need to drill holes to fit the cabinet around the plumbing. Set the cabinet against the plumbing stubs and mark where to drill or cut out on the back of the lavatory cabinet. Use a power drill with a hole saw to drill the holes.
Quick Tip: Drill from inside the cabinet to minimize splintering on the finished side of the cabinet.
-
If the lavatory cabinet has a shelf, you may also need to cut out part of the shelf to accommodate the plumbing. Mark the area of the shelf to remove. Use a jigsaw to cut out the necessary portion of the shelf.
-
Fit the cabinet into place and use a level to properly align it. Use shims as necessary. Identify where to secure the cabinet on the framing members or blocking. Use wood screws to attach the cabinet to the wall through the top back rail.
Custom Bathroom Series
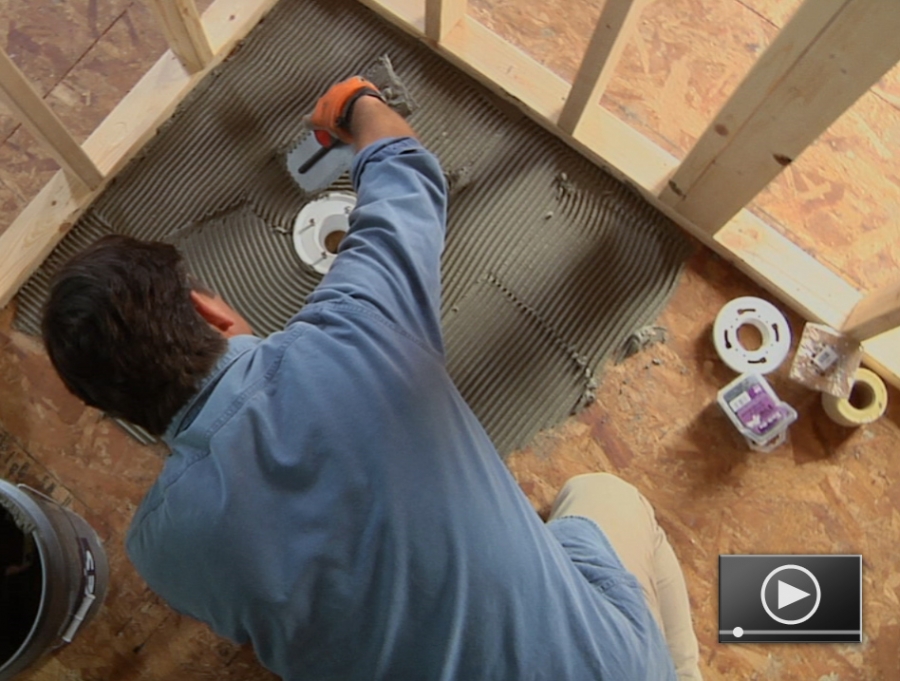
How to Install a Tileable Shower Base
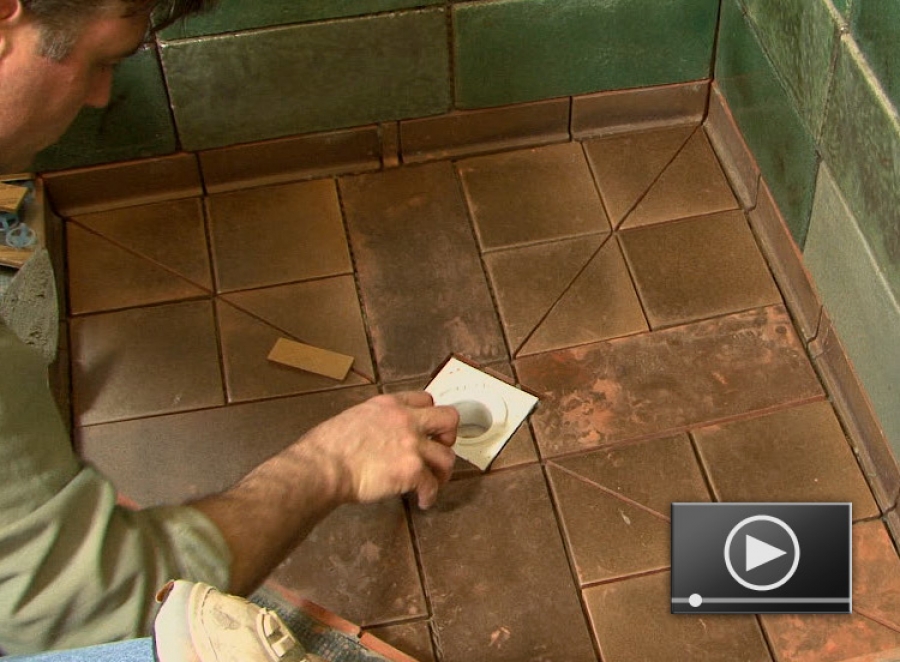
How to Tile a Custom Bathroom
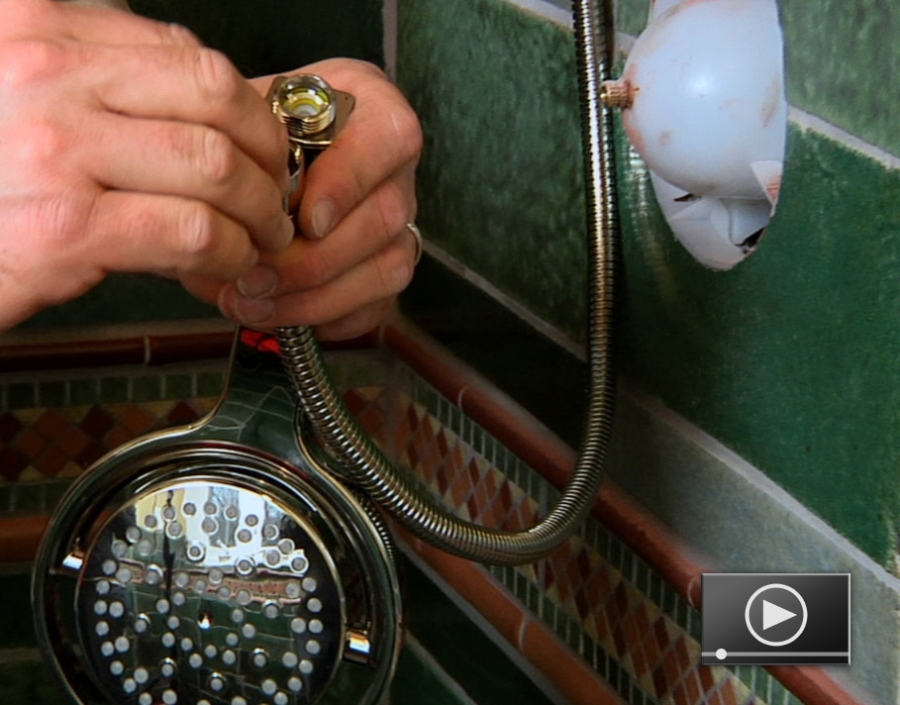
How to Install a Handheld Shower Fixture
How to Install a Glass Shower Enclosure
How to Install A Toilet
How to Affix the Sink to the Countertop
Endless combinations are available for lavatory countertops and vanity sinks. Lavatory countertop materials include plastic laminate, solid surface, natural stone, and concrete, among others. Among the types of lavatory or vanity sinks are porcelain, stainless steel, solid surface, and even cast iron. Some sinks install through the countertop with a lip that covers the sink opening. Other sinks are mounted to the underside of the countertop. One-piece lavatory tops with integral sink basins are also available, usually made from cultured marble.
For our project, we�re installing a solid-surface countertop from Enviroglas and an undermount vanity sink from Kohler. The countertop contains 80% post-consumer recycled glass cast in an epoxy mixture and polished in a manner similar to terrazzo. The countertop has been custom-fabricated by the manufacturer based on the size of our vanity cabinet. The manufacturer has also cut out and polished the opening for the vanity sink based on the dimensions of our specific sink.
-
To affix the porcelain sink to the countertop, begin by turning the countertop bottom side up. Align the sink over the hole and mark the edges. Also mark four to six anchor locations for the mounting clips. Set the sink aside and drill the anchor holes in the bottom of the countertop. When drilling through bits of glass in a countertop, use a diamond-tipped drill bit.
Quick Tip: Use tape to mark the depth of the hole on the drill bit to prevent accidentally drilling through the top surface.
Quick Tip: Use water to keep the diamond-tipped bit cool when drilling.
-
Clean any debris from the anchor holes and bottom surface. Use a small dab of two-part epoxy in the anchor holes and insert the anchor plugs.
-
Place a bead of silicone caulk around the sink opening to keep the surface connections between the countertop and sink watertight. Set the sink to the marked edges and gently push down to ensure solid contact with the bead of silicone caulking. Check the sink for proper alignment.
-
Fasten the mounting clips or brackets with screws at each of the anchor plugs. Check the rim for a good seal to the underside of the countertop. Recaulk as necessary.
How to Install the Faucet
It is also helpful to attach the faucet assembly to the sink and countertop before setting the countertop in place to minimize the work you may have to do under the sink and inside the cabinet. Then, once the countertop is installed, all you need to do is hook up the supply lines.
-
To install the faucet, begin by marking and drilling holes of the appropriate sizes in the countertop for the faucet assembly. Check the manufacturer�s installation instructions for the specific number and sizes of holes needed for your specific faucet. Use a diamond-tipped hole saw for drilling through the bits of glass in the countertop.
-
Insert the faucet spout and any hot and cold control handles through the appropriate holes in the countertop, secure it with mounting nuts, and tighten with a wrench. Many faucets include gaskets that provide a seal at the countertop surface to prevent water from deteriorating the internal components of the faucet. Check the manufacturer�s instructions to determine if additional silicone sealant is necessary for your specific installation.
With the sink and faucet connected to the countertop, it is time to set the countertop in place on the cabinet.
How to Attach the Countertop to the Cabinet
Attaching the sink to the countertop and the faucet to the sink prior to installing the countertop makes it easier to install those components, but it also adds weight to the process. It�s generally a good idea to have some help in lifting the countertop into place on the cabinet.
-
Begin by dry-fitting the countertop and make any necessary adjustments.
-
Place a bead of adhesive caulk around the perimeter of the cabinet to hold the top in place.
-
With some help, set the countertop assembly onto the cabinet, check for proper alignment, and gently apply downward pressure to create a good seal with the adhesive caulk.
With the countertop set, connect the water supply and sanitary drain to the sink and faucet.
How to Connect the Plumbing to the Sink
-
Begin by connecting the hot and cold water supply lines. Use flexible steel-reinforced supply lines to connect the water shut-off valve to the faucet supply feeders. Be sure to identify the hot and cold sides and make connections to the appropriate feeders on the faucet. Use Teflon tape to seal the fittings and tighten them snugly, but don�t overtighten or you may damage the fitting.
-
The drain assembly is slightly more complicated, although trap and drain kits are available that minimize the steps. The trap kit typically includes slip nuts and gaskets that seal the connections but also allow you to disassemble the trap for access. Any other connections in the sanitary drain must be glued together to seal the pipes against leaks and to prevent any sewer gases from escaping.
-
Dry-fit the trap and drain assembly to check for proper connections and add or adjust any pieces as necessary.
-
Make any glued connections first, such as a drain extension from the rough plumbing at the wall. Coat the surface to be glued with a PVC primer prior to coating it with the adhesive. The PVC adhesive sets up quickly so it needs to be installed directly after application. Turn the pipe a quarter-turn and hold it in place for 20-30 seconds to allow the adhesive to set.
-
Fit the trap kit into place, slip the nuts into place, and tighten. Again, tighten snugly but do not overtighten.
-
Finally, temporarily remove the aerator in the faucet spout to prevent it from being clogged by any loose debris in the plumbing when you first turn on the water. Turn on the water supply valves and run the water for a couple of minutes. Check for leaks and retighten the connections as necessary.


Ryan Carpico
Ryan is a Registered Architect who earned a Bachelor of Architecture from the University of Kentucky in 1998. His experience in a broad spectrum of architectural projects includes design and project management in multi-family residential, general commercial, and institutional projects. This architectural experience is balanced with a background in general contracting of residential and light commercial construction projects. Ryan�s knowledge and ability as both architect and builder enable him to address both the technical and practical sides of the comprehensive body of construction knowledge.
Website: carpicodesign.com/