These projects require some basic DIY tools and materials as well as tree branches, scrap wood or reclaimed trim, and wooden hangers. Either of these coat racks will add style and function to your space at hardly any cost, but one is rustic in its appeal while the other has a more polished look. Choose the one that suits your style.
Rustic Branch Coat Rack
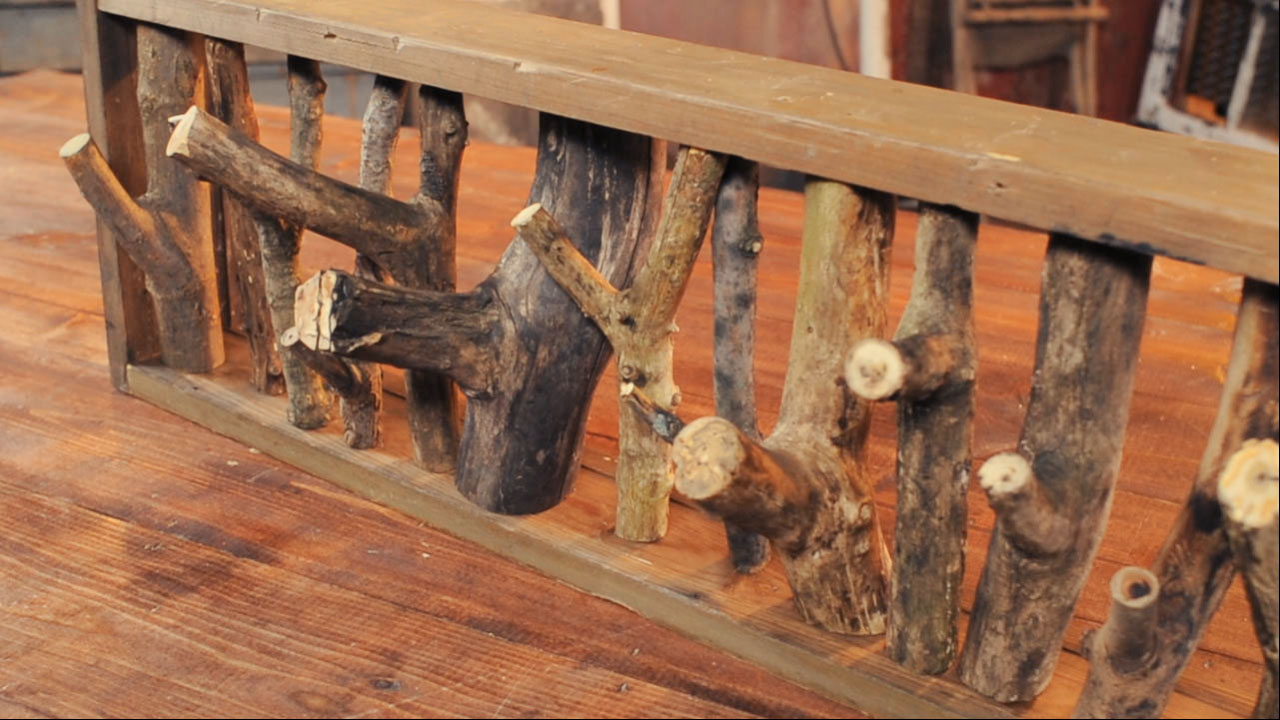
This project has fulfilled my enduring need to bring the great outdoors into my space and incorporates the rustic look and textures of natural branches. Here’s the breakdown of my project in five simple steps.
-
Collect branches. You will need seven to 12 fallen branches with sturdy offshoots to create the “hooks” for your coat rack. Try to gather branches that are not wet or rotten. Allow the branches to dry for at least two weeks before you begin building.
-
Select and cut wood for the frame. I chose to use a piece of reclaimed trim and cut two 30” pieces and two 9 1/2” pieces to create the frame of my coat rack. (It goes without saying that you should measure the space available in your entryway before deciding the dimensions of your coat rack.)
-
Construct the frame. Run a thin bead of wood glue along the edges of the trim, assemble the frame, and use clamps to hold everything together. Be sure that your frame has square corners before driving two wood screws into each joint. Allow the frame to dry completely.
-
Cut and trim the branches. Using a saw, I cut my branches to a length of 8”. Be sure to cut each end square so that the branches will fit flush within the frame. You will need to take into account the unique bends in each branch before making your final cut. To trim the cut branches, use a utility knife to trim off any knots, bark, or offshoots that you don’t want to use as hooks. Sand and smooth all of the cut ends and the “hooks” on your branches.
-
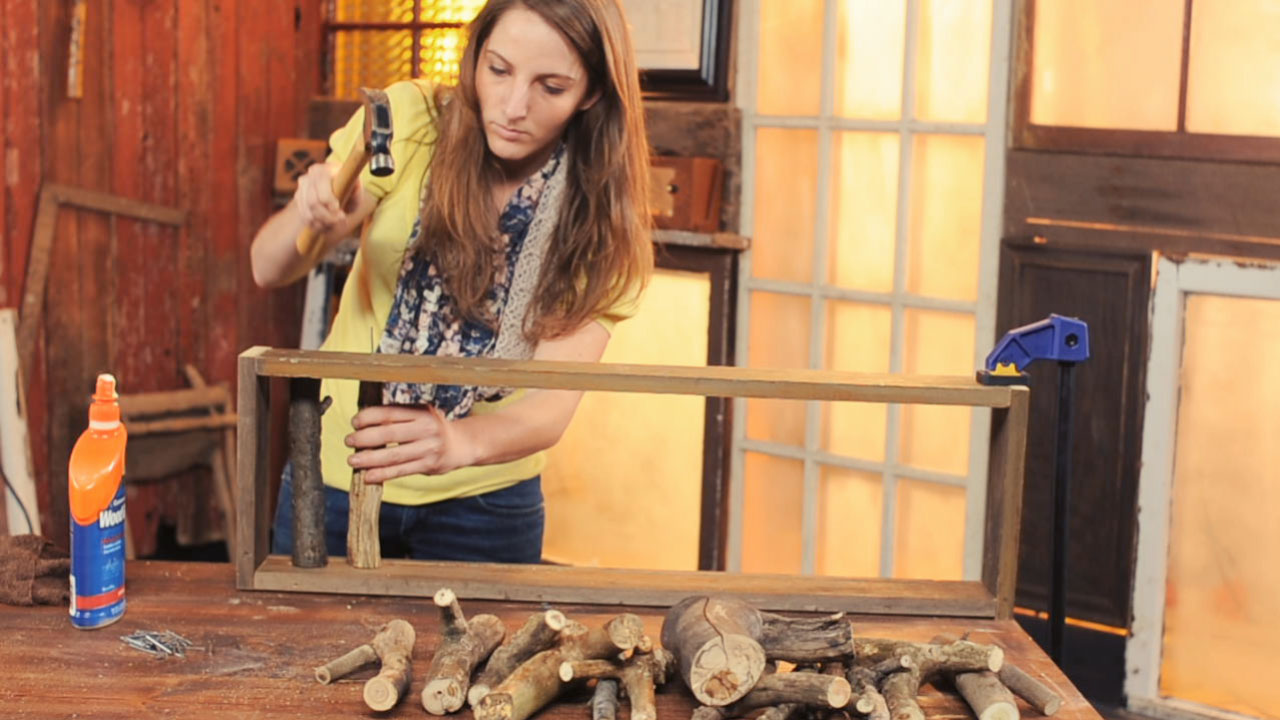
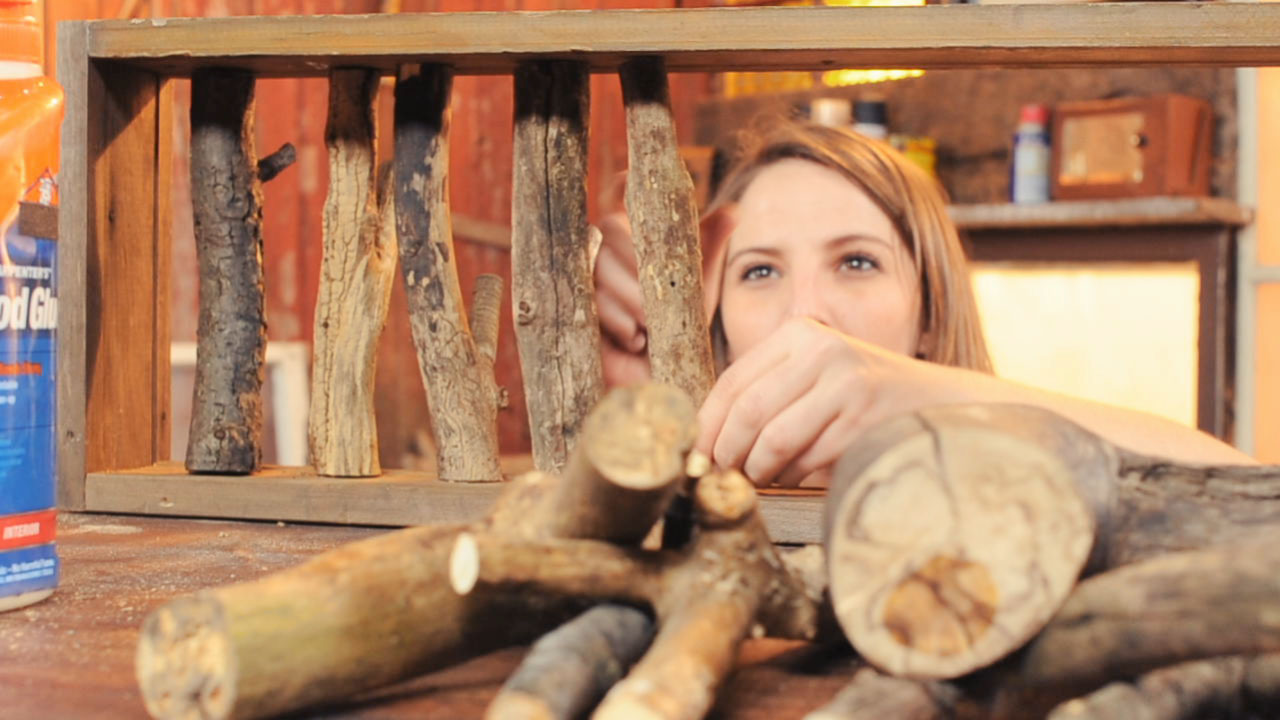
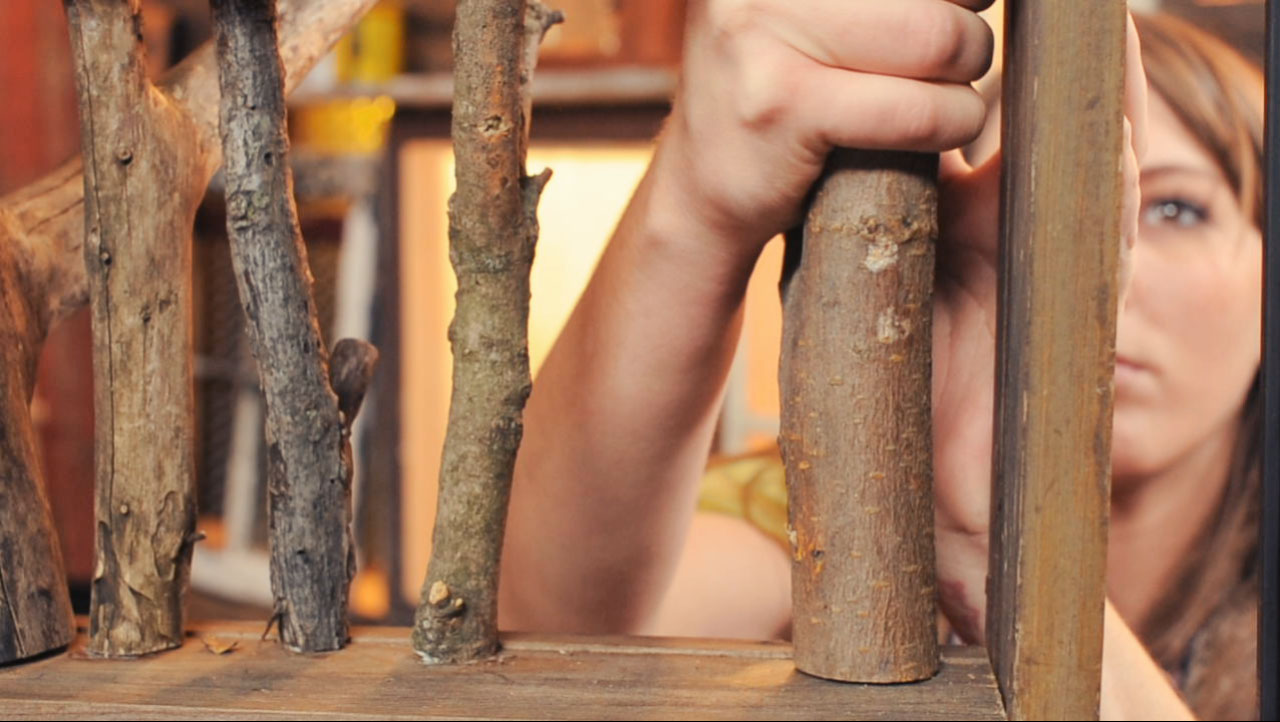
Attach the branches to the frame. Arrange your branches according to how you would like your hooks to be laid out. Once you have determined where each branch will go, begin attaching them one by one. Thinly spread glue on the top and bottom of a branch. Fit it into the frame. Then drive a finishing nail through each end to secure it. Repeat this process until you have filled the frame with branches.
Repurposed Hanger Coat Rack
This repurposed hanger coat rack is very inexpensive and easy to make. Keep your eyes open at antique malls and flea markets for funky vintage wooden hangers (many bear advertisements from the last century). Follow these four simple steps.
-
Trim the hangers and prep the reclaimed hard wood. Using a carpenter’s square, mark a 90 degree angle just behind the hooks so that they will lie flush against the backboard and cut each hanger on that line. Sand and paint or finish the wood that you will use as the base for your coat rack.
-
Lay out the “hooks.” Using your tape to measure, space your cut hangers on the reclaimed hard wood, which will serve as the base of your coat rack. Bear in mind that spacing matters both horizontally and vertically. I chose to place my hangers about 2” from the bottom of the board, leaving a little more space along the top. Use a pencil to trace around each hanger.
-
Drill pilot holes for your screws through the base and into the hangers. Erase any pencil marks after you drill your pilot holes.
-
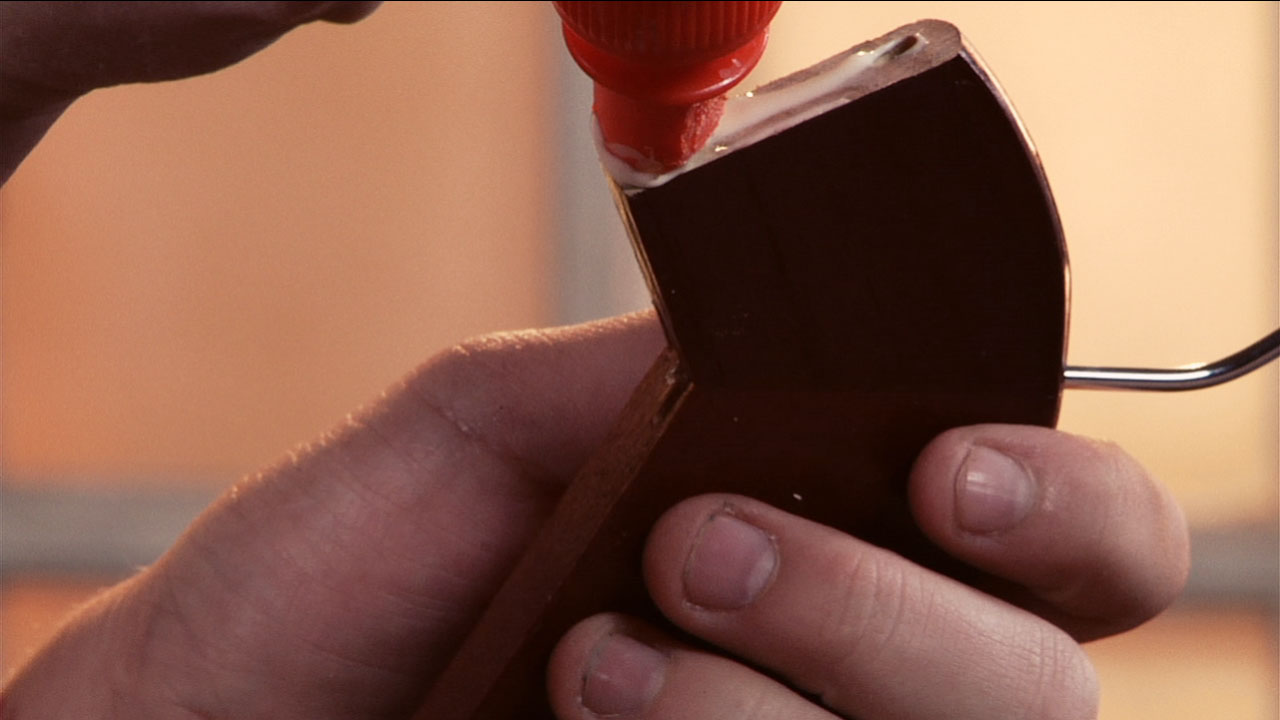
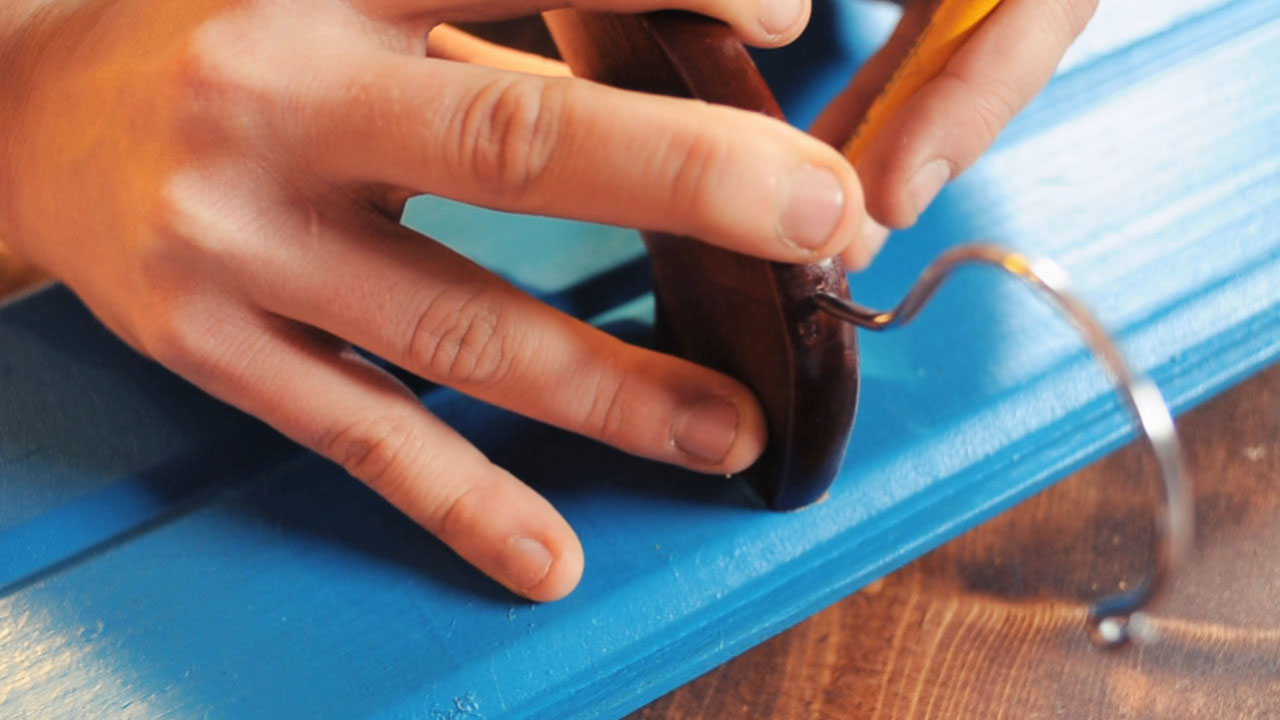
Attach the hangers. Apply a thin layer of wood glue to the bottom of each hanger and mount it to the base of your coat rack. Using a Phillips head screwdriver, drive the screws through the pilot holes in the base and into your hangers.
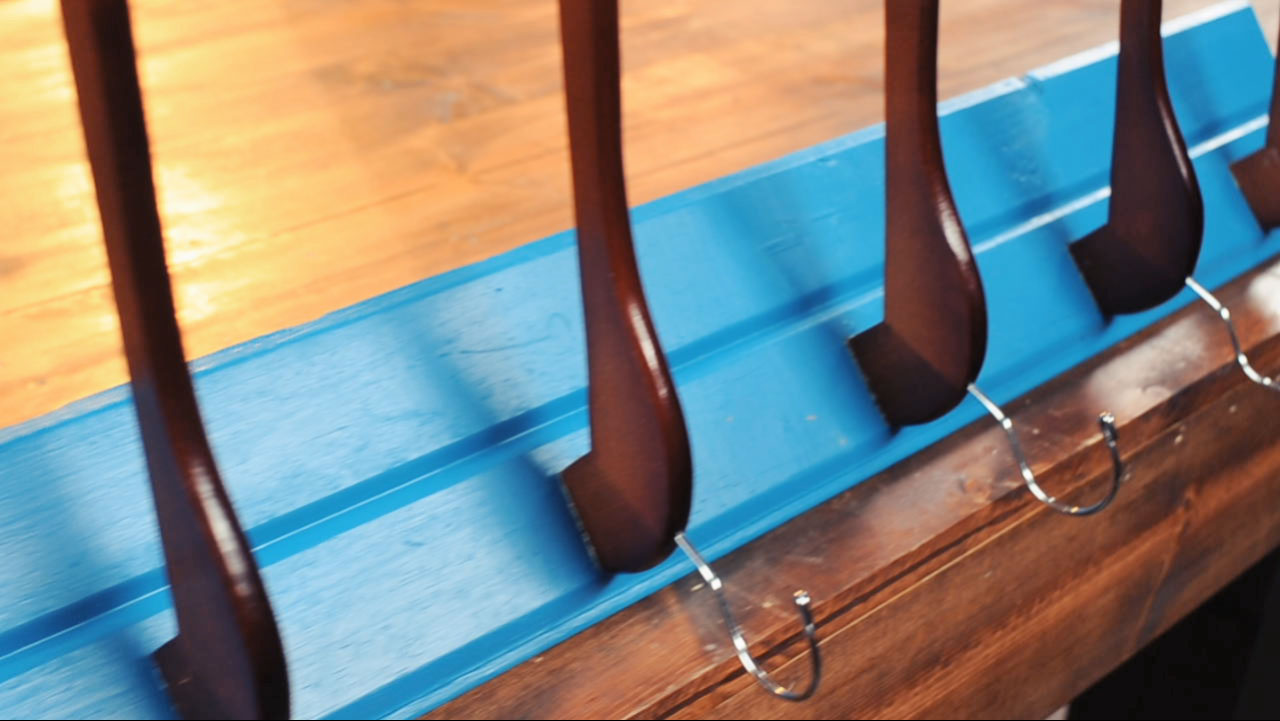
Whether you prefer a rustic look or a more urban appeal, these two DIY coat racks can add some unique winter storage to any entryway.
Leave a comment about your own repurposed storage projects!

