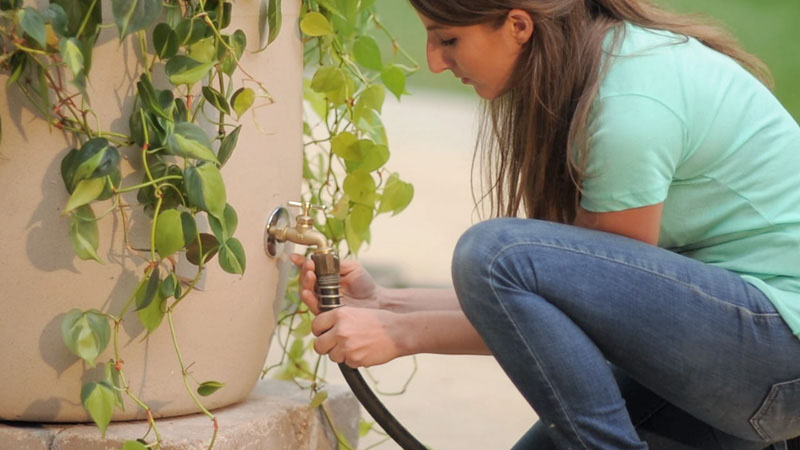
Rain barrels are an environmentally friendly way to conserve water by collecting the rain runoff from your roof and gutters and storing it for use in your home and garden.
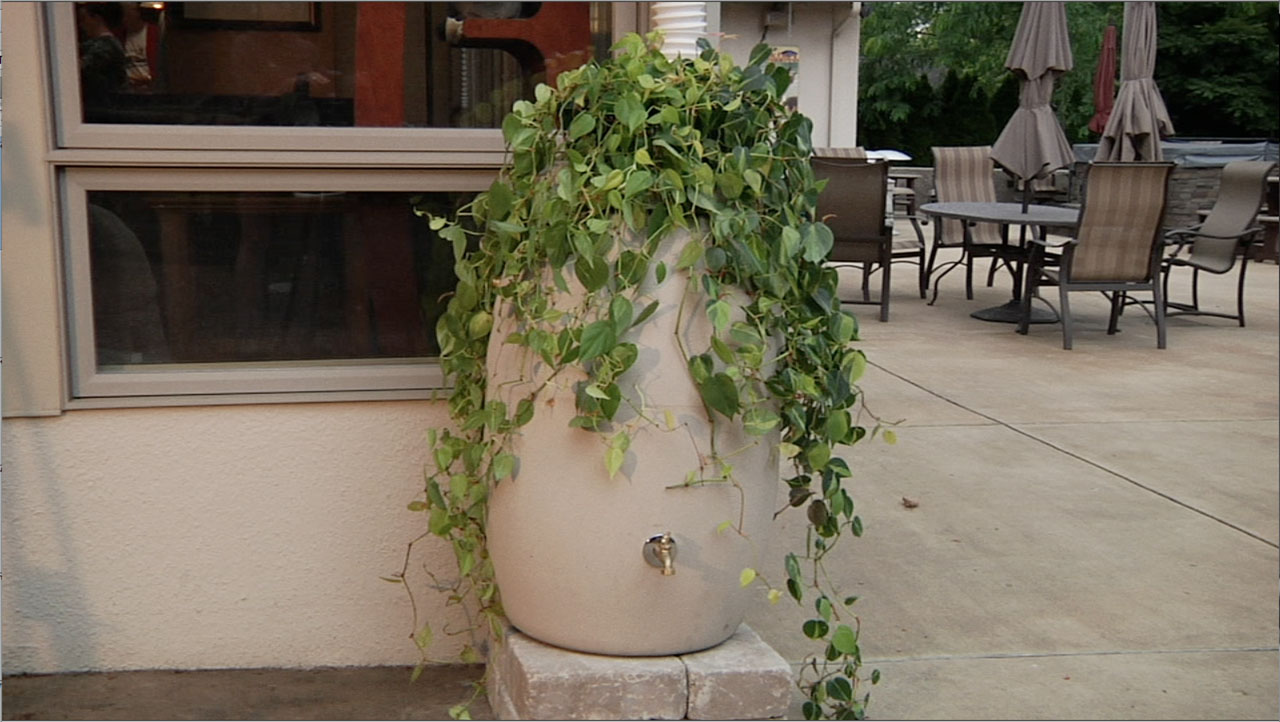

Installing this DIY Rain Barrel to your home’s existing gutter system can help to minimize some of the financial strain of maintaining a productive and beautiful garden.
This eco-friendly addition to your garden allows you to use less water to keep your plants healthy, saving you a hefty chunk of change on your utility bills and making your home a little more sustainable, one thunderstorm at a time.
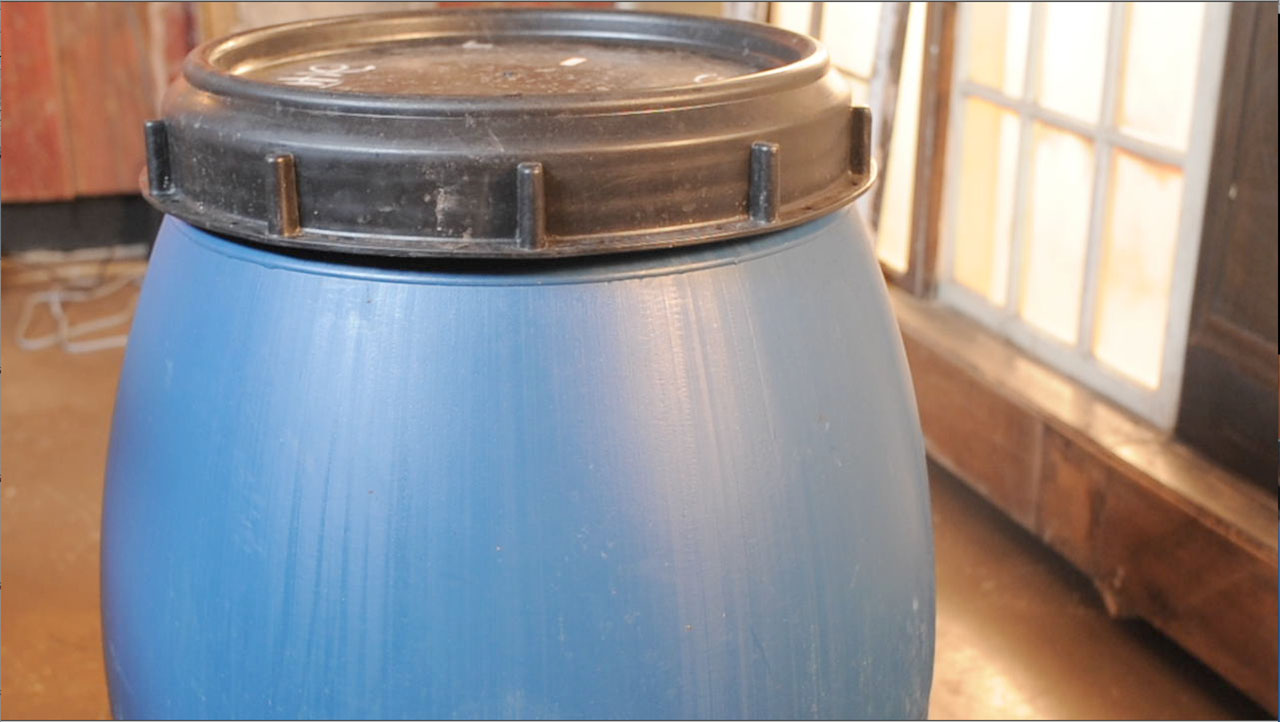
To begin this inexpensive and simple DIY project, you will need to find a heavy-duty 55-gallon plastic drum to recycle.
These types of barrels are commonly used to store and transport food-grade liquids and commercial soaps, so you can usually come across these used barrels outside local restaurants and carwashes. Call around or check the craigslist postings in your area. You can usually find a nice one with a screw-on lid for around $25. (Eartha Limited, which provides sustainability services for the food service industry and is located right here in Columbus, Ohio, donated my barrel – so, thank you, Mike Minnix of Eartha!)
To complete this easy-to-install DIY project you will also need to make a quick visit to the plumbing section of your local hardware store.

-
Clean and paint your barrel.
Be sure that you properly clean and rinse out your barrel before beginning construction to remove any residues of its former life.
After sanding the surface of my barrel lightly, I applied a low-VOC outdoor spray paint to cover the bright blue of the plastic.
-
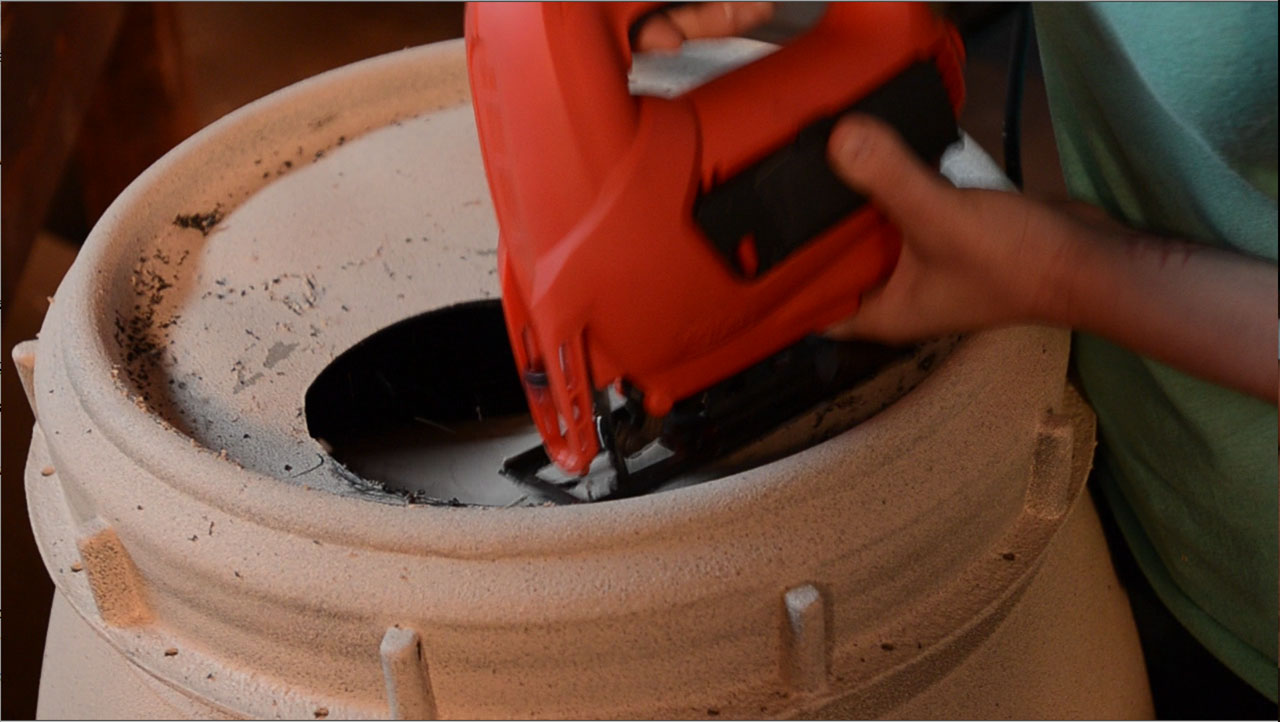
Cut a hole for the downspout.
Use a jigsaw to cut a 6” hole in the lid of your barrel – this will allow runoff from your gutters to collect in your rain barrel.
-
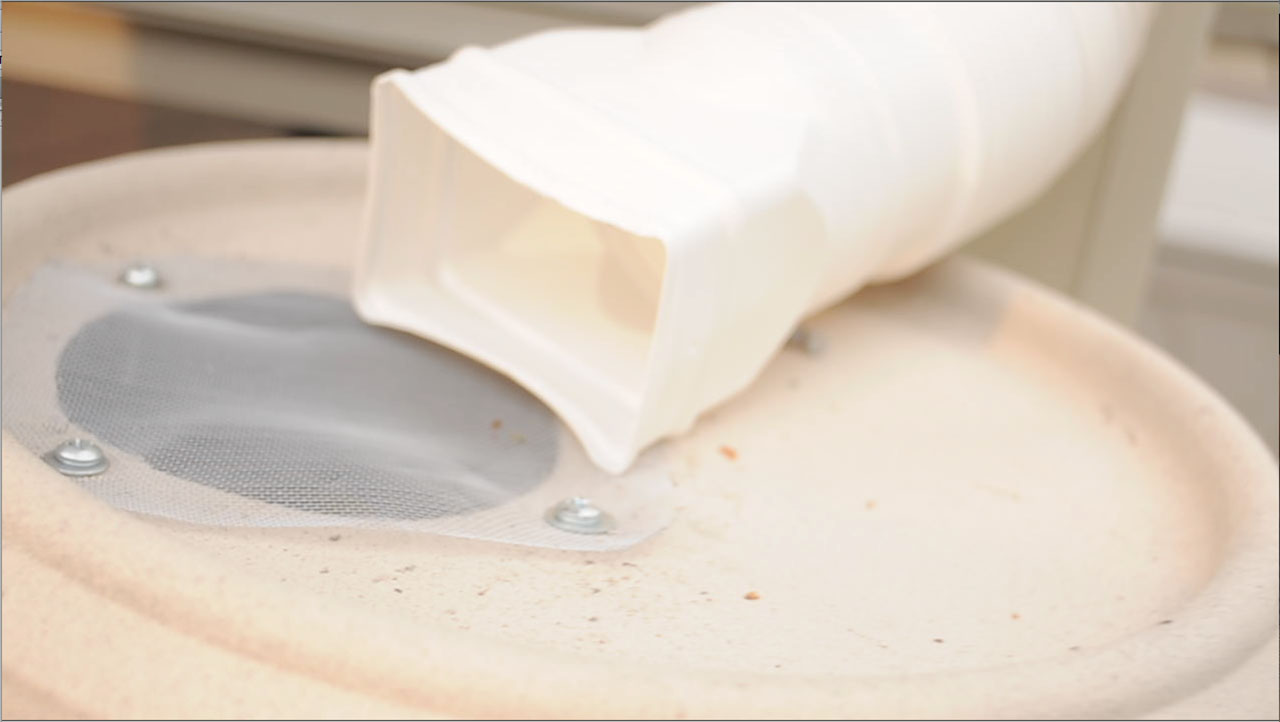
Attach a mesh screen.
Cut a square of the mesh screen that will fit over the hole in the lid of your barrel, and use metal snips to cut a small hole in each corner of the mesh.
Pre-drill four holes in the lid that will correspond to the corners of your mesh square.
Place your mesh square over the hole and secure it with a washer, bolt, and nut in each corner to hold it securely in place.
This mesh screen will keep out the mosquitos and prevent leaves and branches from draining into your barrel.
-
Create a spigot.
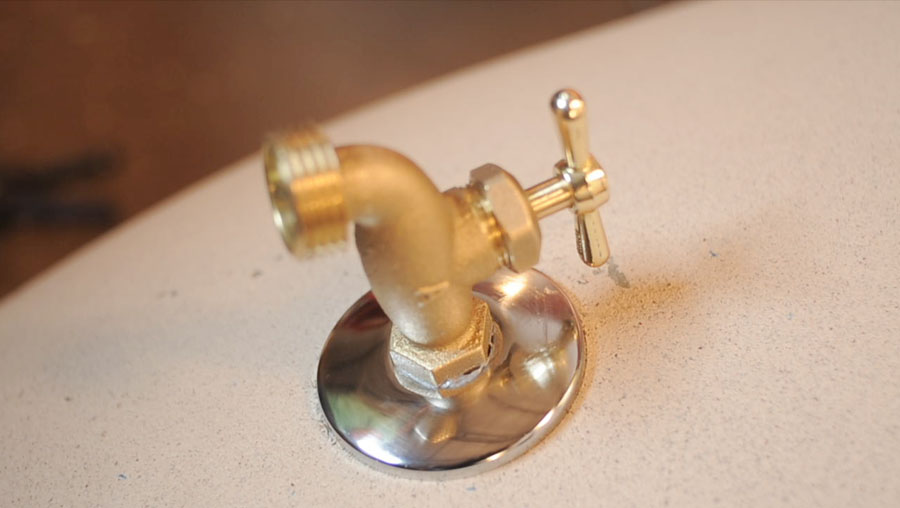
Using a drill with a paddle bit, bore a hole into the side of your barrel about a third of the way from the bottom, where you will mount the hose bib.
It’s important that this joint doesn’t leak, so be sure to use a silicone-based waterproof caulk to seal all of your hardware.
Apply caulk to the 1/2” plumbing flange and mount it around the hole in your barrel.
Once the flange is in place, apply a bit of caulk to the threads of your hose bib, thread it through the flange and into your barrel.
Apply a bit more caulk to the 1/2” faucet nut and tighten it to the back of the hose bib from inside the barrel.
-
Create an overflow valve.
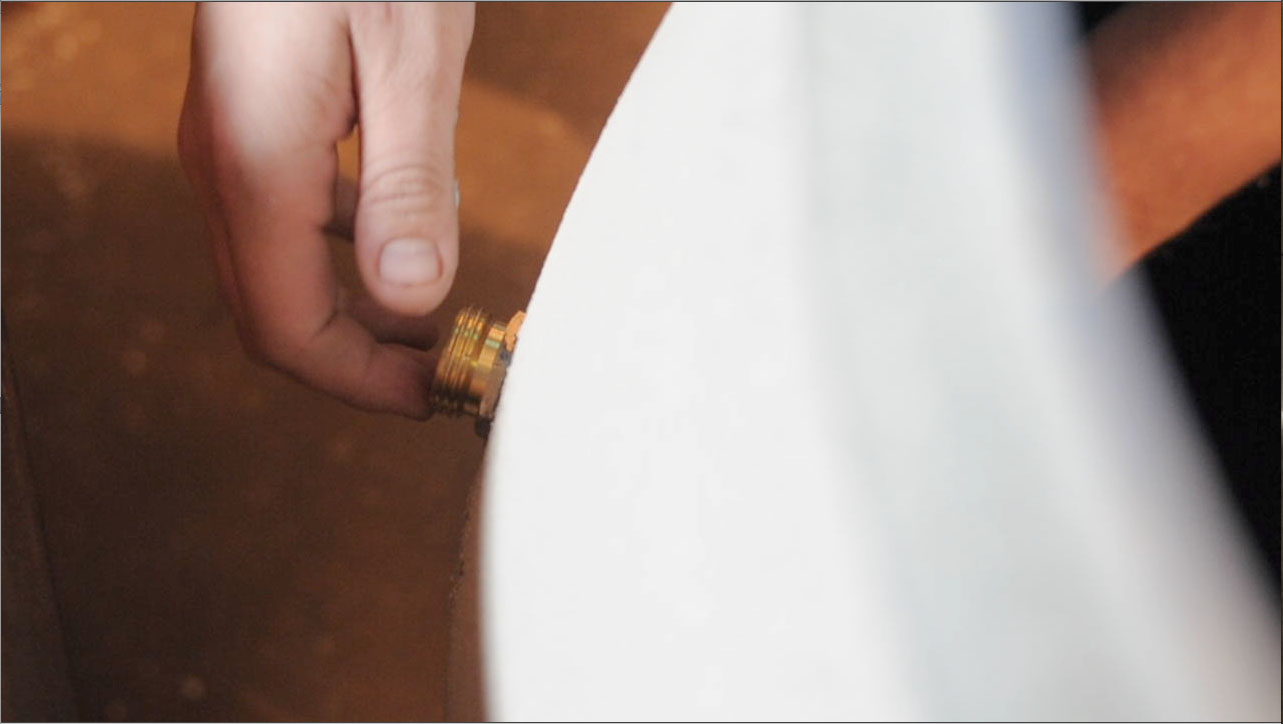
Use your power drill and paddle bit to bore another hole into the side of your barrel, a few inches from the top.
Apply a bit of caulk to a 3/4” hose adapter and thread it through the hole you created, securing it tightly with a faucet nut from inside the barrel.
The overflow valve allows excess water to drain from your barrel when it is full. If you live in a particularly dry area, you can create a green rainwater collection system by attaching a short length of hose to the overflow valve and feeding it into another rain barrel. Double or triple the amount of natural rainwater that you can collect for your garden!
-
Construct a Base
Construct a base for your rain barrel by stacking salvaged landscaping pavers, bricks, or cement blocks at the base of one of your gutter’s downspouts. You will want to select an area that will provide the easiest access to your garden and the areas that you water the most.
A 55-gallon barrel will weigh more than 480 pounds when it is filled with rainwater so be sure that the base is secure before installing your rain barrel.
Adding a few inches of elevation to your installation site will not only improve water pressure in your barrel but will allow enough room for you to fit a watering can under the spigot as well.
-
Install your rain barrel.
In order to install your rain barrel, you will need to change out a short segment of your existing gutter’s downspout. Using your flexible downspout converter as a guide, determine where you will need to cut, and use metal snips to trim any excess length.
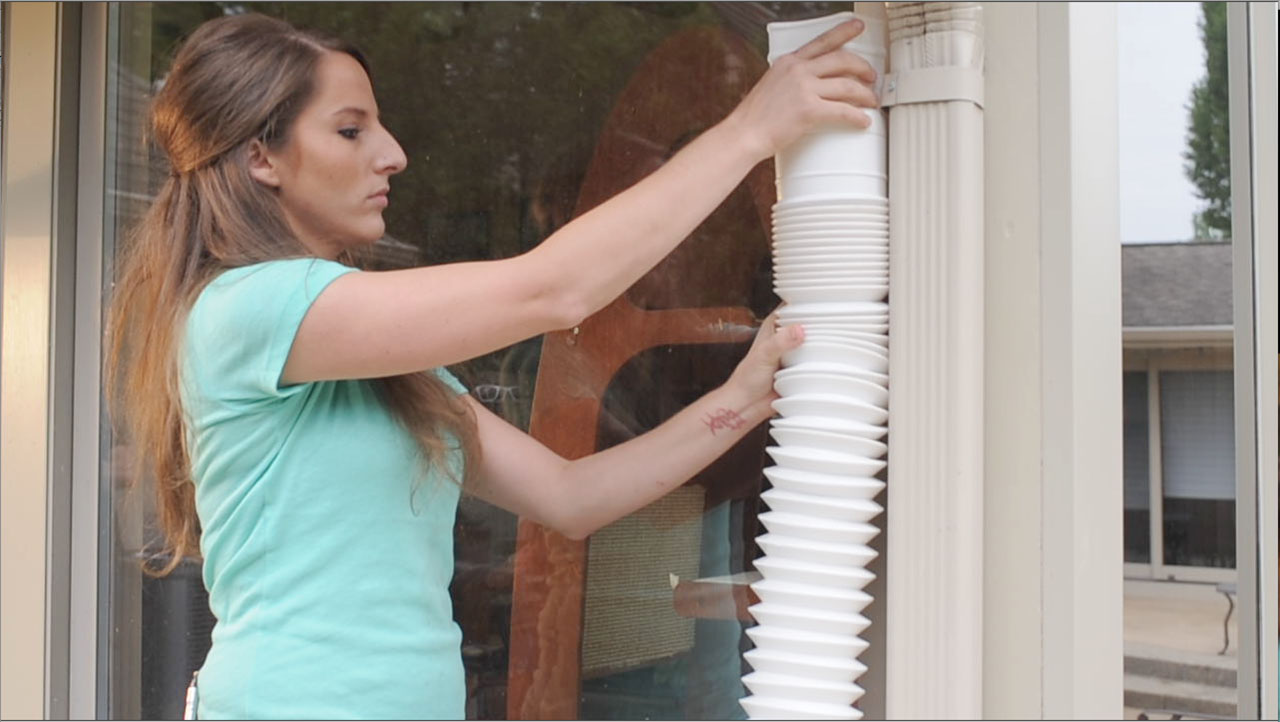
Although the converter should fit snugly over the existing downspout, use rust-proof screws to secure it in place.
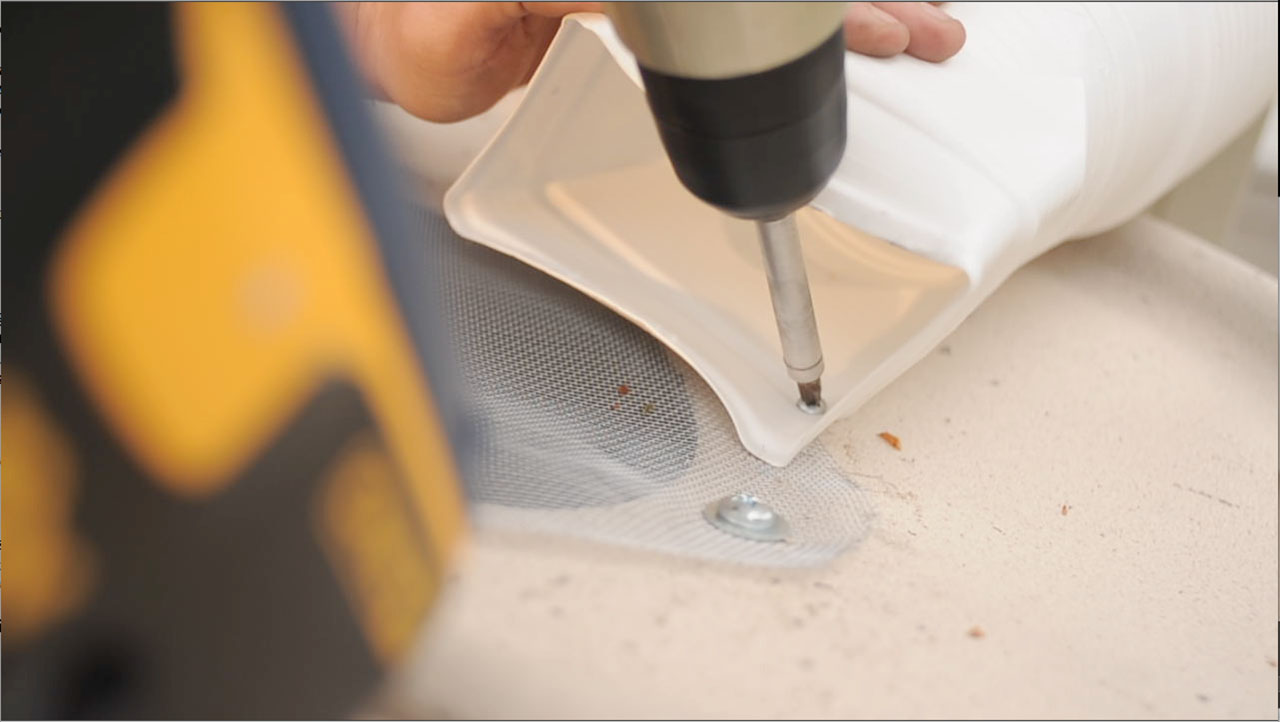
Once the flexible downspout converter is attached to your home’s gutter system, use a power drill to drive a rust-proof screw through the bottom of the converter and into your barrel, securing it in place over the screened hole in the lid.
Using the nutrient-filled rainwater recycled by your rain barrel to water your garden will keep your plants healthy and happy, even during the drier months of the year. This eco-friendly, water-conserving DIY rain barrel will allow your family to live a little greener and can be a beautiful addition to your home and garden.
