Although in the past I have been lovingly accused by a few of my near-and-dear friends and family of having hoarder-esque tendencies, I still like to keep a few unfinished projects around the house for inspiration.
My busy home is constantly evolving around me, and being surrounded by unfinished projects keeps me thinking -- it keeps my wheels turning. I am constantly imagining the possibilities within the vintage junky materials that I pick up at antique shows and flea markets: what they could become or how they could improve or accent the character of my current space.


I keep a stockpile of these mostly found raw materials in my garage, studio, and home to work from. I have everything from my beloved wooden crates to reclaimed flooring, old windows, and the occasional broken chair.
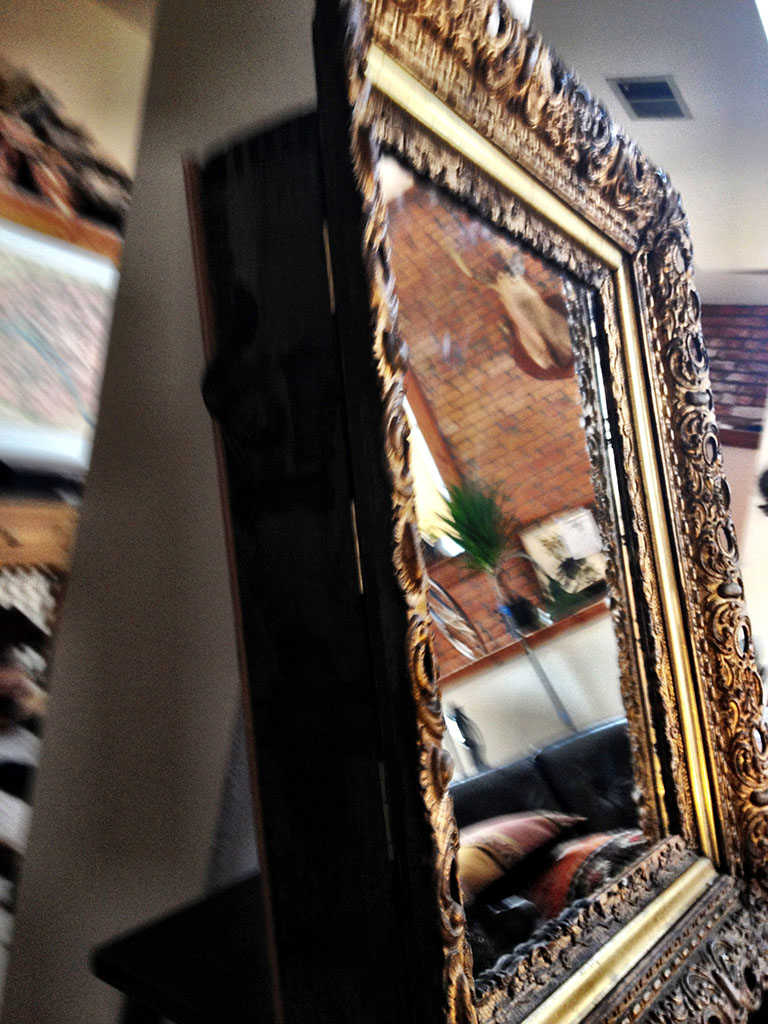
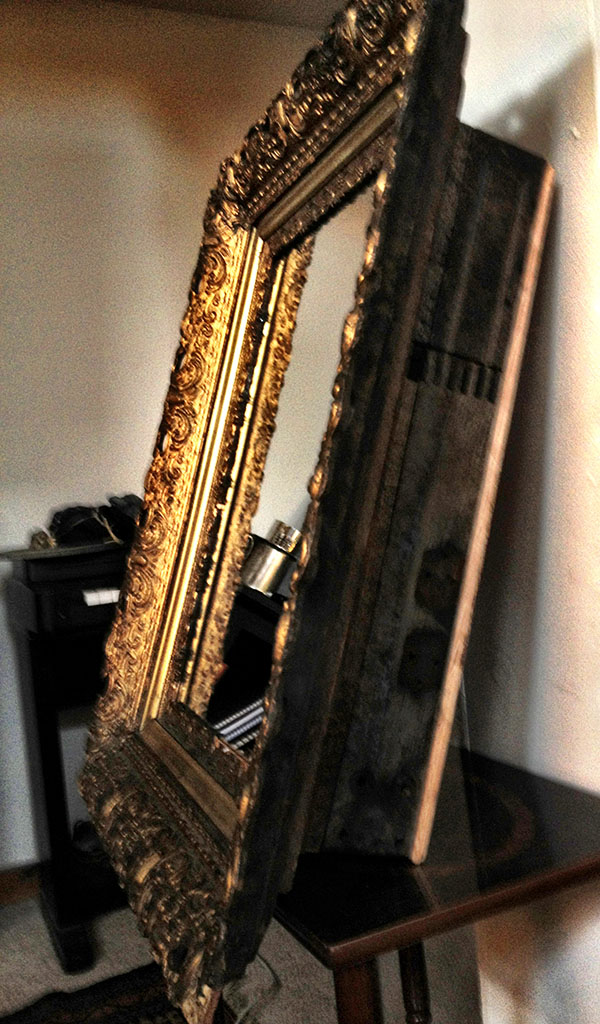
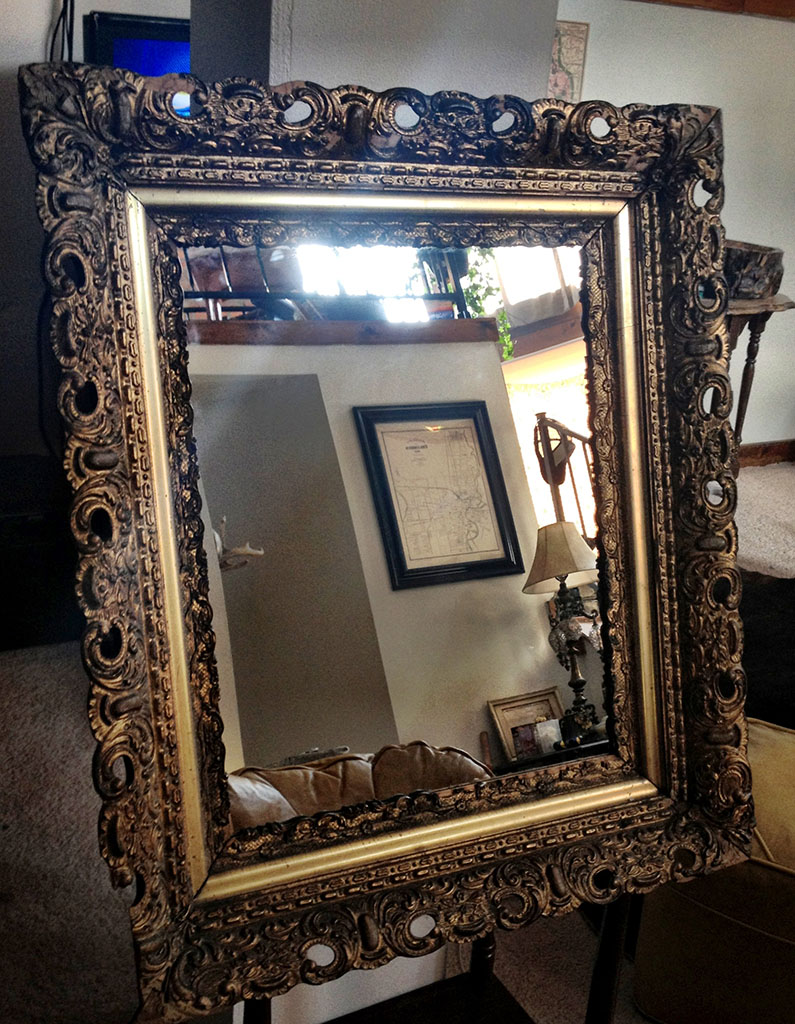
This project�s inspiration came from an old, beaten-but-beautiful, hand-carved and elaborate gold picture frame. I have hauled this thing from apartment to apartment all over the city in the past few years. I never really found the right place or purpose for it, but it�s my style. I knew that from the first moment that I set eyes on it in the �freebie� pile.
I have known that one day it would fit into the style of my home flawlessly and in an impactful way. I�m so glad that I finally figured out what to do with the big golden beauty!
-
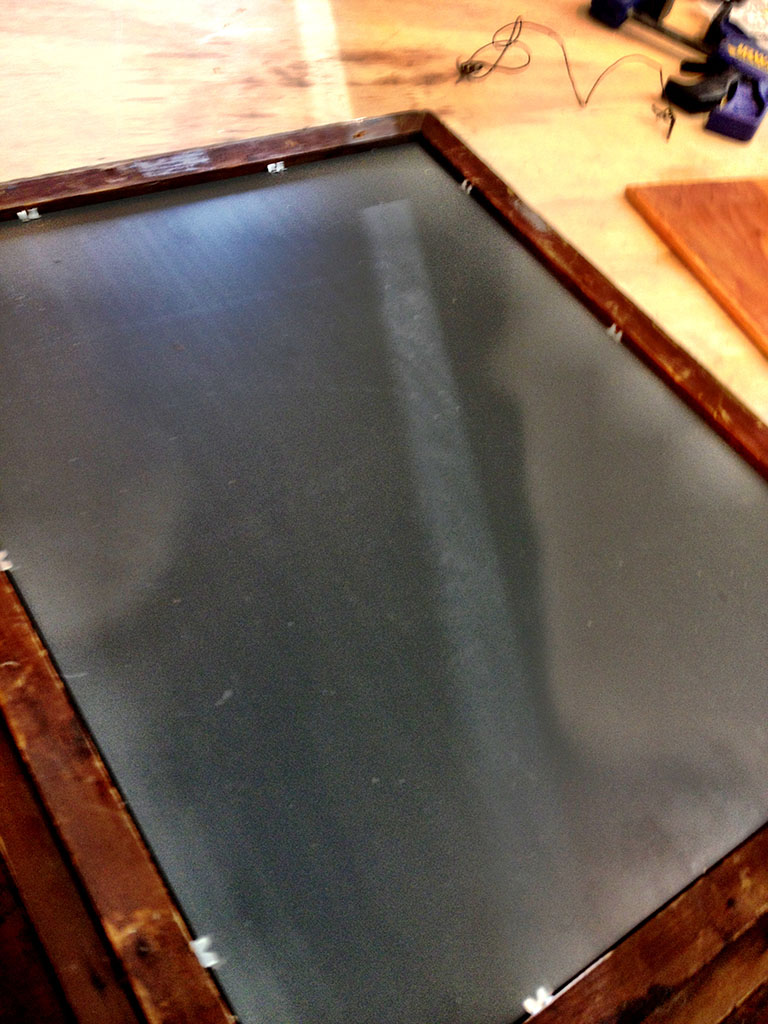
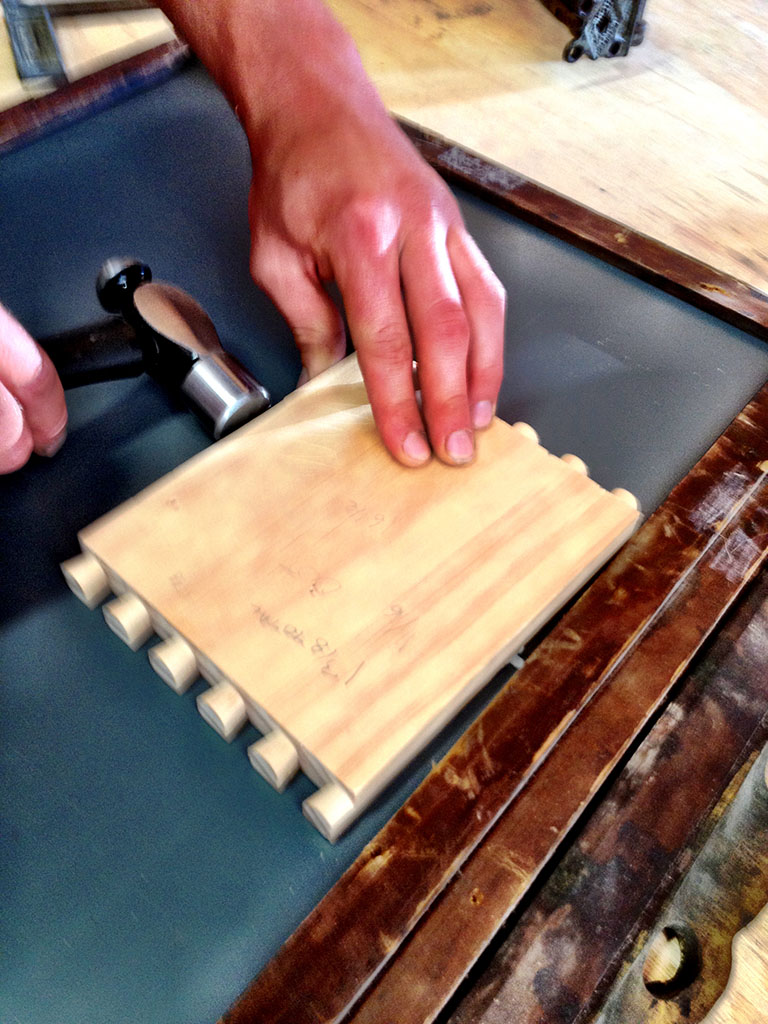
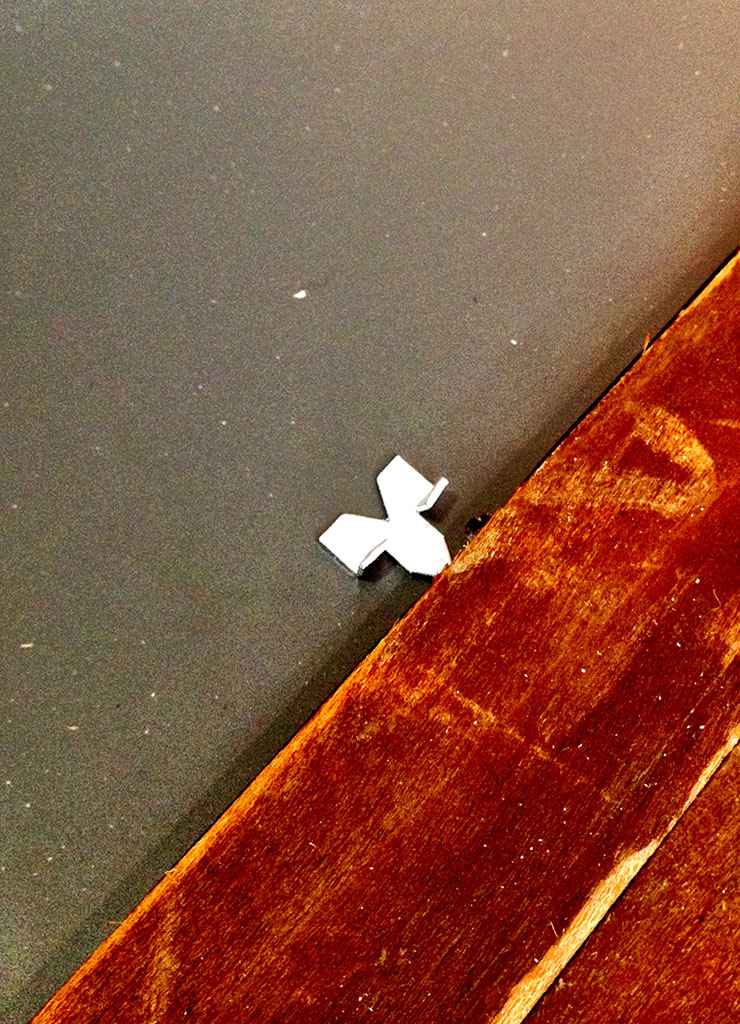
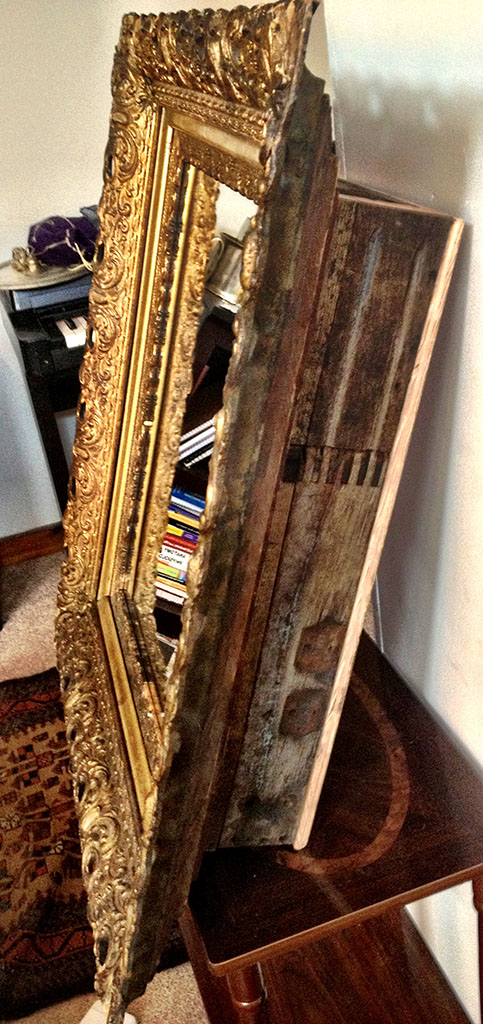
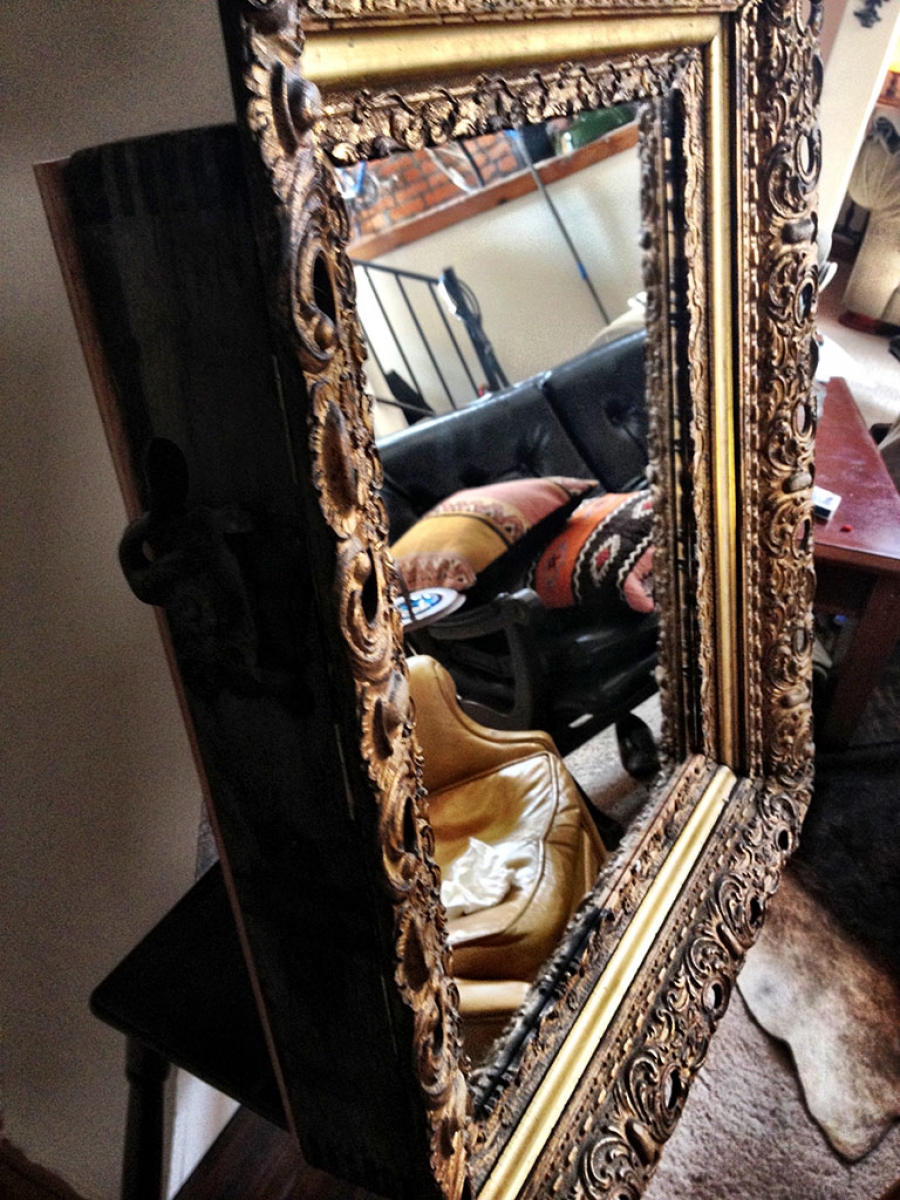
Step One: Install your mirror
Insert your mirror into the back of your frame. Use a piece of scrap wood to hammer glass clips into the frame around the outside edges of your mirror to secure it in place.
-
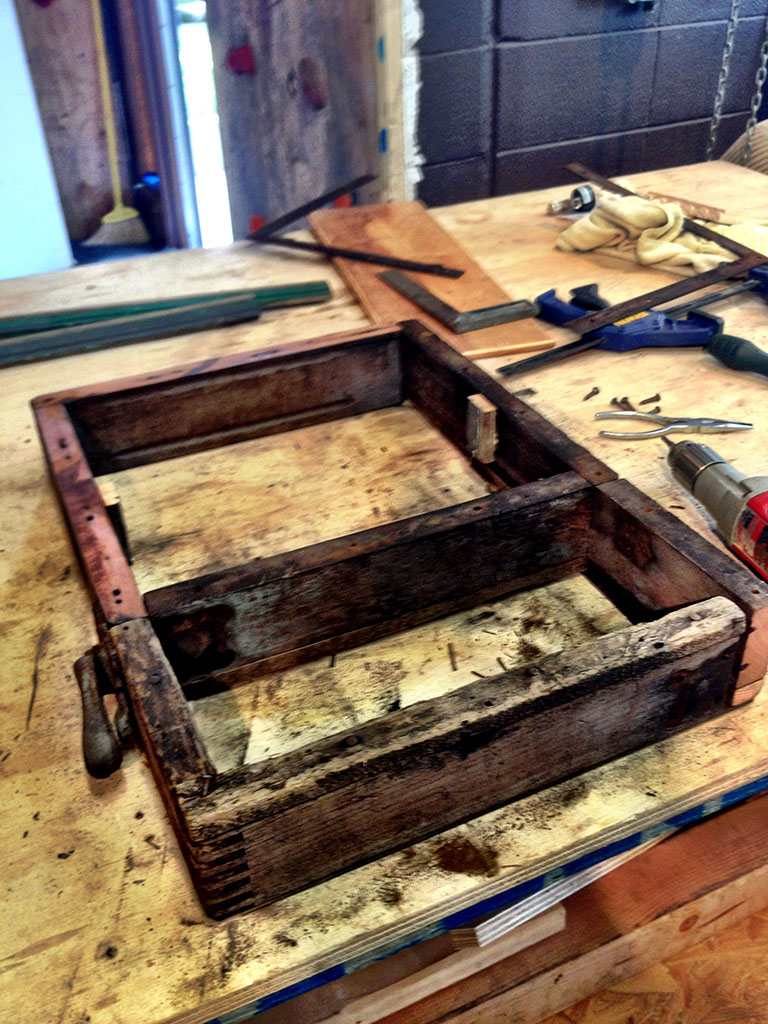
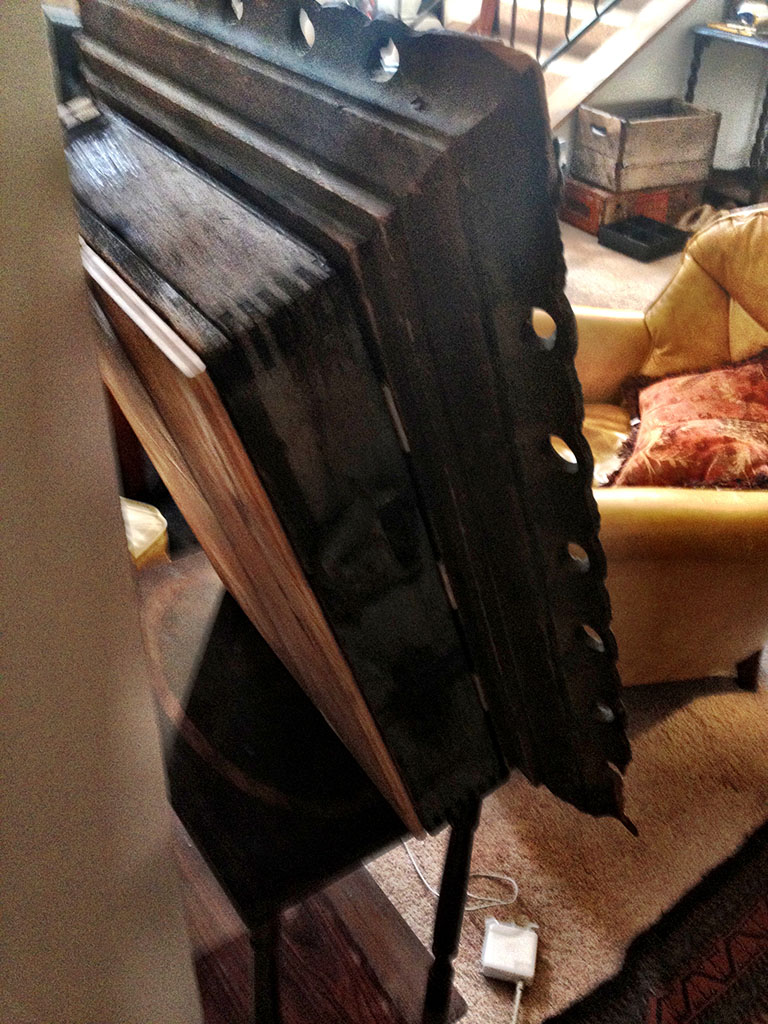
Step Two: Construct a frame for your cabinet
My cabinet had some special requirements because I was working with somewhat untraditional materials. I selected some wooden foundry casks to create the frame of my cabinet, and used some miscellaneous scrap pieces to create the backing and shelving.
You will need to construct a rectangular framed box that is solid and secure enough to support your mirror and bathroom necessities. Most traditional medicine cabinets range from 15 1/4� X 30� to 22 1/2� X 20 1/4� on the larger end. Be sure to choose a size that will best accent your own space.


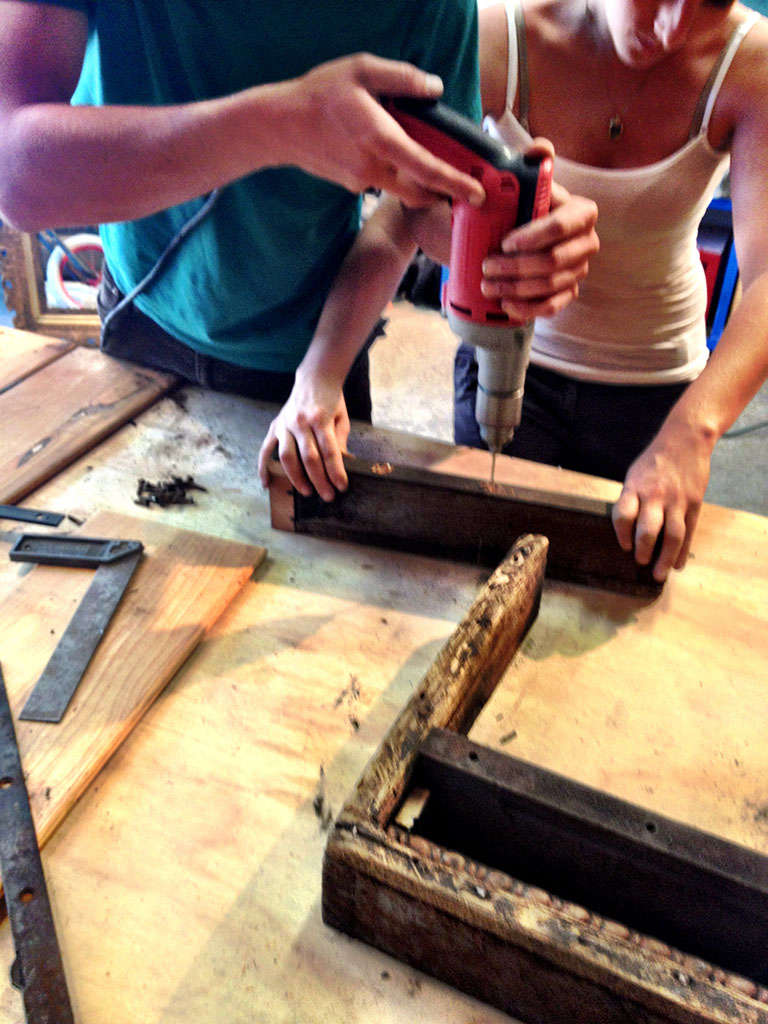
I recycled some of the hardware pulled from these foundry casks to mount portions of the cabinet�s frame together and secure the joints � we even reused many of the original screws!
Be sure to secure everything with wood glue and deck screws to make sure that all of your joints are solid!

-
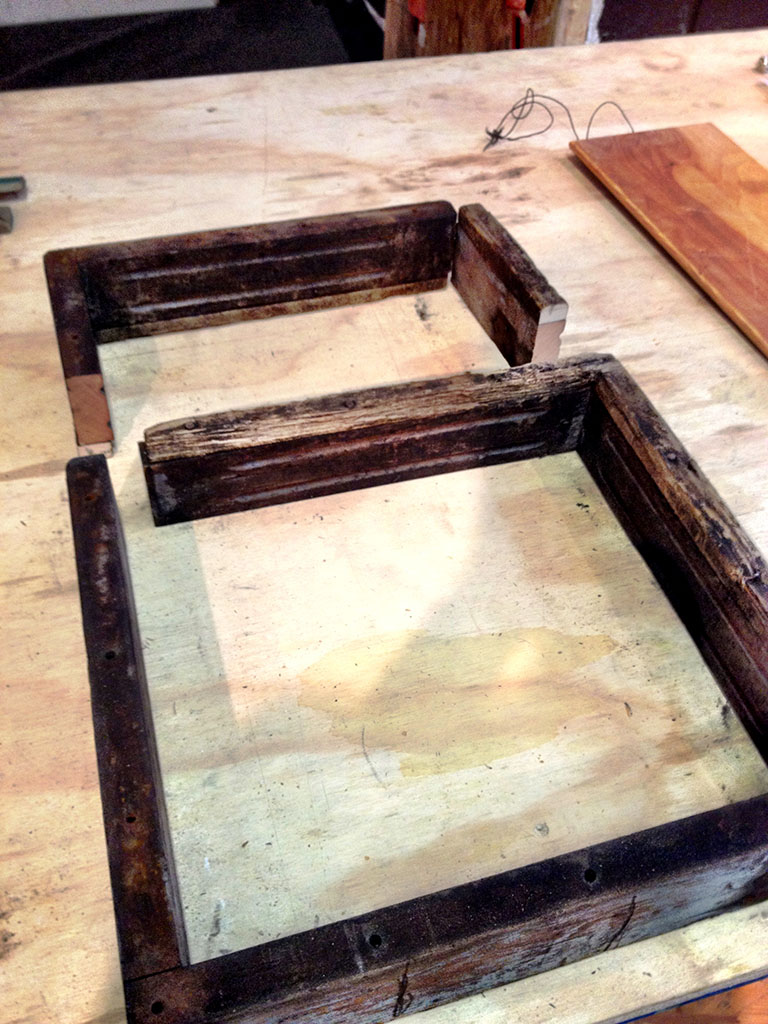
Step 3: Create shelving
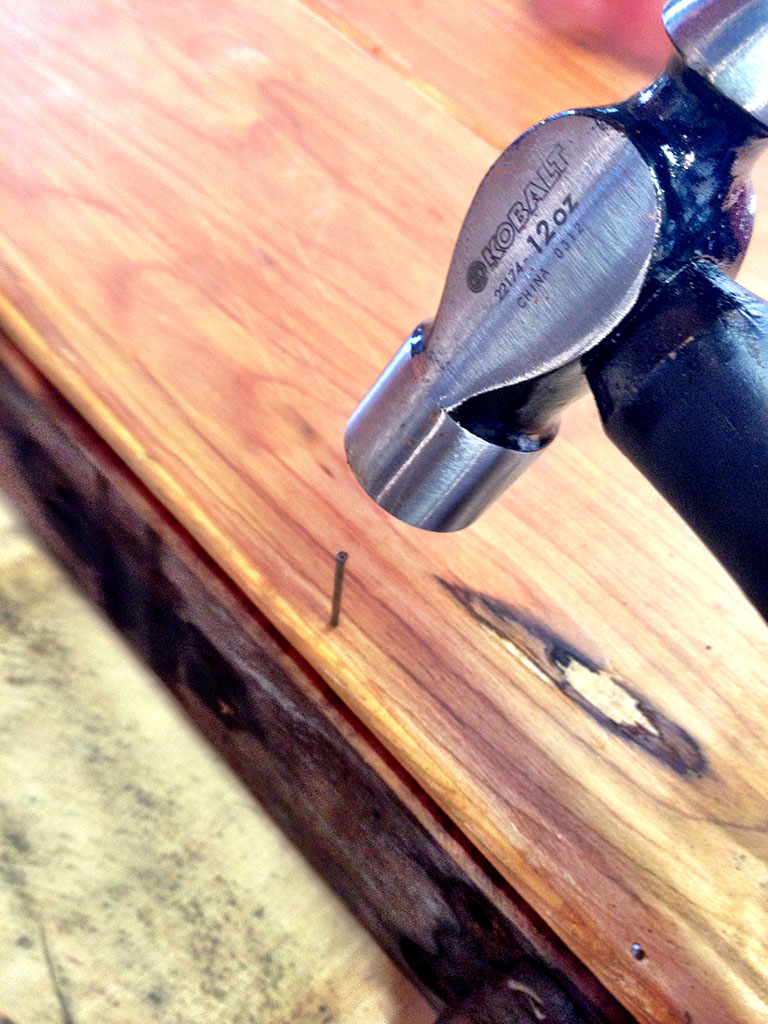
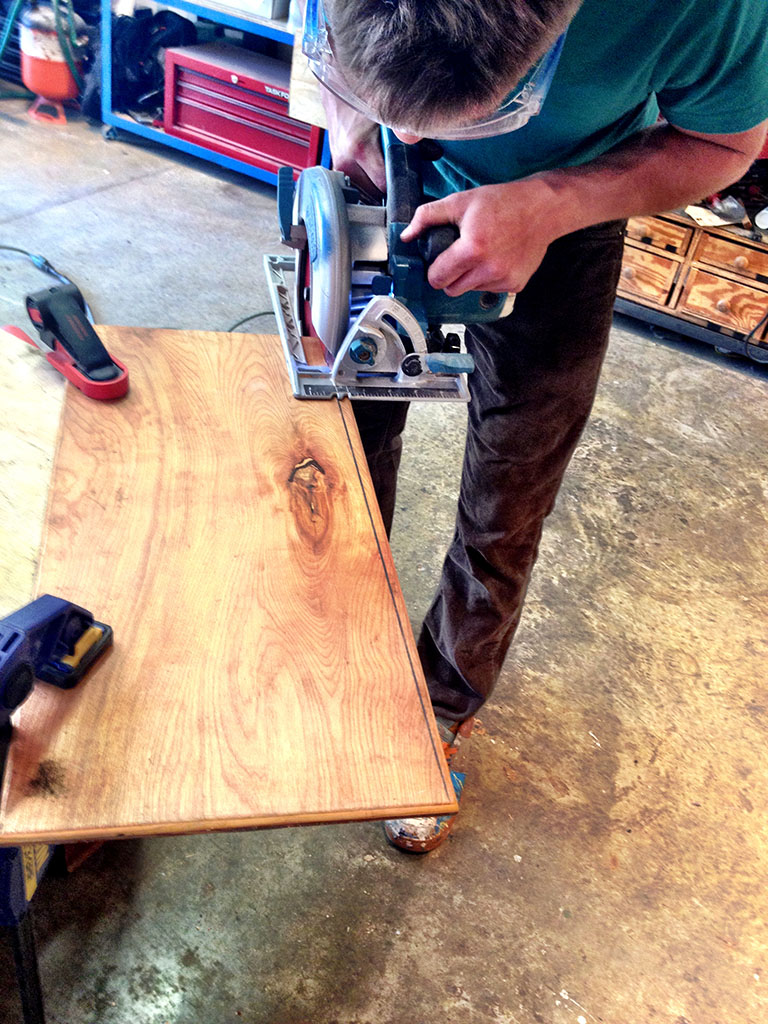
Using a circular saw, I cut a piece of decorative trim to create a removable shelf. I wanted to be sure that my medicine cabinet could be transformed to house any size bottle or jar, so I mounted two rests on either size of the frame that would support the piece of trim. I used a bit of wood glue and finishing nails to secure the rests in place and made sure that my shelf was level before mounting them.
-
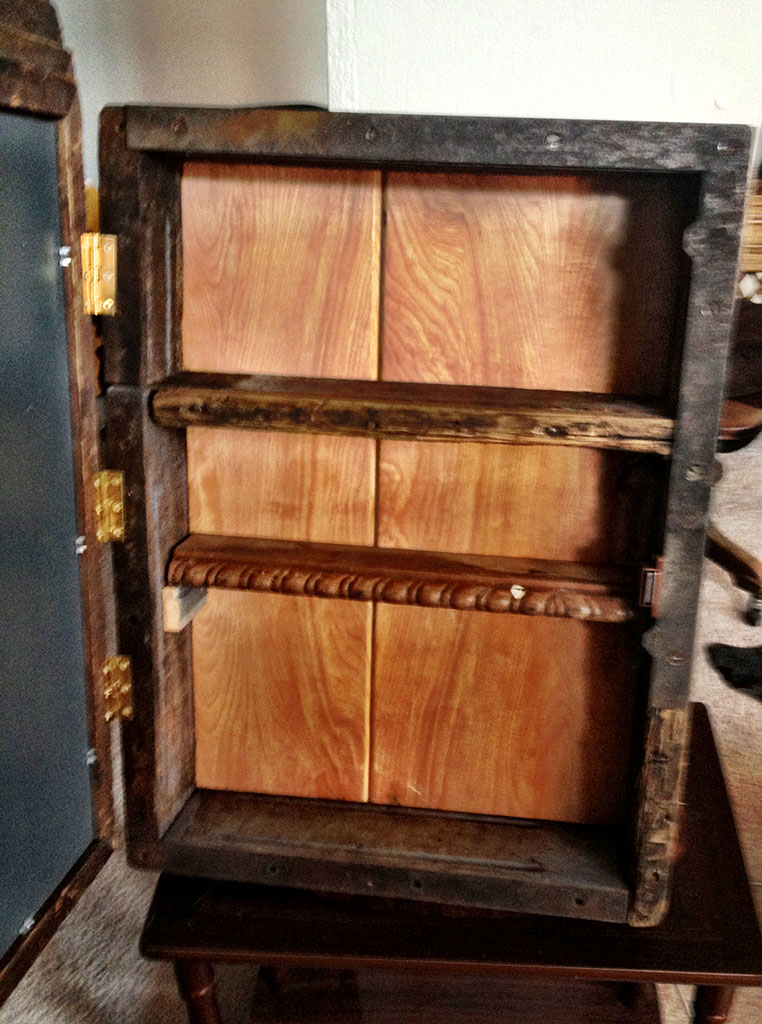
Step 4: Attach backing to your cabinet frame


I selected a few pieces of beautifully stained scrap wood left over from another project to create the backing for my cabinet frame. We used our trusty circular saw once again to trim my backing, and then mounted it to the frame using several finishing nails hammered into the exterior of the frame, as well as the one solid interior shelf.
-
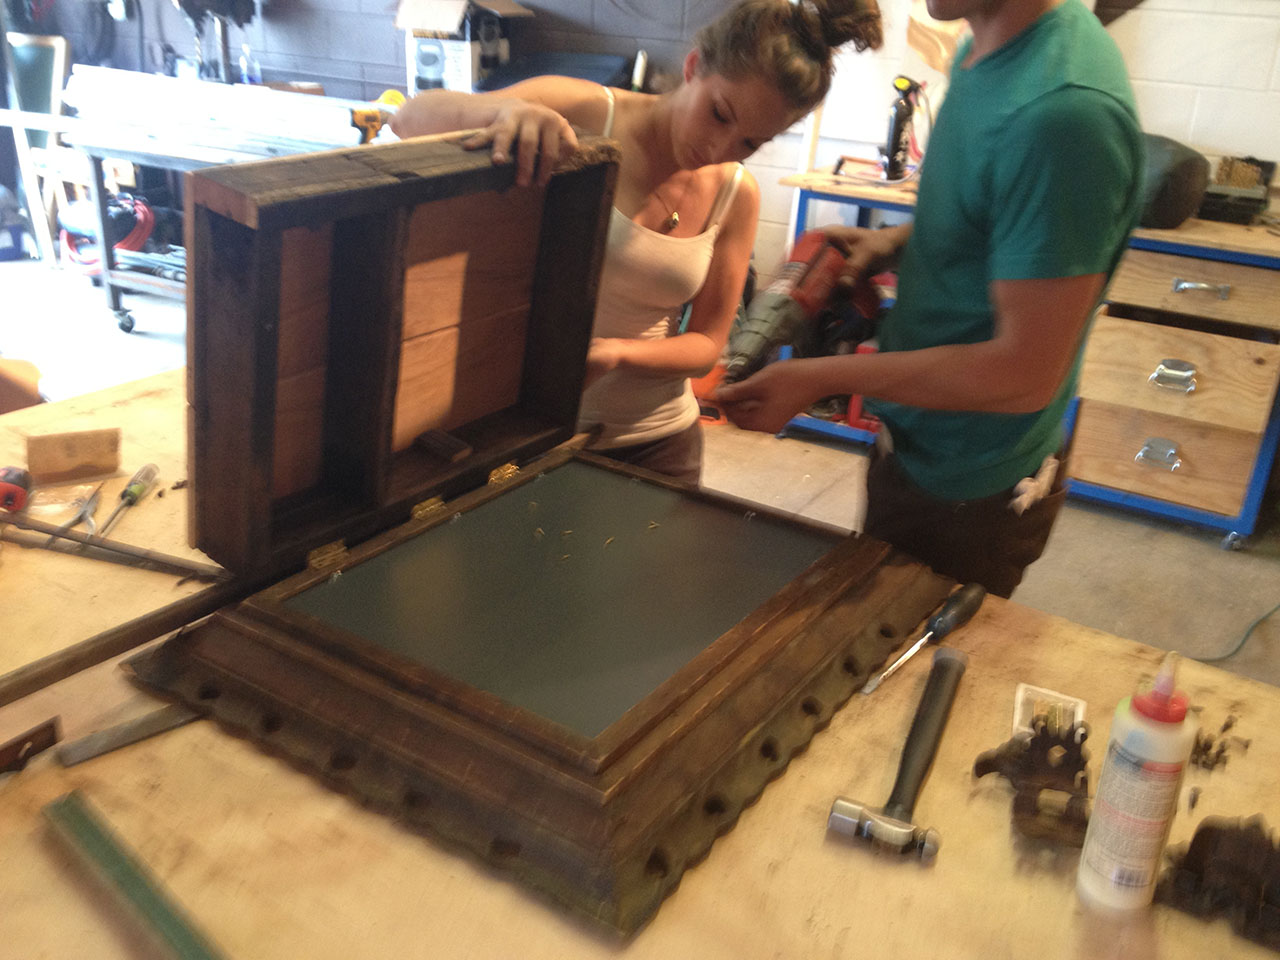
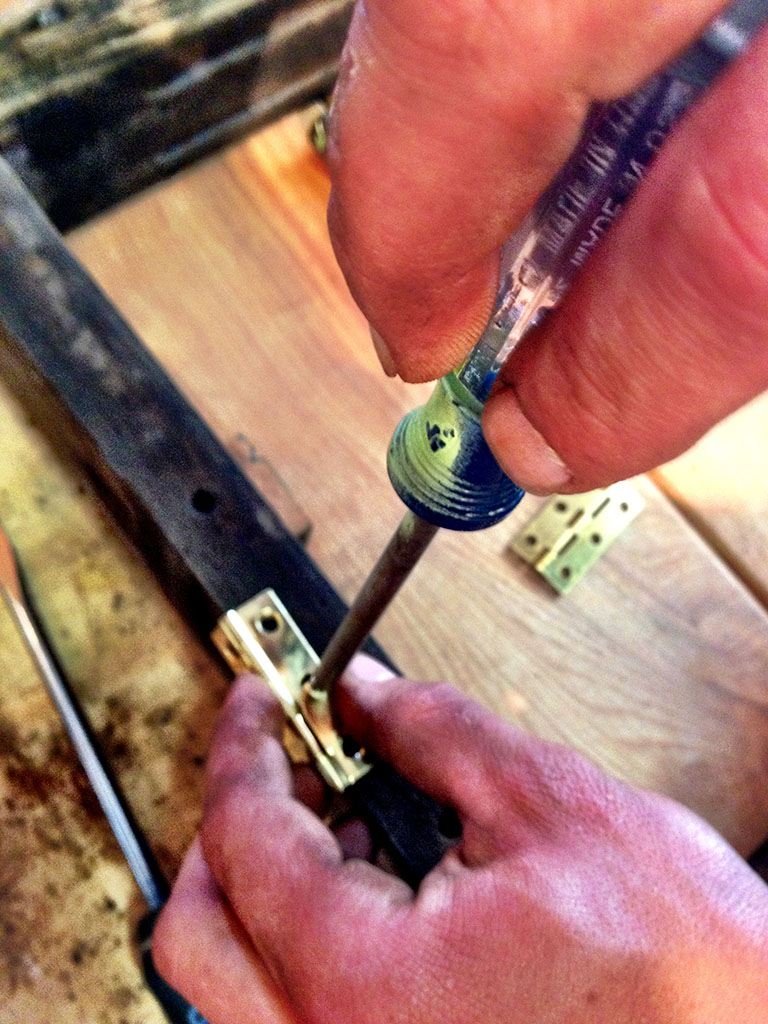
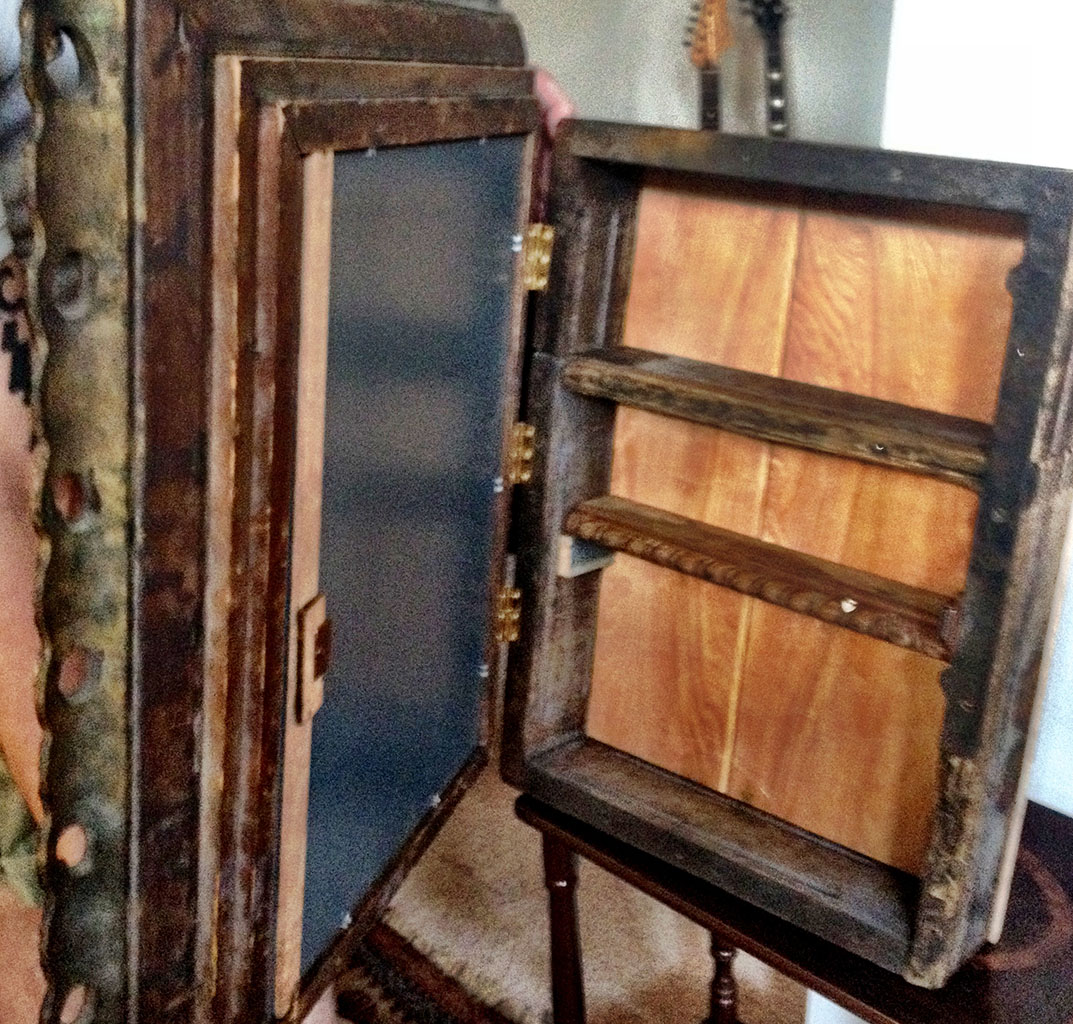
Step 5: Use hinges to attach the cabinet to the framed mirror


I selected three 1 1/4� hinges and mounted them first to my medicine cabinet and then to my mirrored frame by using a screwdriver and a power drill. Be sure to allow the hinges to hang over the edge of your cabinet and frame so that the mirrored door can easily swing open and closed.

-
Step 6: Install magnetic closure hardware
Once your cabinet and framed mirror are securely attached to one another, all you need to do is to mount a magnetic closure hardware set to the cabinet frame and the mirror. This will ensure that the door of your medicine cabinet will stay securely closed once it is hung on the wall.
I had to be a bit creative with the placement of my hardware due to the size of my picture frame, but everything worked out perfectly!
-
Step 7: Use mounting hardware to install in your bathroom
Select hardware that is heavy-duty enough to support the weight of your cabinet and its contents before mounting this project into your studs.


Be sure to check back for my next article to see this beauty hard at work in my DIY Bathroom Renovation for Renters.
Special thanks to my good friend and very talented designer/woodworker Loren Foster who helped me to construct this project!