This project requires some basic DIY tools and materials as well as fabric, foam, batting, and mounting hardware. Depending on your choice of paint and fabric, you can create this custom look for your bedroom, regardless of whether your style is vintage or contemporary, for far less than the cost of a professionally upholstered or store-bought headboard. Installing a floating headboard only takes minutes and will transform your bedroom into a polished retreat.
Project Steps and Details
Here’s the breakdown of this project in seven easy steps.
-
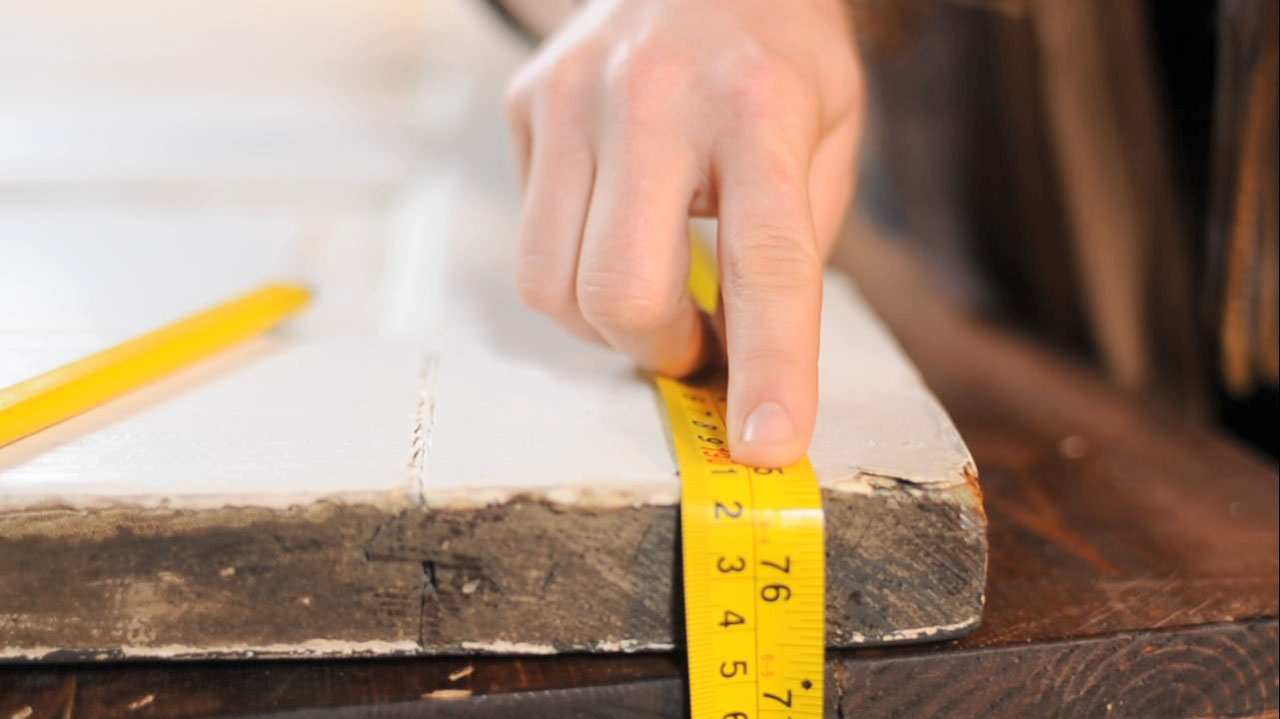
Lay your door on a sturdy work surface and measure the top line. Remember that you will be flipping your door and hanging it horizontally for this project. (Many doors have a long baseboard at the bottom; you may have to trim the bottom of your door to match the top, so that the upholstered panels of your headboard, when hung, will have symmetry.)
-
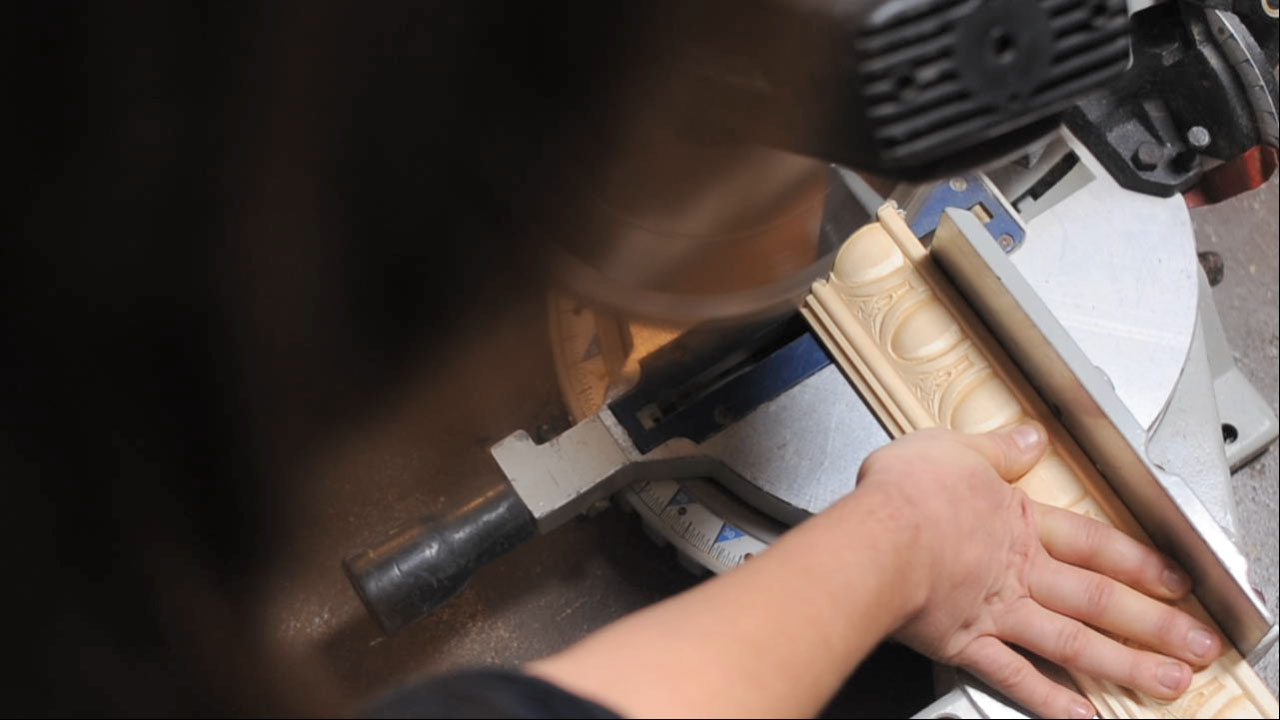
Cut a length of trim to fit. You can use a handsaw with a miter box, a circular saw, or a miter saw. (If you are buying trim for this project and you know the length of your door at the time of purchase, you can save yourself a step by having it cut to length at the hardware store.)
-
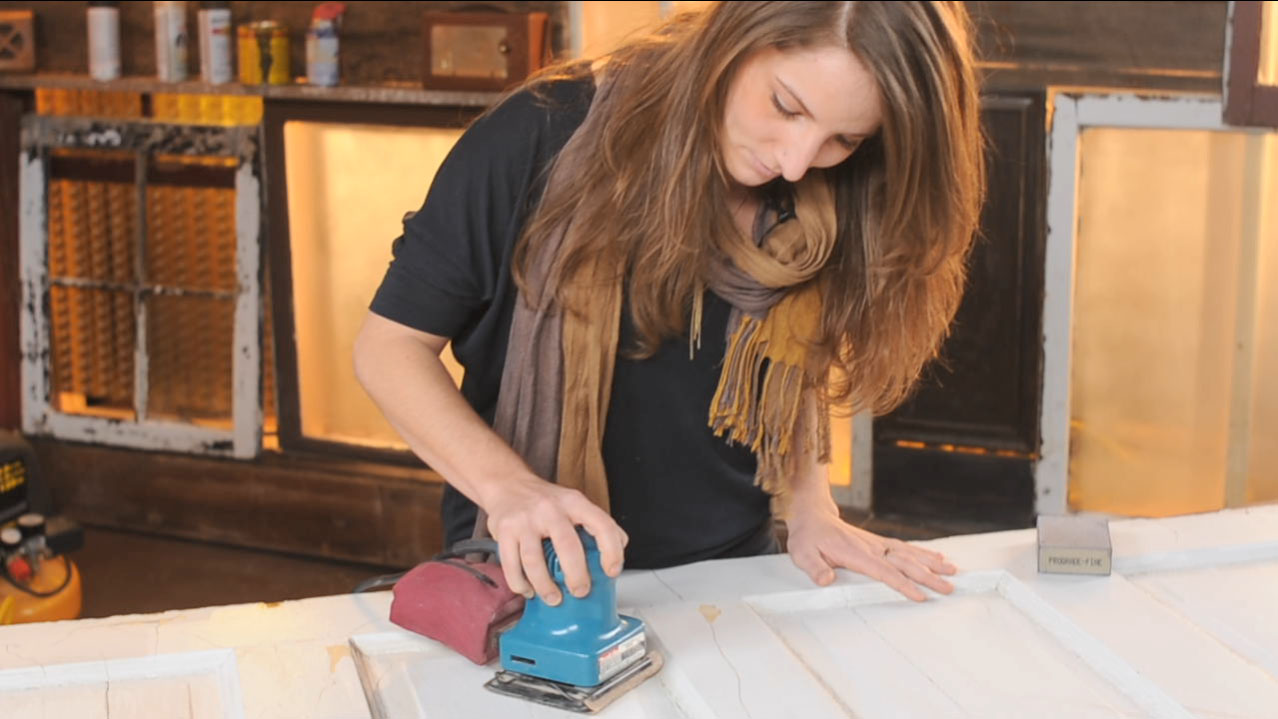
Sand the door to remove any old paint or finish. Sand and smooth the cut edges of the trim to prepare them to take paint or stain.
-
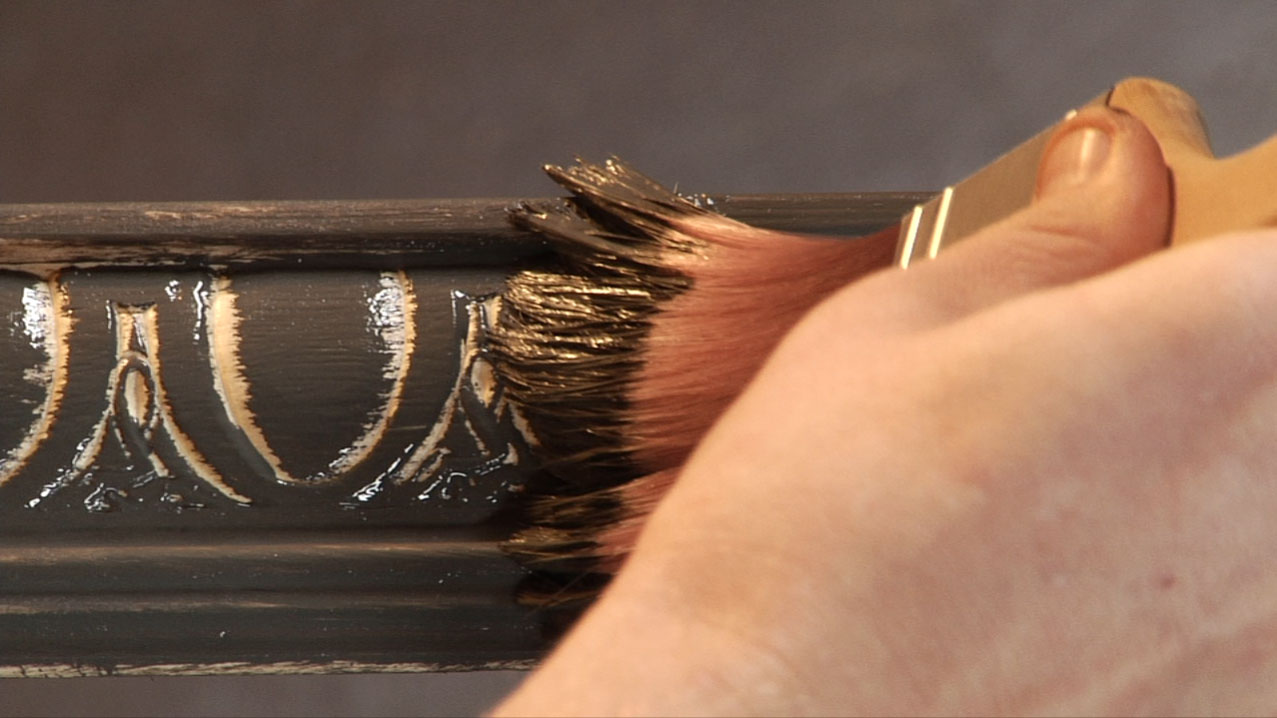
Paint or stain your door and trim. You may want to use a brush for the fine detail work and a roller to finish the rest of the door. To save time, Rachael selected paint with a built-in primer. Rachael uses low- or no-VOC paints to promote better indoor air quality and recommends paints from BioShield.
-
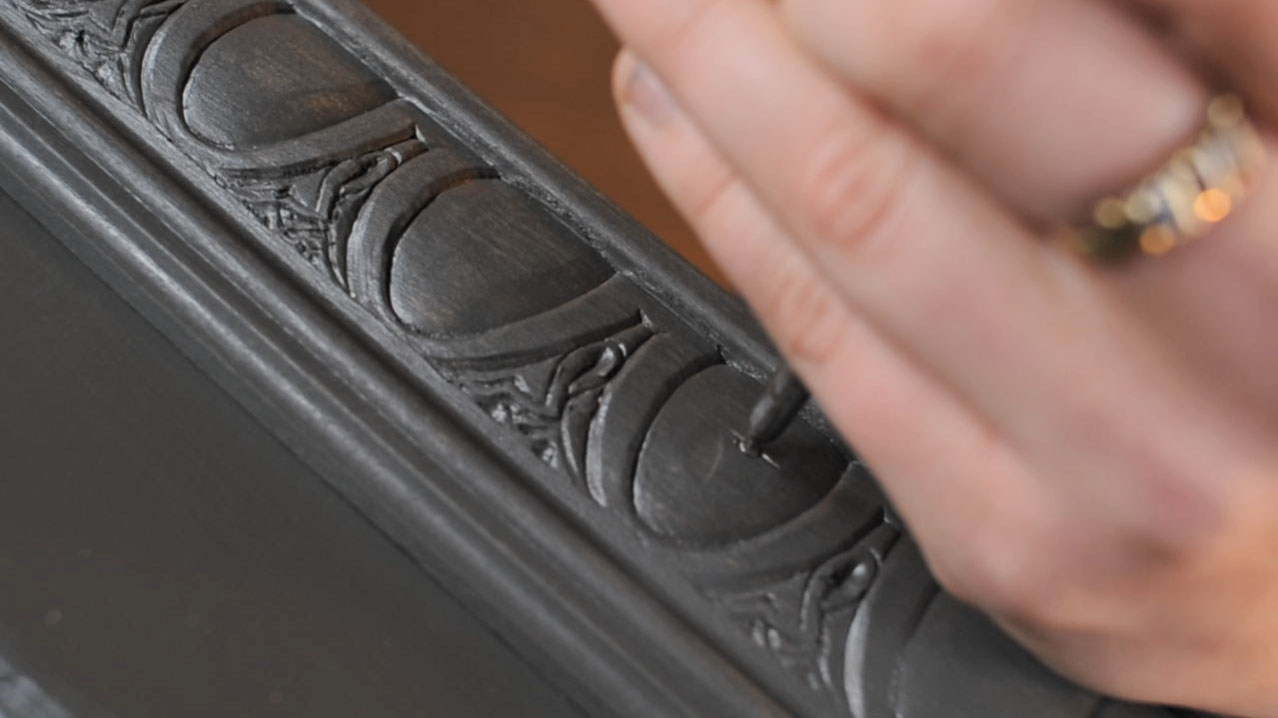
Once paint has dried, use finishing nails and a hammer to mount your trim to the top-line of the door. Finishing nails have a dimple in the nail head so that they can be countersunk with a nail set if and will lie hidden in the trim.
-
Upholster the door’s panels.
-
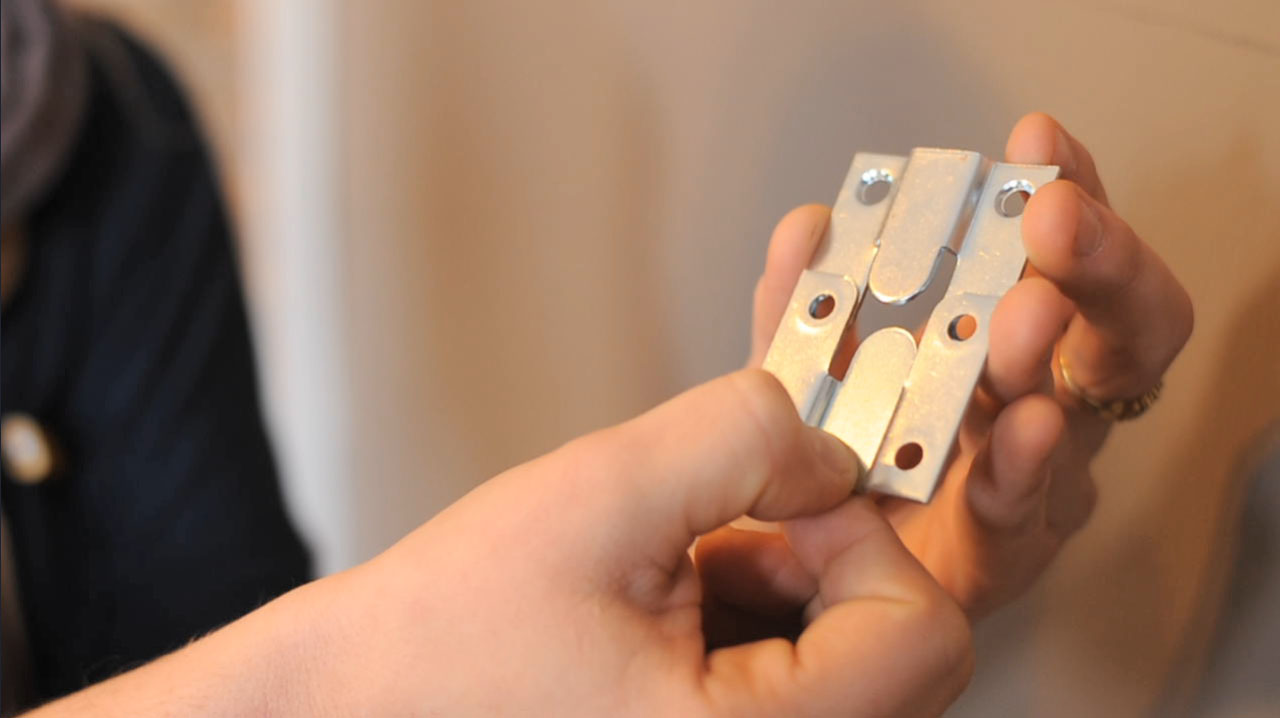
Once your headboard is complete, you will need to mount it on your bedroom wall. Use a stud finder and level when installing your mounting hardware to ensure that your headboard will hang securely. If you are using flush mounting hardware, be sure that the hardware on your wall is placed in the studs, facing up, so that it can bear the weight of your headboard. The flush mounting hardware installed on the back of the headboard should face down so that it interlocks with the wall-mounted hardware.
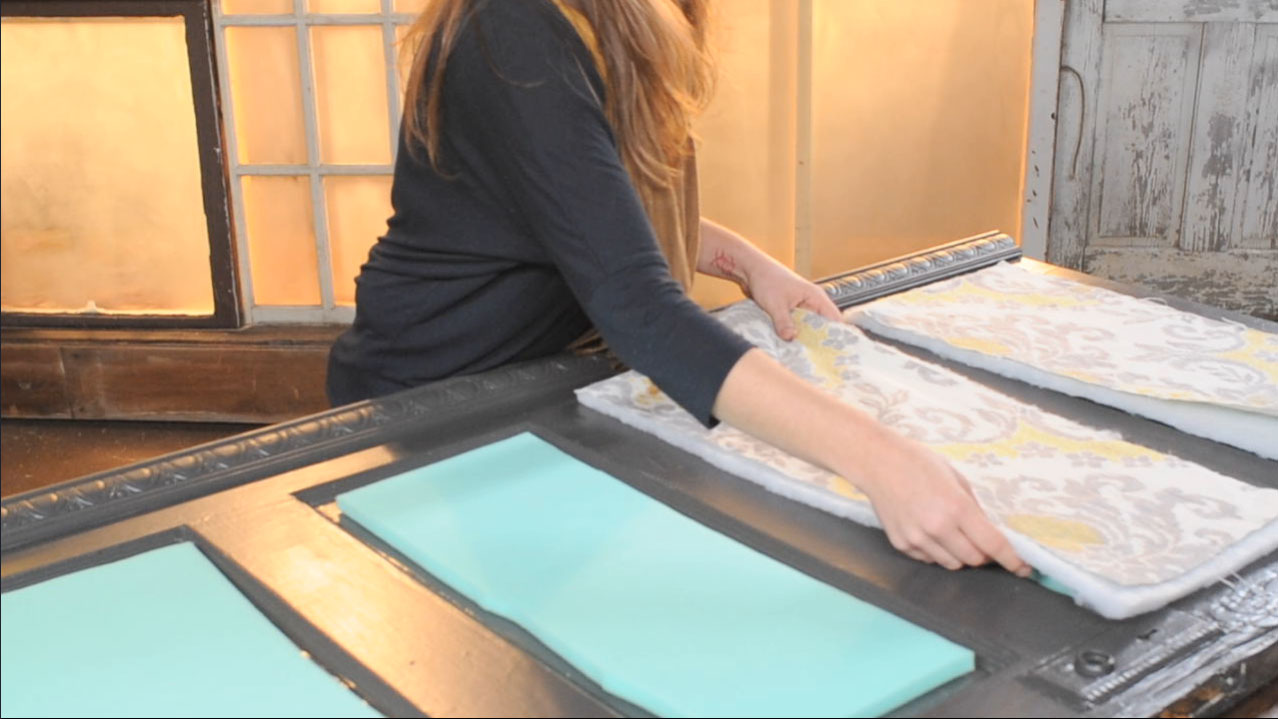
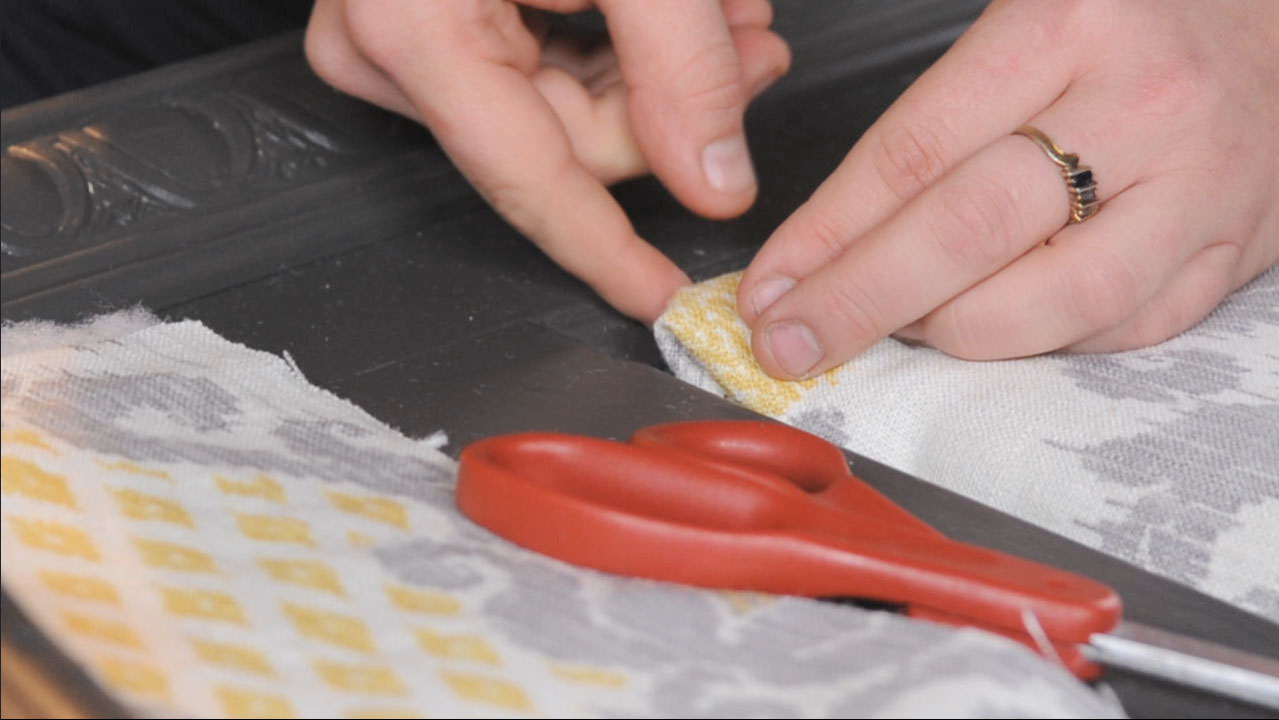
A. For each panel, cut a piece of fabric, a piece of foam, and a piece of batting. The fabric should be 1/2” larger (wider and longer) than the rectangles of foam and batting. You should use an iron to press any wrinkles out of your fabric before proceeding.
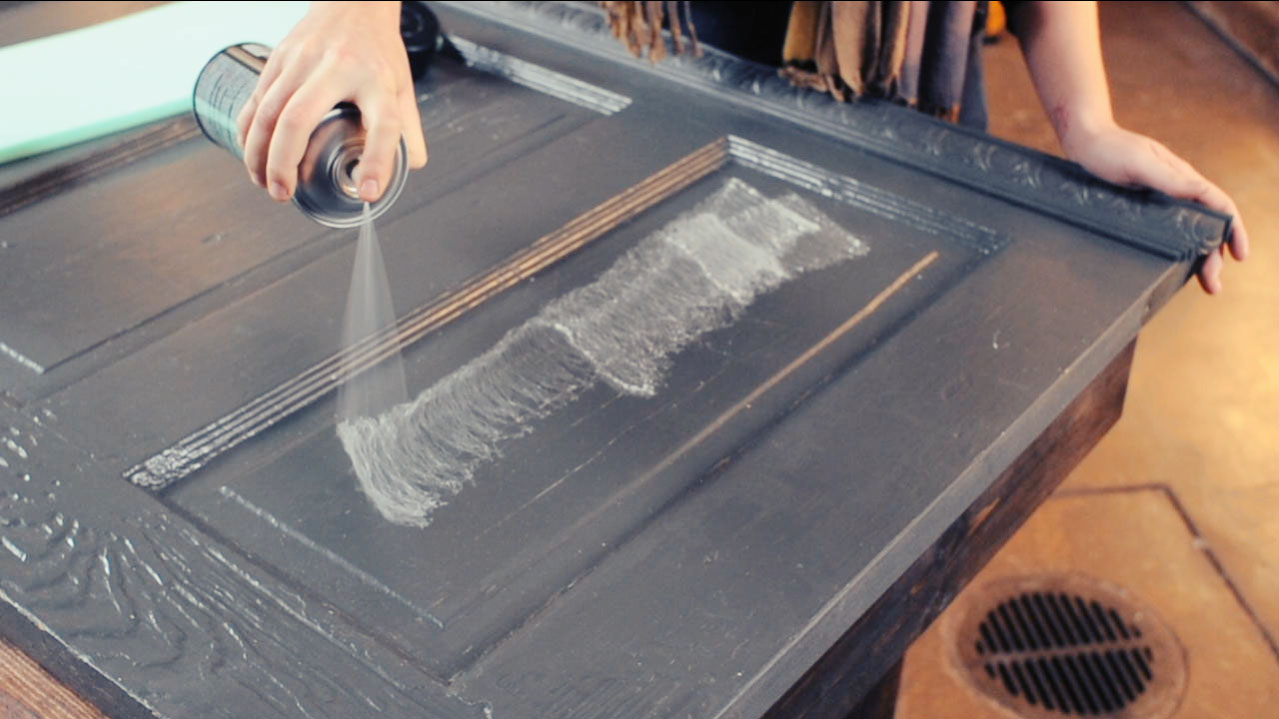
B. Use spray adhesive to affix a piece of foam to each panel. Then lay a piece of batting over each piece of foam. Finally, center the fabric on top of the batting.
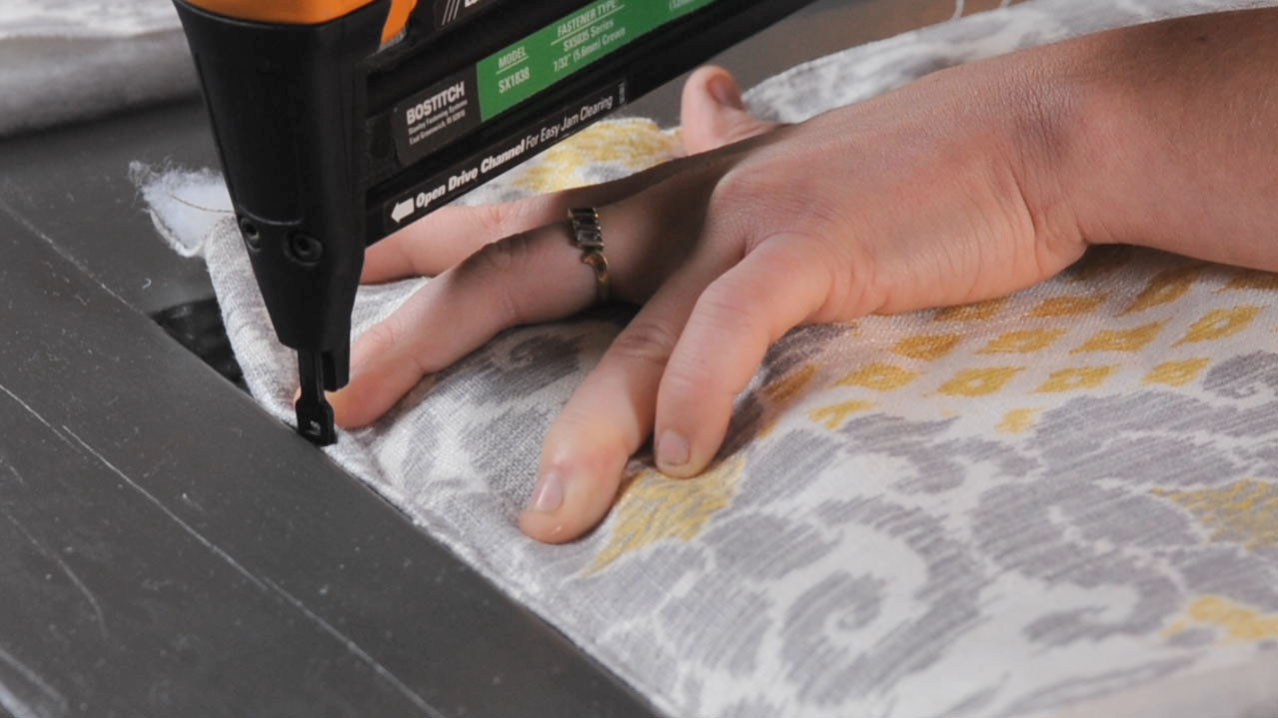
C. Fold the extra 1/2” of fabric over the batting and use a staple gun to attach it to the door. Start at the top of each panel and work your way around, stapling as you go. Keep the fabric taut and smooth and save the corners for last. When you reach the corners, carefully fold the edges of your fabric so that it looks as neat as possible.
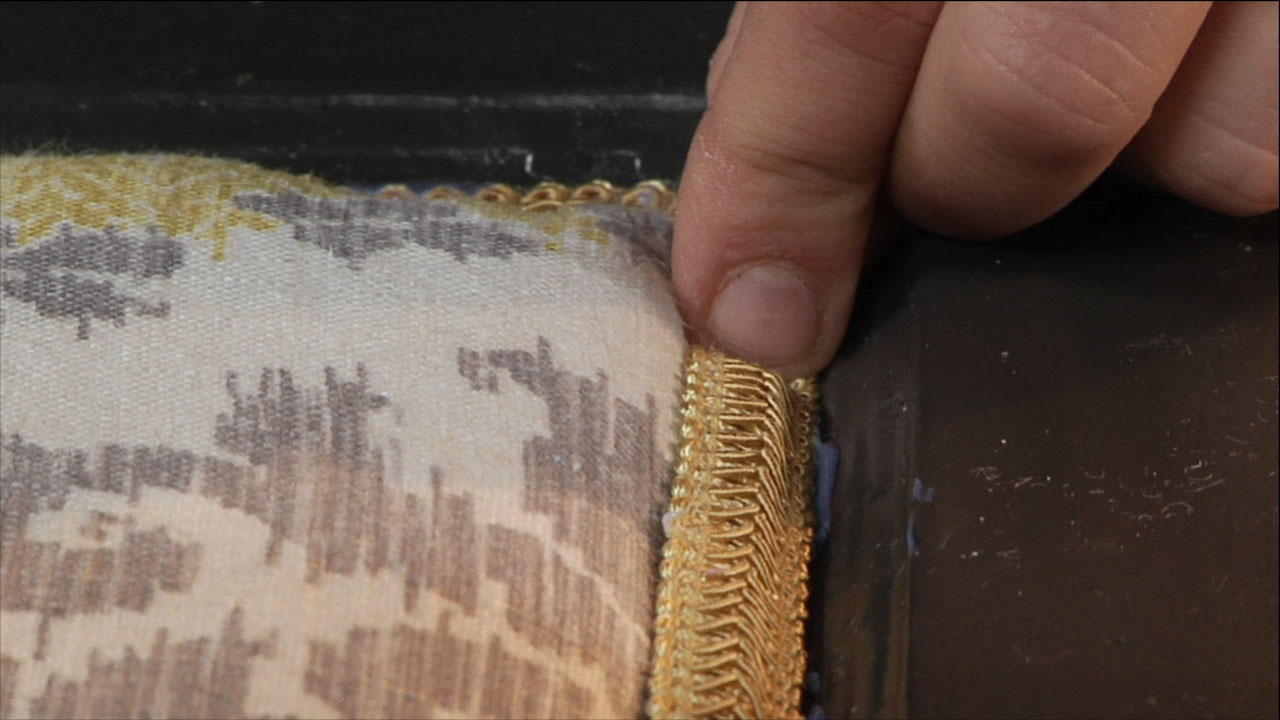
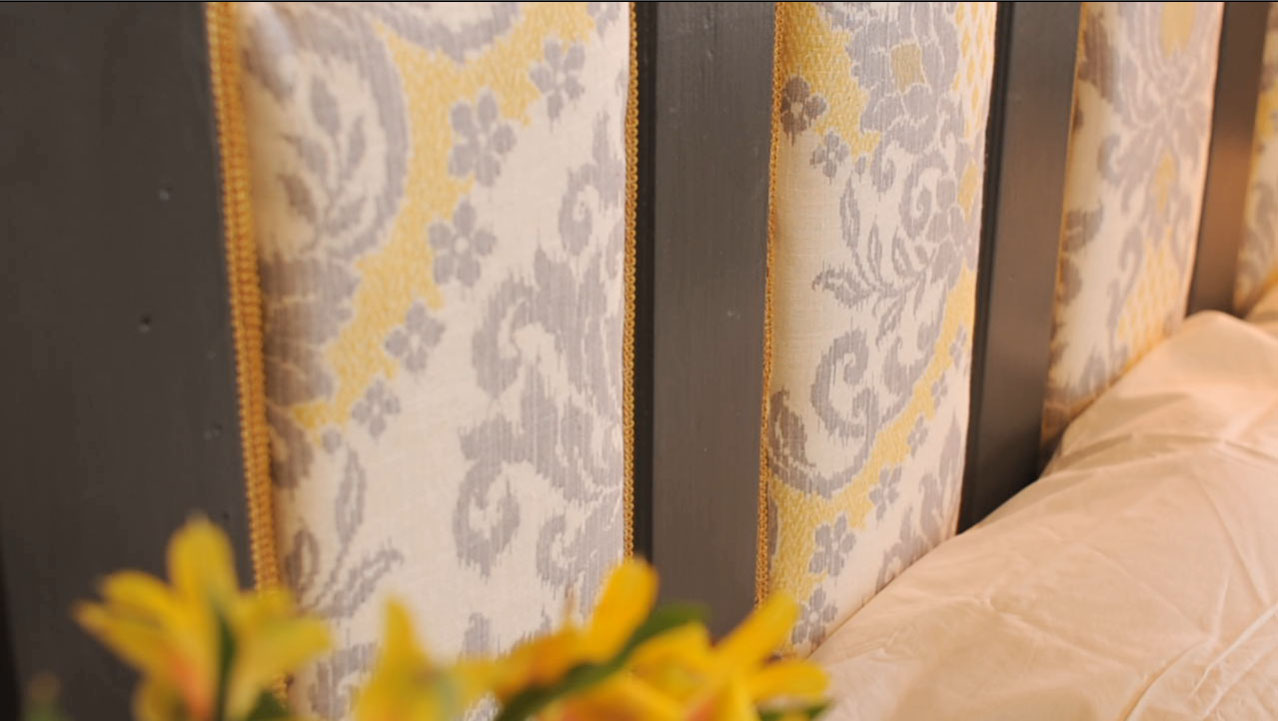
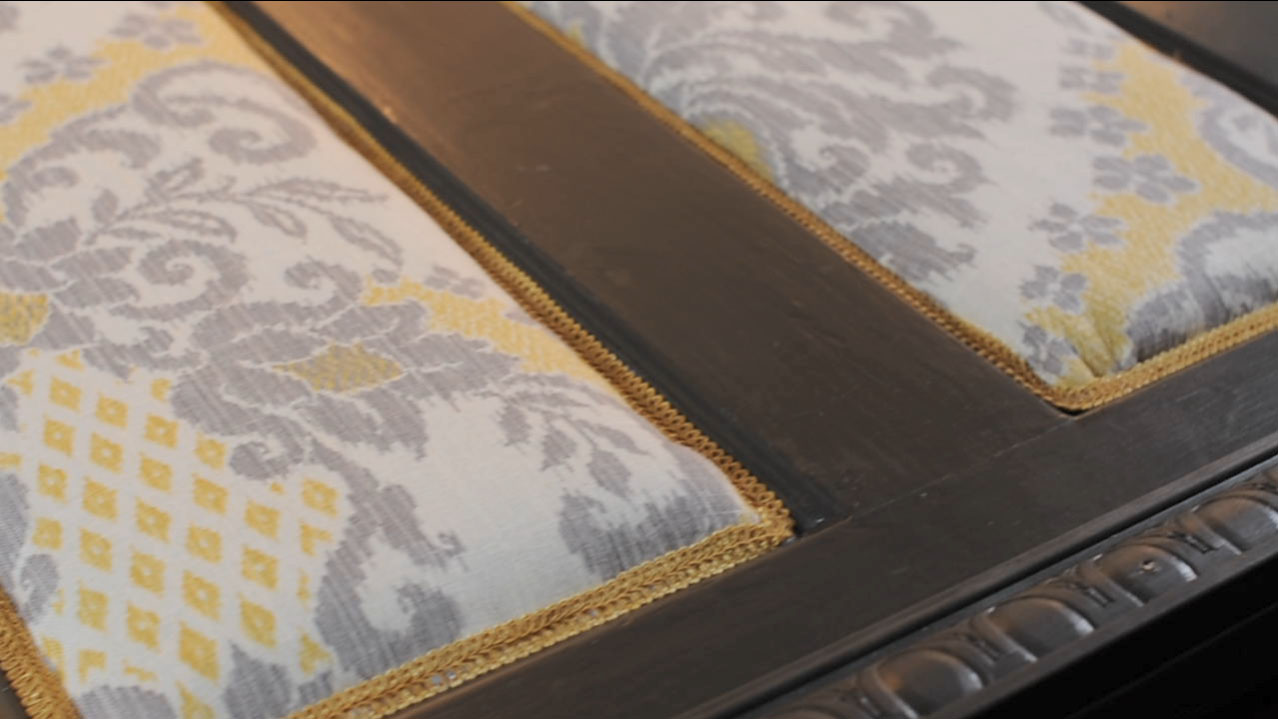
D. Use fabric glue to attach decorative fabric trim to the edges of the upholstery to hide the staples.
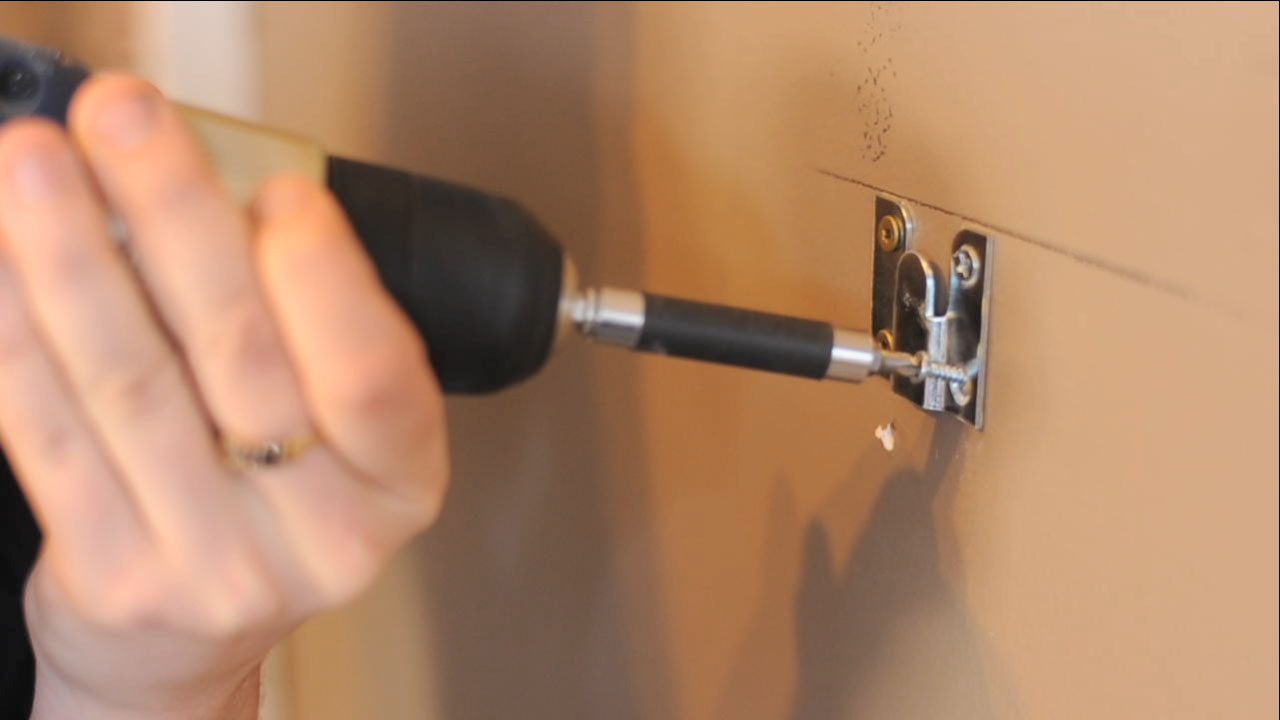
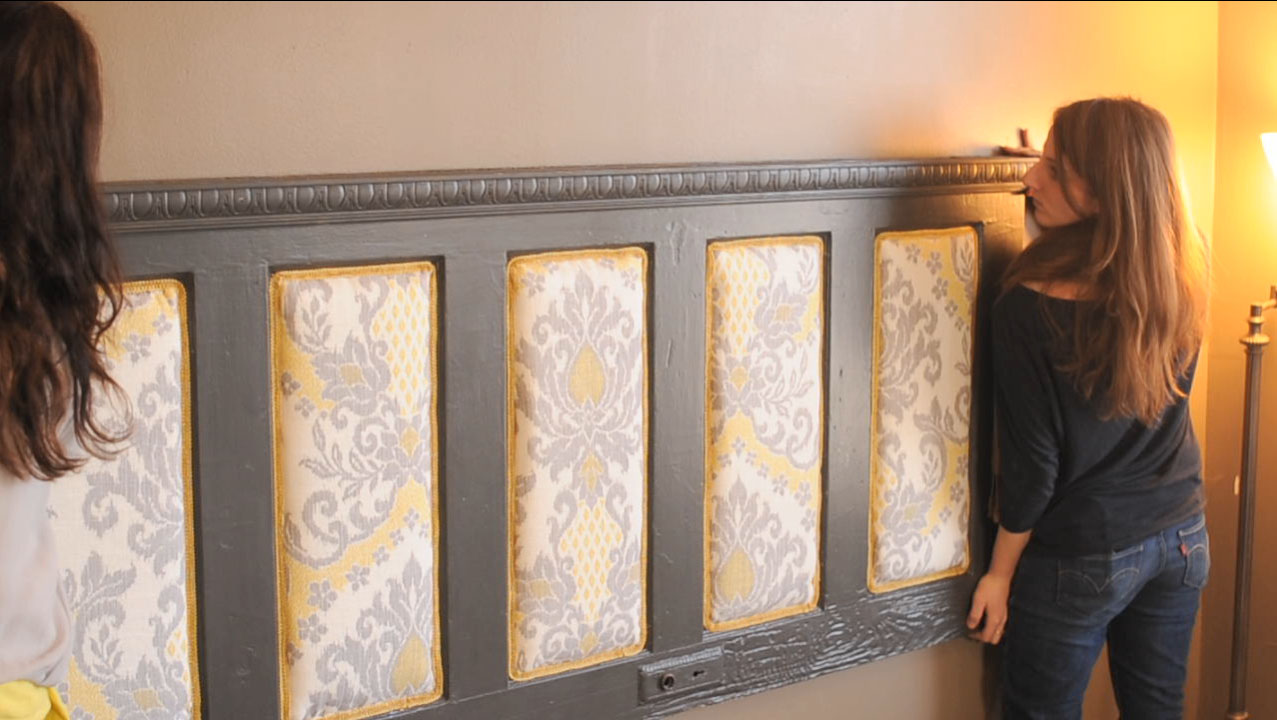
Once you mount your hardware, lift your headboard and slide it carefully into place. (An extra set of hands is invaluable during the mounting process.) This inexpensive DIY headboard makes a huge impact visually and would add comfort and coziness to any bedroom.
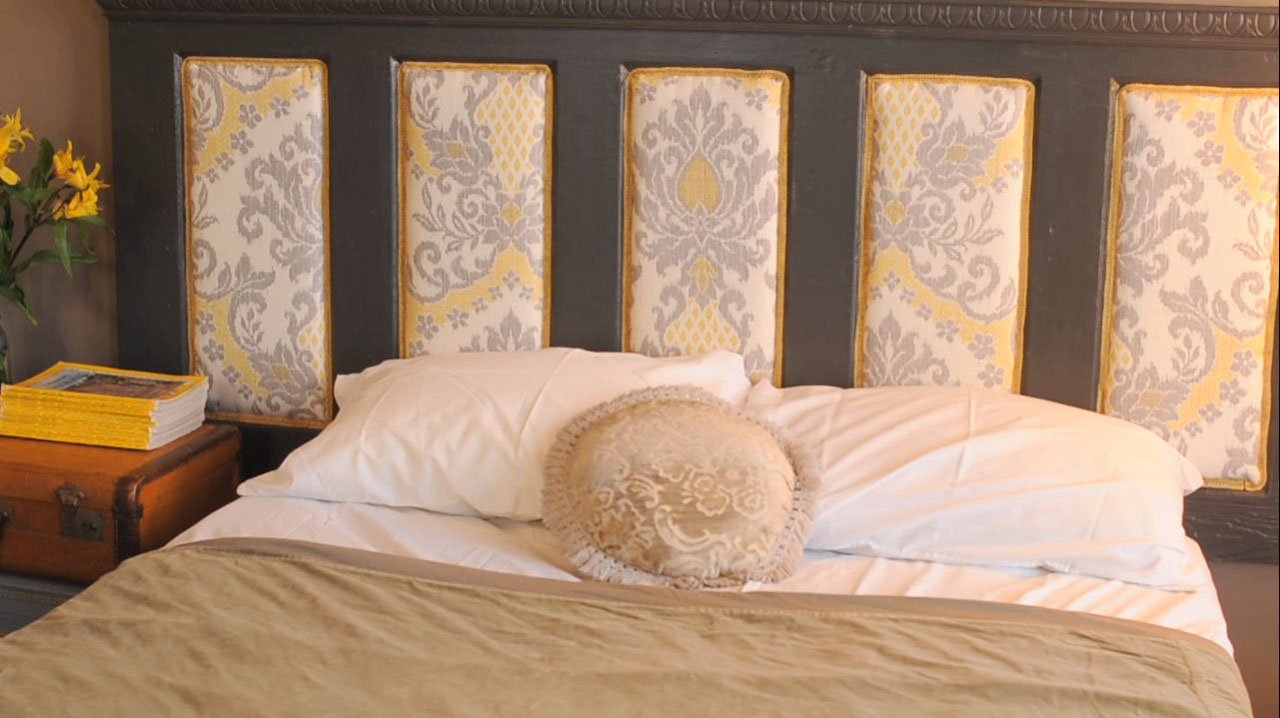
I was inspired to make this upcycled upholstered floating headboard by a viewer’s comment. (Thank you for a great idea, Sarah!) Let me know what repurposing project you’d like to tackle next.

