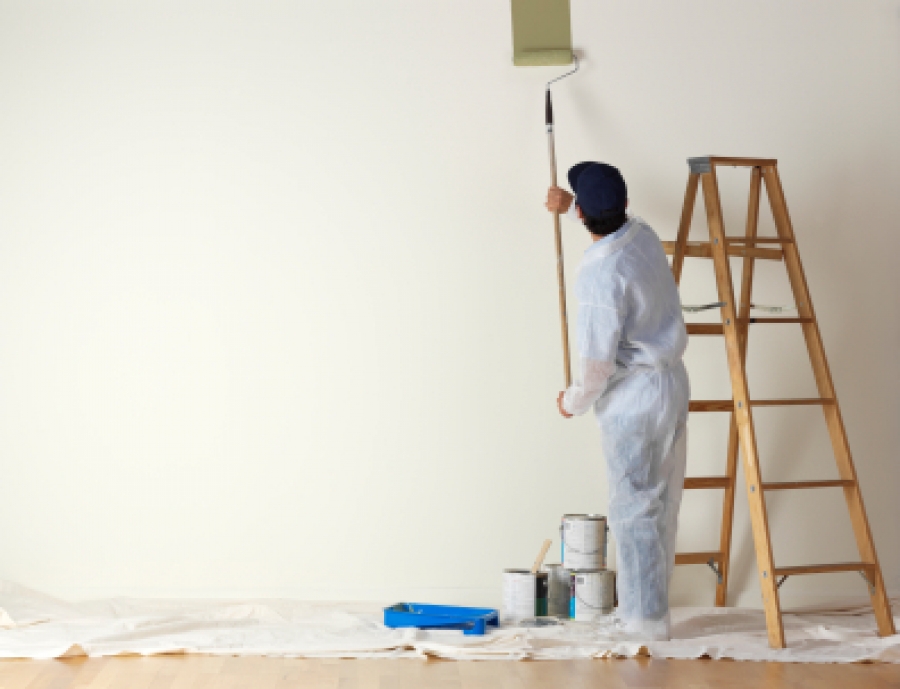
Painting Basics
When I think about DIY painting basics, I think about process and procedure -- setting up an effective work space and job sequencing. I have been at this business for a long time, and I have seen and learned a lot. I have met homeowners of all competencies, each of whom seemed to lack this understanding of process and procedure. Throughout this series, we will look at interior and exterior application techniques, including tips and tricks. The goal is to help the DIYer produce a higher-quality result using fewer resources.

Setting up an Effective Workspace
It's hard to get quality results when you're concerned about paint mess and struggling for elbow room. To start, make the decision to close off the project area until completion (at the very least, minimize the area's use). This serves two functions: it saves time while setting and cleaning up, and it is a motivator to complete the project.
- Consolidate. Consolidate furniture in the center of the room; couches and the spaces under tables serve as perfect containers, and pictures slide nicely between two pieces of furniture. Turning drawers to face outward allows for easy access to their contents during the project. If a ceiling is involved, plan accordingly to allow for access to any ceiling fixtures by creating aisles. Around the perimeter, make sure you leave enough room to maneuver a stepladder.
- Remove wall fixtures and window treatments. When removing door and window hardware, pay close attention so you can properly reinstall it.
- "Drop" the area. Cover all the furniture with plastic sheeting. It's economical and easier to purchase a roll of painter's plastic than drop cloths. Drape the plastic in such a way that it covers the furniture and extends onto the floor to create an overlap. Lay runners (4'-0" x 15'-0" drop cloths) around the perimeter and aisles. Don't use plastic as a drop cloth as it doesn't absorb paint, and the paint will get tracked through the house. You can substitute old bed sheets for drop cloths; however, they are thinner and paint may pass through. They work nicely in smaller areas that drop cloths will not cover. When painting doors, it's nice to have a small sheet about the size of a beach towel. Be careful, drop cloths can be hazardous. Never cover a hole or anything that protrudes from the floor or allow drop cloths to bunch in traffic areas, as these are all tripping hazards. Also, never use cloth sheets on hardwood or tile floors. This creates a slipping hazard. In this situation, vinyl-backed sheets that grip these types of floors should be used.
Sequencing a Paint Job
This is not a how-to on painting a room but a layout of how the work should flow. With painting, it's possible to run out of things to do, although there is plenty to do, because nothing is ready for the next process. The flow of the job must be managed efficiently. I always ask myself, what can be drying while I'm doing this?
- Sequencing: Ceiling, Walls, Trim. The general workflow of a room is ceiling, walls, and then trim. My primary focus is getting the ceiling ready for paint. If the ceiling needs no prep, I'll spackle the walls with 45-minute mix, then paint the ceiling. Now, the spackled walls are drying while I'm painting, and most likely will be dry when I'm finished with the ceiling's first coat. While waiting on the ceiling and the second spackle coat to dry, I'll start prepping the trim. Always use the mantra "ceiling, walls, trim" to help organize your job and manage your time effectively.
- Keeping Square. Another important aspect of workflow is keeping square, which means you're at a point where you can stop. It also means keeping all components of a room at a relative level of completion. In the earlier example, if I move onto the trim prep, I'll do the doors only. If I have more time to wait, I'll do the door frames next. At day's end, the ceiling is done, the walls have a second spackle coat, and the doors and frames are sanded. Next, the focus becomes walls, then trim. The primary goal becomes getting the walls finished, with fill-in time going toward final prep of the trim.
Basically, my day consists of finishing things prepped earlier and prepping things for finish later. For example, If I have to paint window frames tomorrow that need caulking first, and I'm using caulk with a six-hour paint ready time, I need to get the frames caulked today. This is where planning is important. It is also helpful to understand the products you are using by reading the labels, which helps with verifying drying times, among other things.
Establishing an effective workspace and proceeding in a structured fashion will not only make the work easier and more enjoyable, it will enhance productivity and improve quality. Now that we have set up our painting workspace and gained an understanding of job sequencing, we're ready for our next installment, interior painting techniques.

Joe Sheridan
Joe Sheridan has been actively involved in the painting business, a generational trade in his family, for most of his adult life. He has worked most facets of the business, and currently runs a small paint contracting business, J.A. Sheridan Painting, in the Cape May, NJ/South Jersey area. He is now using his experience to benefit homeowners in their projects, and in their dealings with painting contractors.
Website: www.diypaintingguide.org/


