
Moving into a new space always fills me with all kinds of inspiration, and I find that it is easiest to begin organizing room by room, focusing not only on the aesthetic that I want to achieve but on the utility of the space as well. In my case my focus is where the *&$#@%$# am I going to hide all of this stuff in this teeny, funky little bathroom!
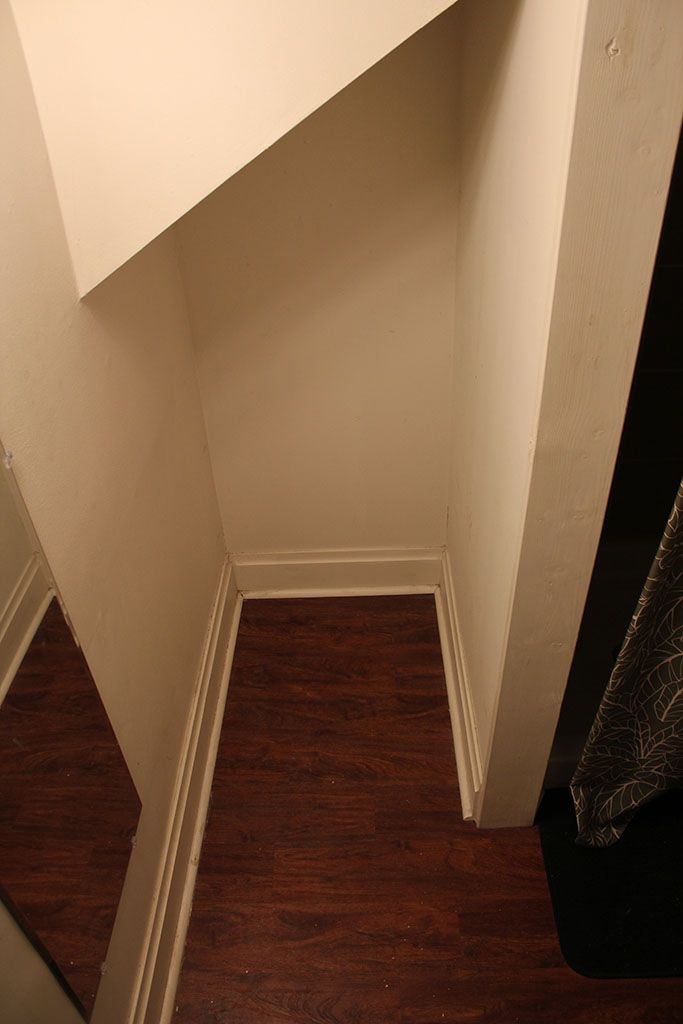
This new rental is providing me with the opportunity to be creative about how I utilize some of the more character-filled nooks and crannies as we slowly settle in. The new bathroom is pretty humble overall; it is a small, shared space that only offers a scanty amount of storage under the sink. Luckily for me, this new bathroom also features a small, closet-sized nook – buried behind the shower – that I’ve decided to build out as a storage solution for my teeny space.
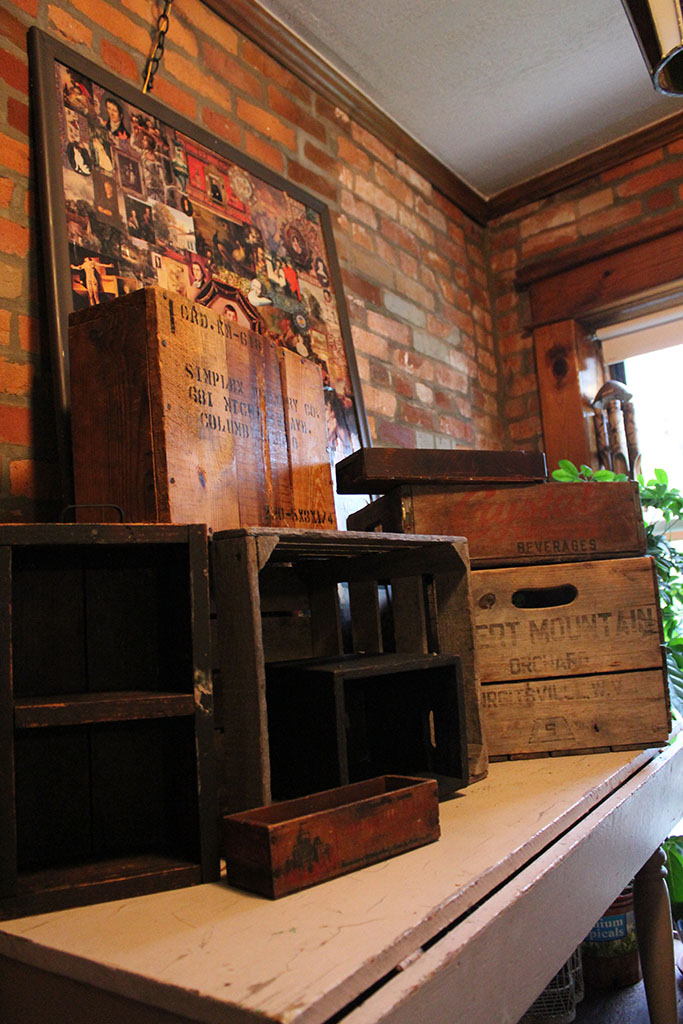
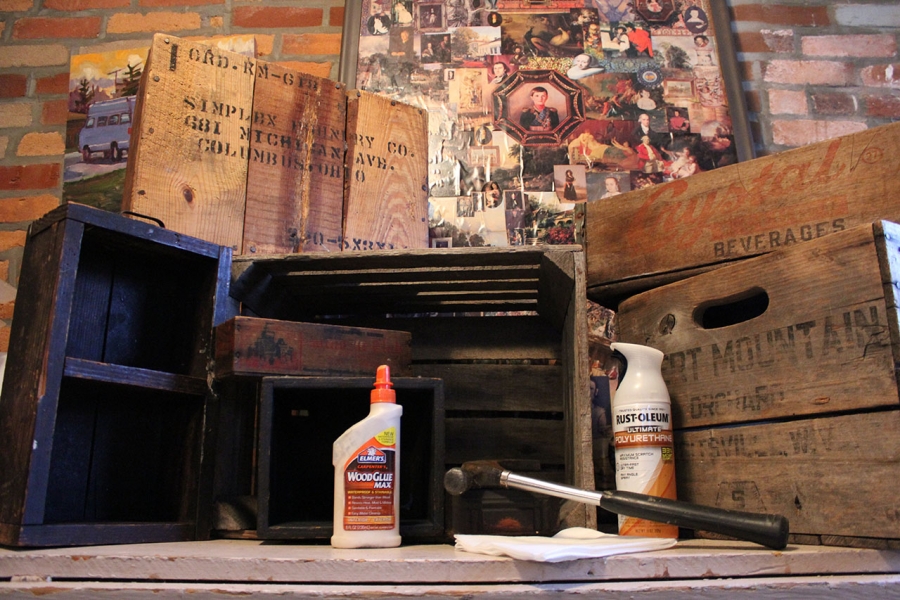
Over years and years of attending antique shows, flea markets, and auctions, I have amassed a fairly impressive collection of vintage apple crates, wooden shipping boxes, and even some sets of Victorian sewing drawers that I have picked up for a few dollars here and there. I have always been drawn to the different textures and tones in the wood. I love the worn paint and advertising as well as the beautifully mismatched hardware.
Using a variety of these vintage wooden boxes, stacked and clustered together in a "staircase" arrangement, you can create a highly functional and beautiful shelving unit for your own home. It is the perfect place to organize all of your bathroom necessities, books, and favorite pieces of art.

-
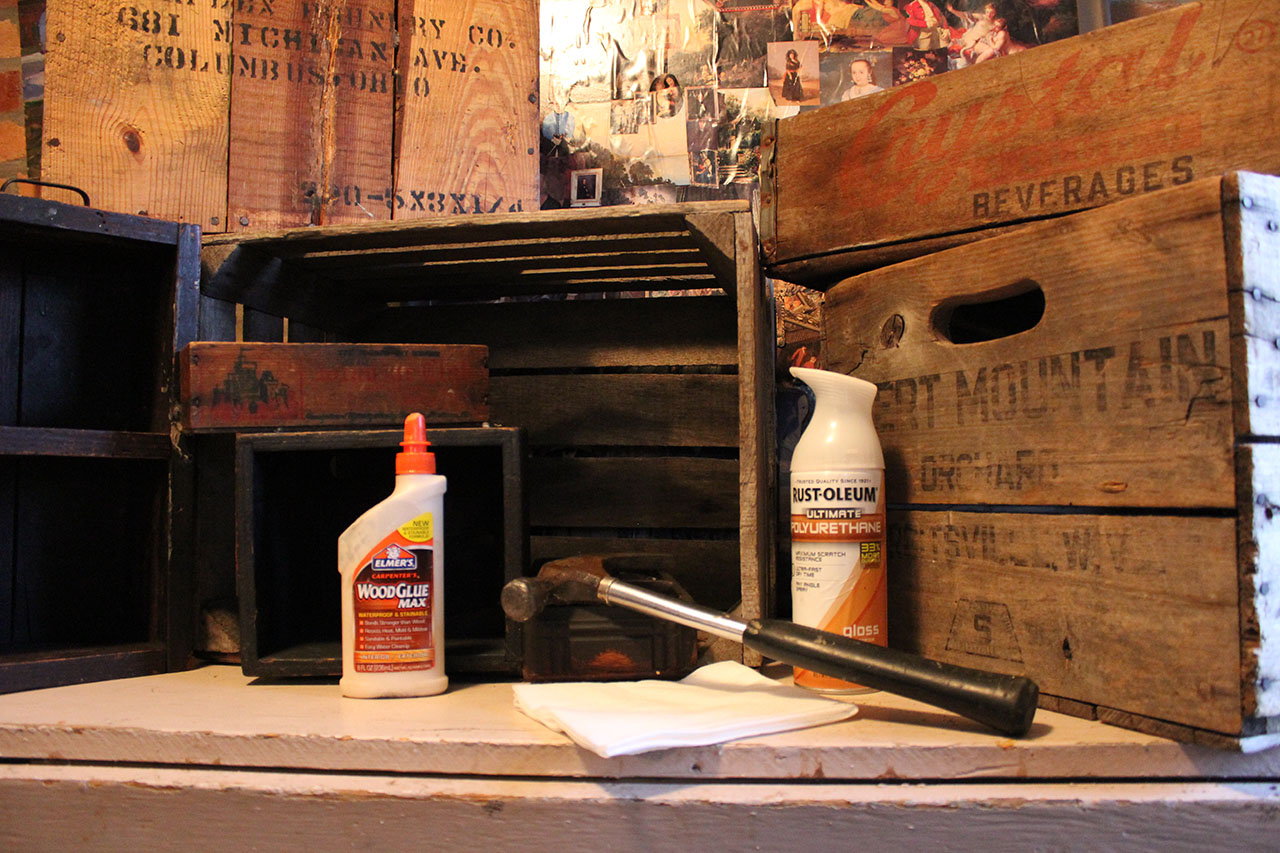
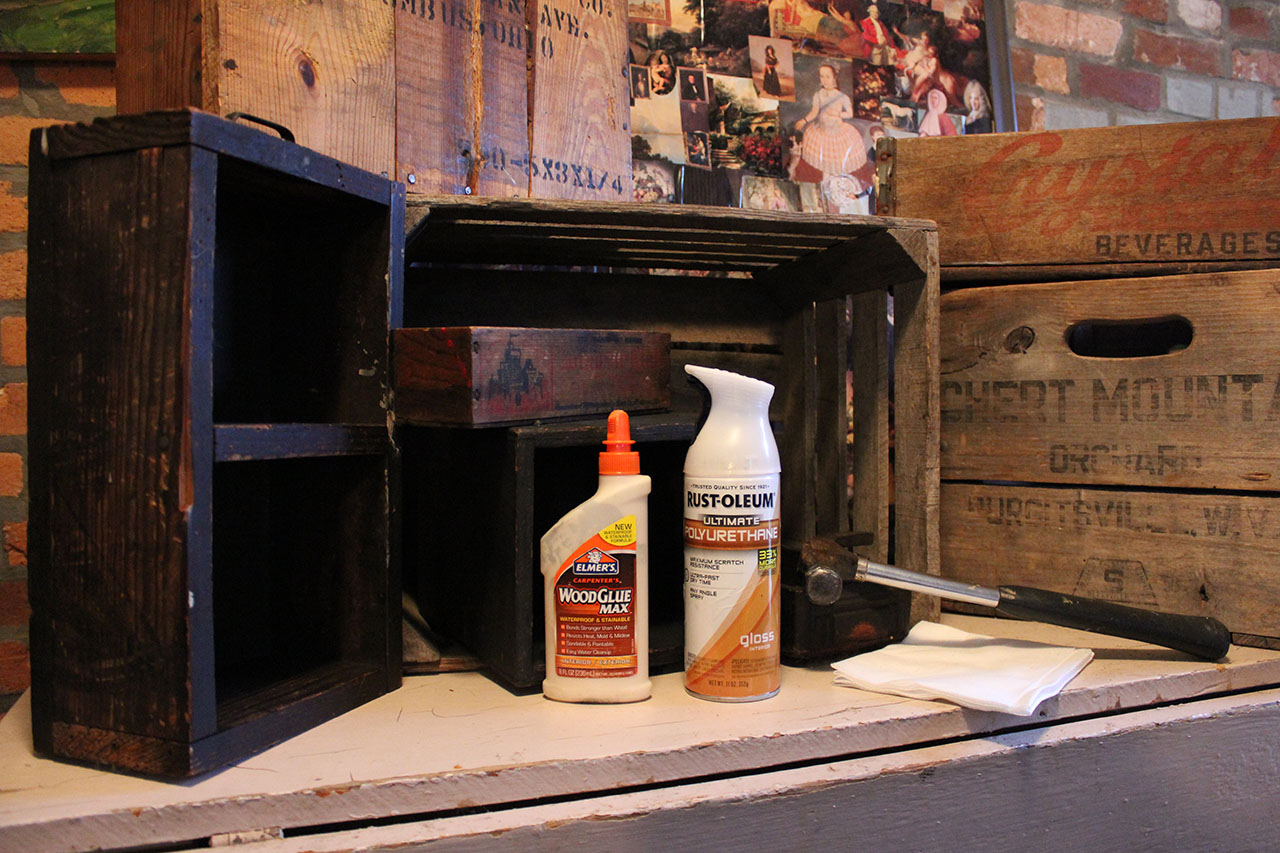
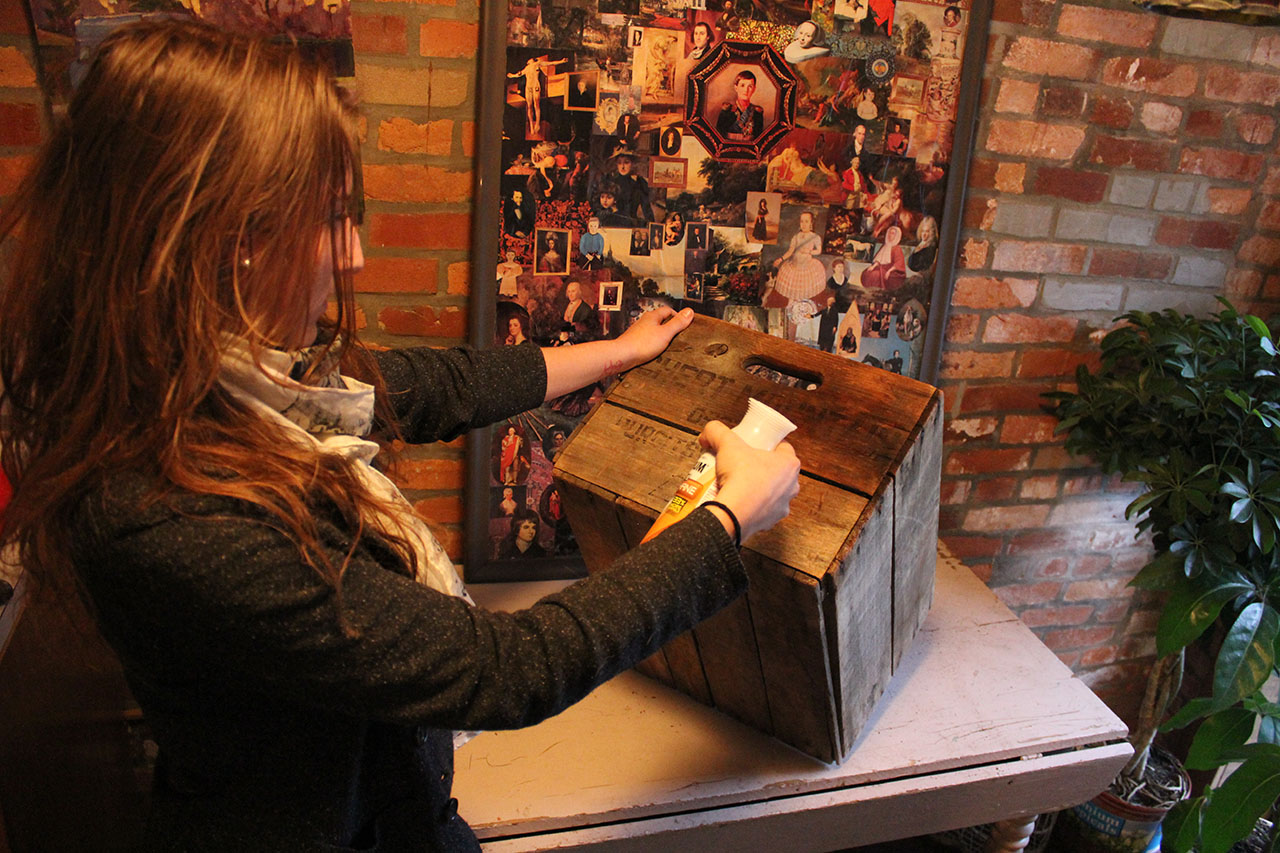
Reinforce and Secure Wooden Boxes. To begin this project, you will want to be sure that all of your boxes and crates are sturdy and secure before building with them. Use wood glue and a few support nails to reinforce any loose boards or crate corners.
-
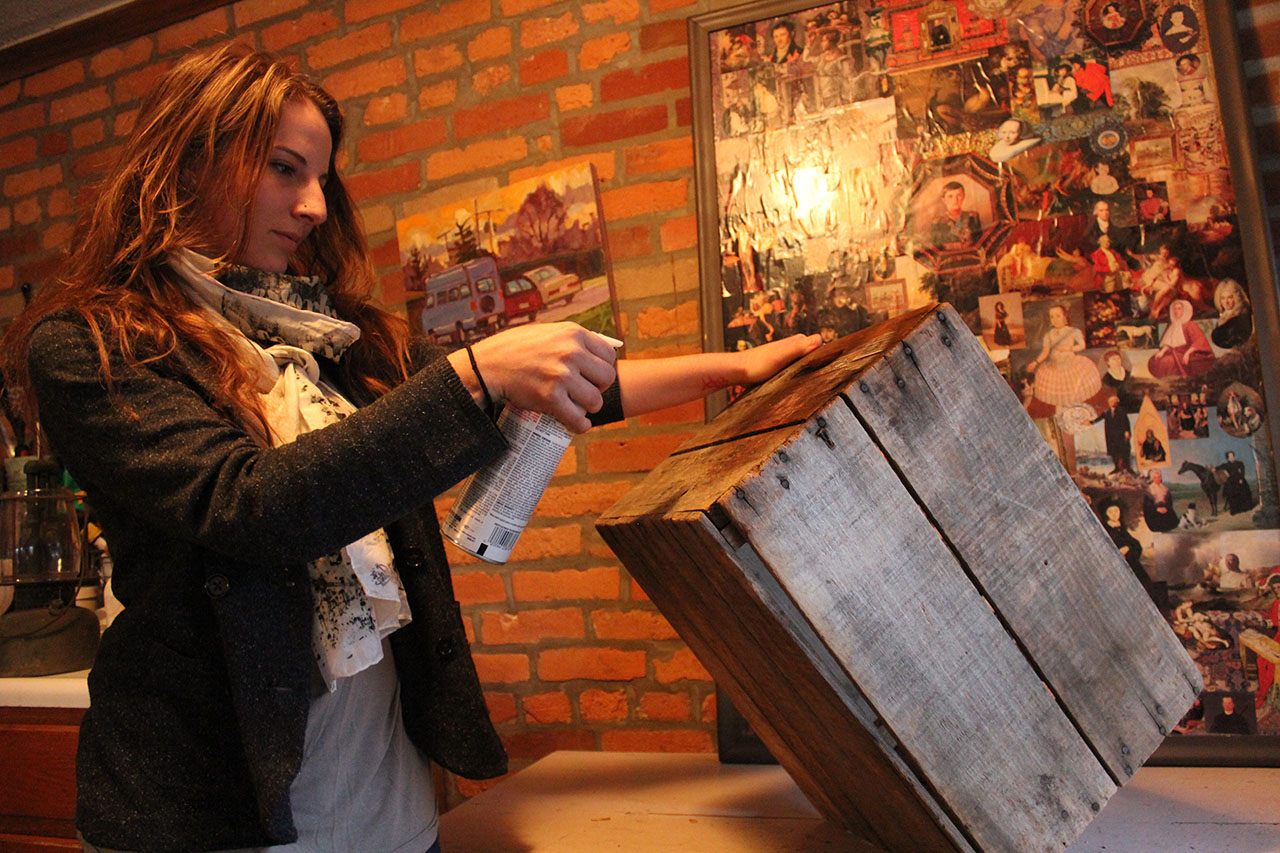
Simple Wood Prep and Restoration. The major concern in the bathroom is that the wood will soak up the humidity and expand. In order to reduce this problem, your wood boxes need to be conditioned and treated with a finish to ensure their long lifetime. Treat your boxes with wood conditioner (many eco-friendly commercial furniture conditioners and polishes are available, but you can also make your own by combining the juice of one lemon with a teaspoon of water and a teaspoon of olive oil!). Once your boxes have dried, spray them with a quick coat of polyurethane to seal them. Allow everything to dry completely.
-
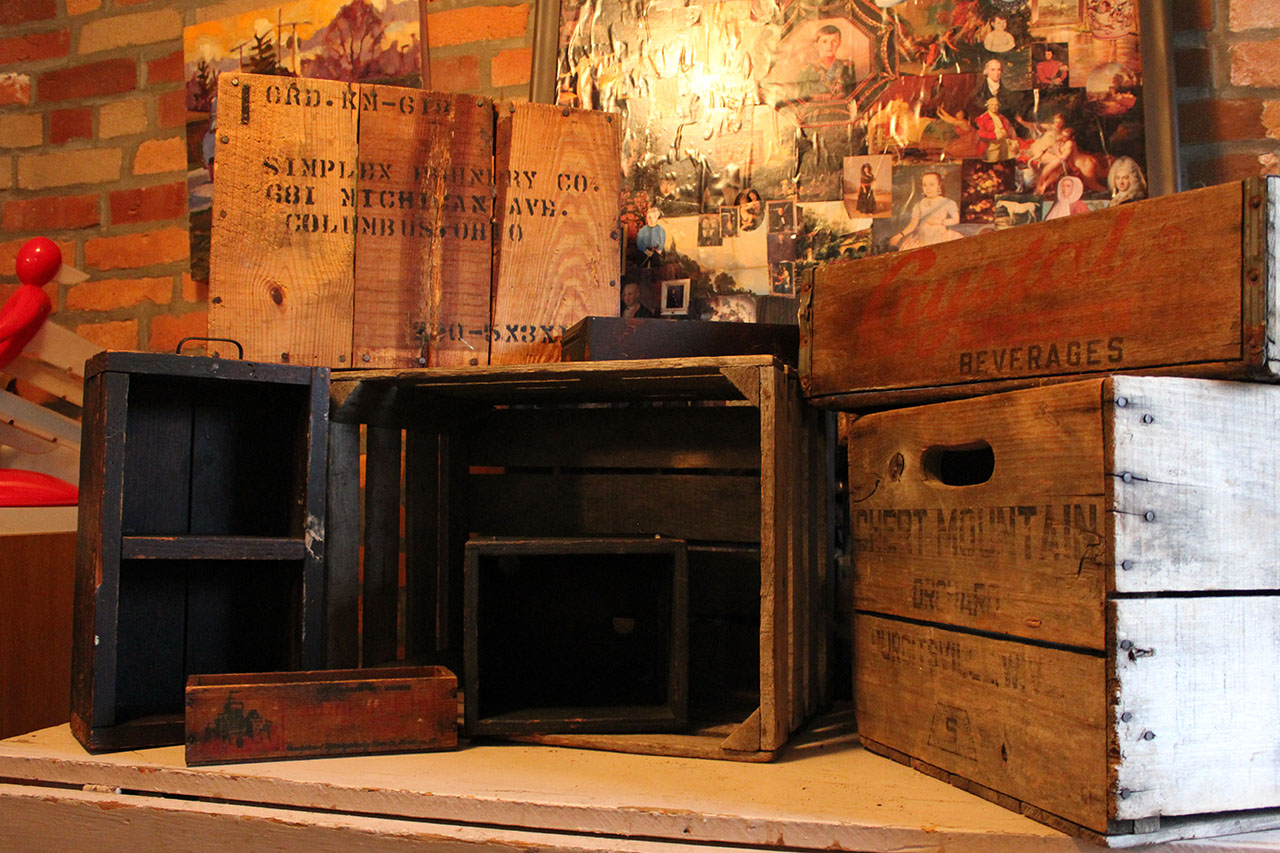
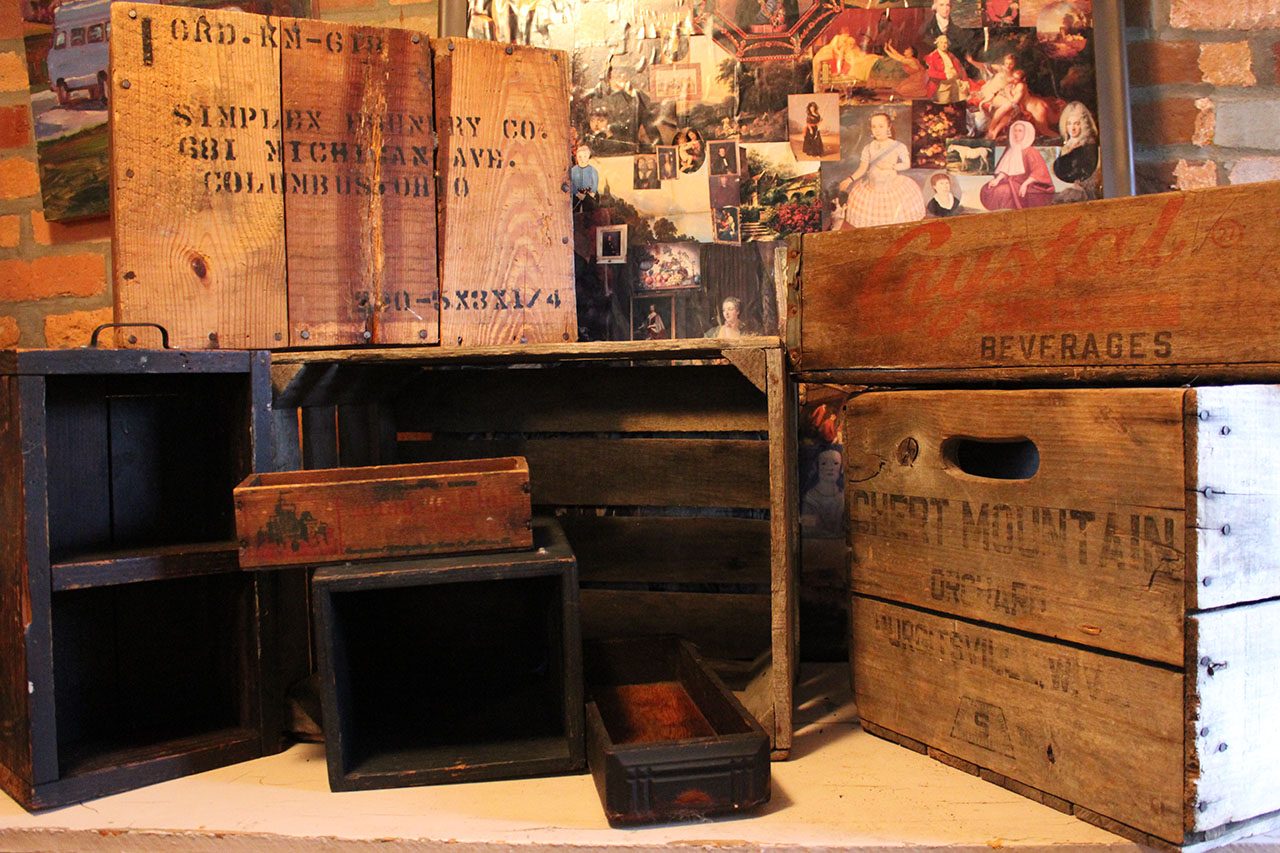
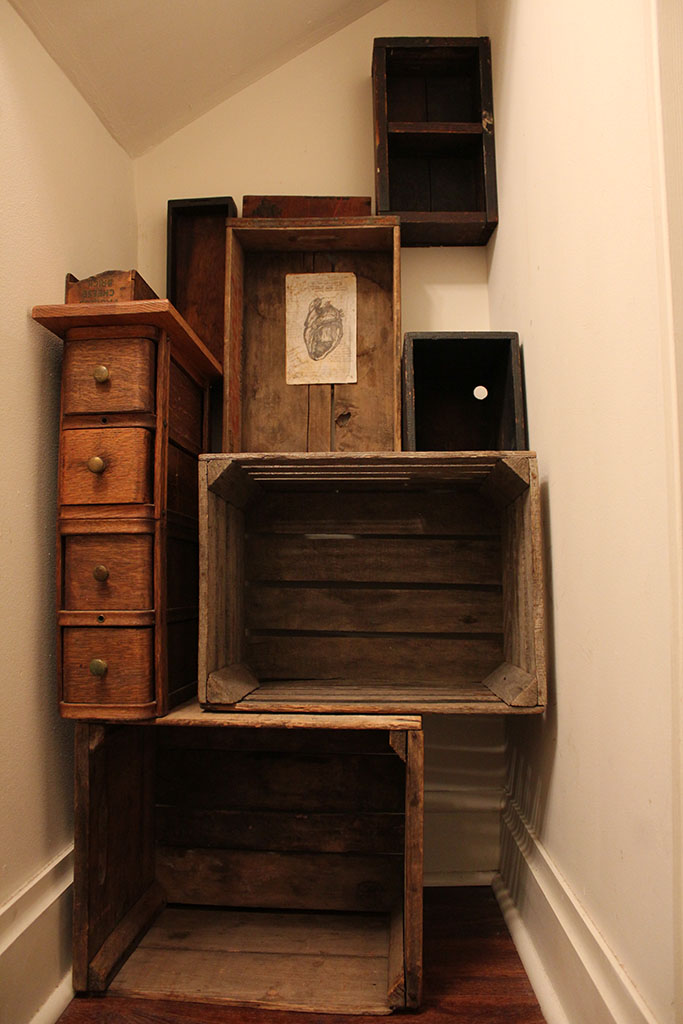
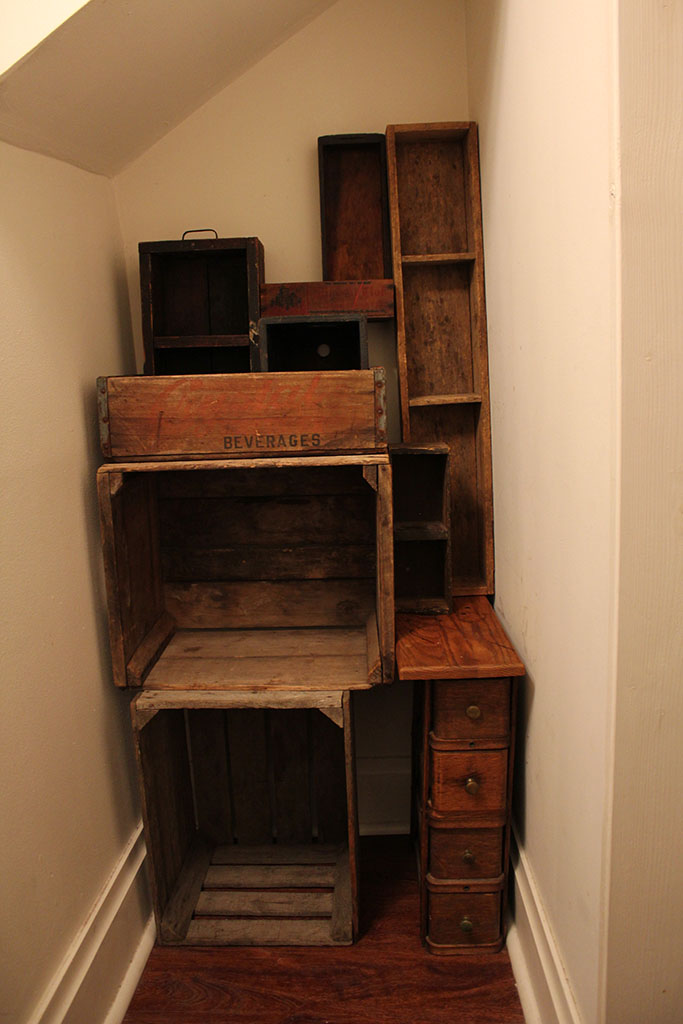
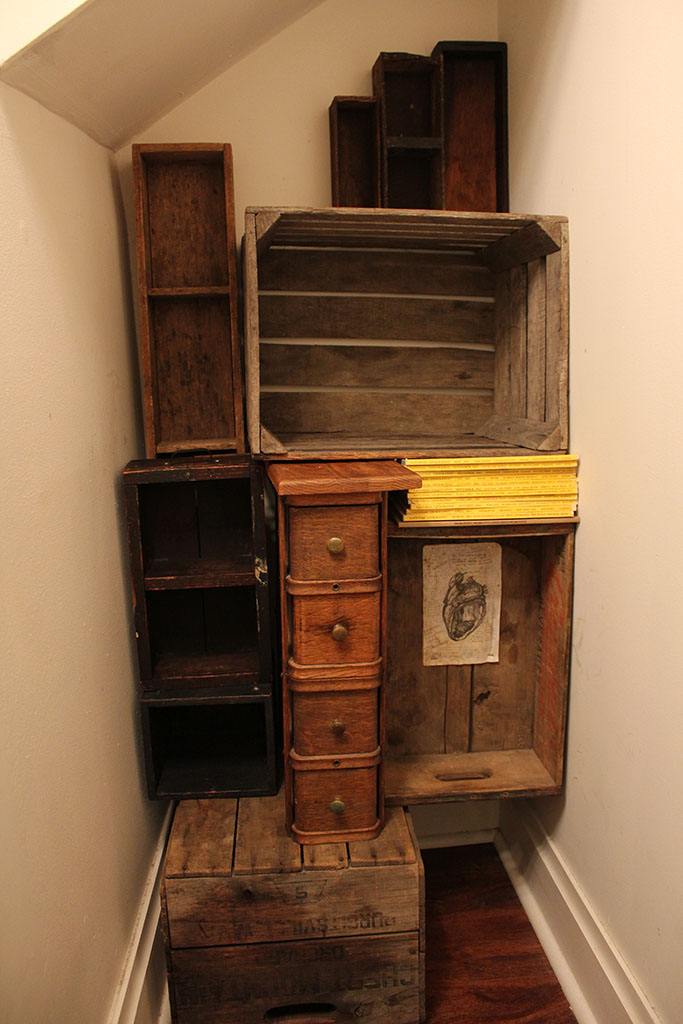
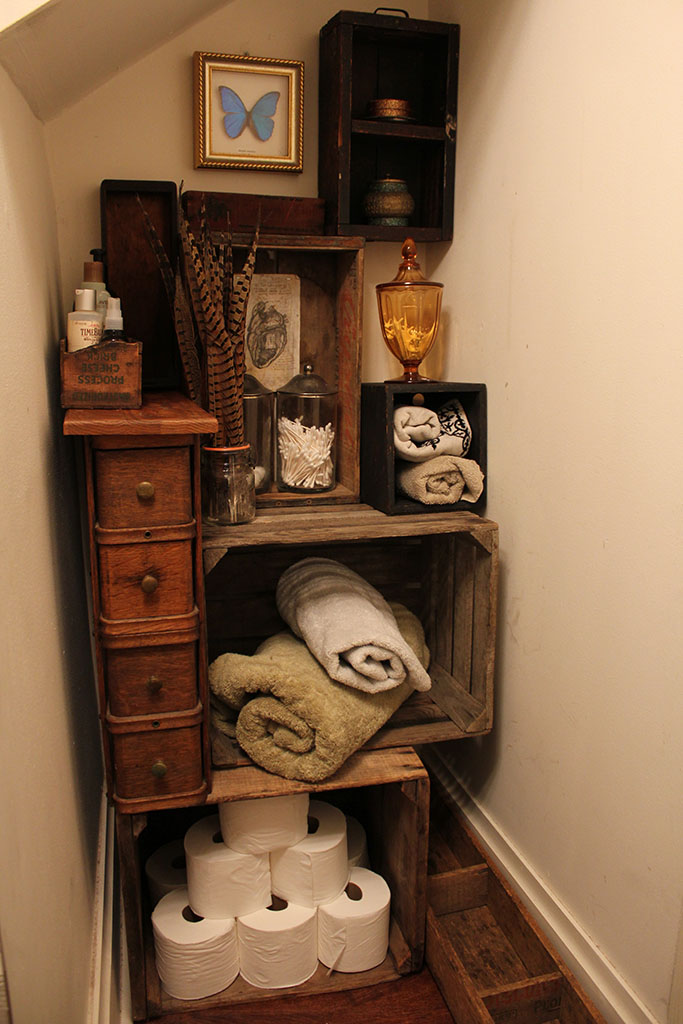
Arrange your boxes. Starting with the largest and sturdiest crates as your base, begin stacking and arranging your boxes vertically to fill your walls. This is a good time to have a camera nearby so you can try a few different arrangements and document your work. Then you can go back and pick the design that you like the most. Try to be creative in your placement of each box, thinking about what purpose it could serve and what it could display as you continue to build.


I like the idea of finishing this shelving unit without needing to drive any nails or screws into the so far un-marred and pristine plaster walls of my new rental, so I shoved and stacked a few select piles of books between my crates to help to secure them in place. If necessary, you can use brackets to secure your crates and boxes to one another or to the walls.
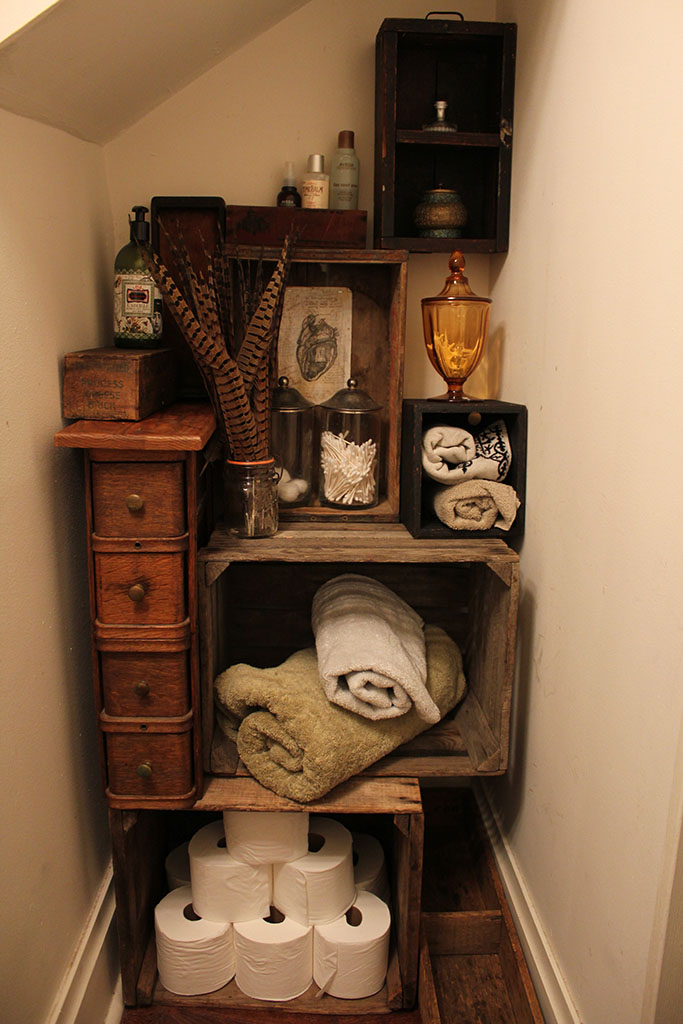
Once everything is in place, complement your arrangement with some of your favorite pieces of artwork and display all of your bathroom necessities in style.
This rustic shelving unit has transformed a previously awkward nook into an organized and useful storage space that is easily movable when the lease is up!