Chasing Roof Leaks
Chasing water leaks means working backwards. Instead of using the best materials to put a project together, you must break apart a masterpiece to find a flaw. Without x-ray vision and a clear way to proceed, the job could be a real headache. A good approach to chasing water is to form a checklist of possibilities and eliminate each one until the mystery is solved. Understanding how water behaves will make working through the clues faster and more efficient.
 Courtesy of Brie Lindeboom
†
†
The Behavior of Water
 Water has been known to flow under special circumstances and even to defy gravity. With these abilities, water may enter via the roof and travel quite a distance in bizarre directions before causing a leak.
A roof can be composed of any number of layers, including shingles or metal roofing, flashing, a vapor barrier, felt, tar paper, sound barrier material, plywood sheeting, etc. Once water enters through the top layer, it may have to travel some distance before finding a weak spot in the next layer. Thoroughly built roof layers can result in a leak that is difficult to trace.
One behavior that takes advantage of a thorough design is water capillation or "water wicking." In the same manner that a lamp draws oil up a wick, water can actually be drawn uphill for a distance if thin air spaces exist between roofing materials. For this reason, consider that the leak exit might actually be above the height of the entrance.
More commonly, wind sometimes manages to drive rain uphill. Blowing at just the right angle, a strong storm wind may put a good deal of water into vents and under the edges of shingles.
Capillation and wind-blown rain are a couple of phenomena to keep in mind during the building's inspection, especially if the leak presents itself under very mysterious circumstances.
Start by Asking Key Questions
Does water leak when rain is not actually falling?
- If the answer to this question is "Yes," a roof leak may not be the culprit at all.
- If fire sprinklers exist, they should be checked for proper installation and damages to the water lines.
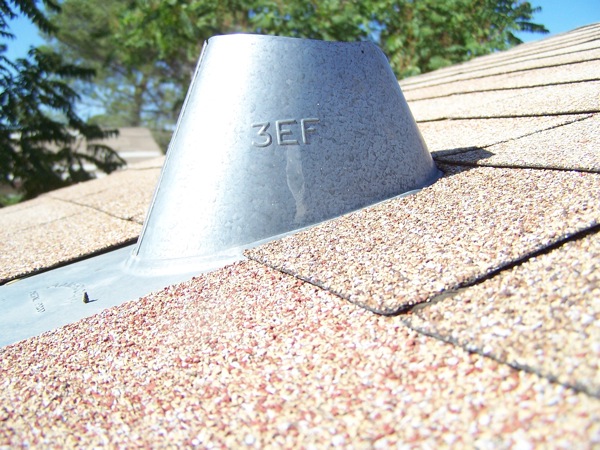
 Any overhead plumbing and vent pipes in the leak's general area should be investigated, too. A roof vent can suffer a small blow or an improperly sealed knuckle joint, which weakens the integrity of its horizontal pipe until it develops a sag. Rain water will begin to collect at the awkward vent angle until even a slight drizzle is enough to cause the pipe to settle and crack, letting the collected water escape.
How long does it take for the leak to start dripping once the first rain begins?
- If it takes water a short amount of time to present itself as a leak, within about an hour of the onset of steady rain, the source of the leak is likely to be fairly close to its exit. A longer time period indicates that water had quite a way to travel before finally appearing. Its path could be either a dense maze from a nearby source or a straight path clear from the other side of the roof.
Obvious Problems
After these questions have been answered, inspect the roof for damage. A few obvious leak sources may be noticed immediately:
- Pooling of water on the roof is a problem. Even if the pooled water is not very close to the leak's exit, it can act as a reservoir that will eventually flow to the building's interior.
- If gutters are full of debris, clearing them can eliminate roof drainage clogs.
- Asphalt shingles should be visually checked for roofing nails that may have popped up and through the asphalt, as well as any cracks, holes or missing shingles.
Structure Checks
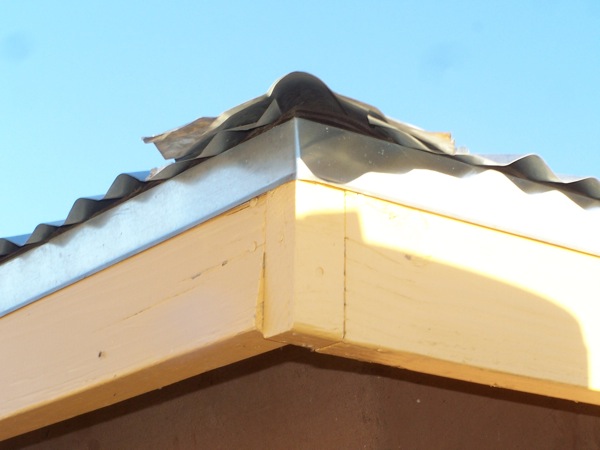
To add dimension and interest, roofs may be built in some dramatic styles. These buildings are more visually pleasing but also more complicated, making leaks complicated as well. Design features such as ridges, hips, valleys, dormers, or any junction in the roof surface are great places for water to enter. These junctions should be inspected for debris buildup as well as for cracks, holes or loose shingles.

A valley is a notably weak roof feature and the site of many leaks. In a valley, two planes of the roof join at a seam, and that seam carries a disproportionate amount of rain runoff.
Also under high suspicion should be the chimney, as well as any skylights or ventilators that pierce the roof surface and provide yet another chance for water to enter. The flashing metal around these roof details needs to be inspected for bent edges that can tear shingles or expose an entrance to the building. The metal flashing may have suffered wear, especially if two different metals touch in any place. Uneven pairing of metals causes electrolysis that will eat the metal away and open holes.
 Should an inspection of the rooftop offer no clues, other parts of the structure near the leak should be examined. Nearby window trim, overhead decks, and attics are all areas that commonly transmit leaked water.
Hose Testing
When no water entrance is determined, it's necessary to reproduce the event and watch carefully. This is the final step of water chasing.
- On the next warm sunny day, after the rain has evaporated from just the shingles, pull a hose onto the roof. Choose a section of roof close to the water leak's exit location, an approximate 10'-0" x 10'-0" section, and run hose water all around that area. Send the hose water in directions that a heavy wind storm would send it, from above, below, and the side. To identify that section of roof as suspect, do not let any other areas of the roof become wet.
- Have someone stand inside the building and wait for water to begin leaking. Should the leak start dripping, they should call out an alert.
- If this area of the roof does not become leaky after perhaps a half hour of manipulative watering, allow the roof to dry for about a day and try watering the next section of roof. It may take a week of sunny visits before hose watering reveals the original source of water.
- Consistent daily watering is necessary to find the leak source, since letting the house dry out too much will require another storm to reform the water's internal path.
