How to Install Door Hardware
Video
A homeowner might want to replace old door hardware for many reasons -- security, accessibility, style, or repair. Replacing door hardware only requires a simple set of skills and tools, but new door hardware can make a big difference in the way a door looks and works. Join the At Home channelís host, Jeff Wilson, for a quick demonstration of how to install new door hardware.

Start by selecting the right hardware. Interior door hardware comes in two types: that which locks and that which doesn't.
- Privacy locksets for bedrooms and bathrooms usually operate with a simple push button lock on the interior and can be opened from the exterior with a thin wire key.
- Closet and other nonlocking doors open simply with a turn of the latch and require passage latch sets instead of privacy locksets.
Door handles come in many styles but they generally fit into two categories: knob-type handles and lever-type handles. The lever-type handle, often considered a universal design element, uses the lever design to make it easier to turn than a knob. Both knob-type and lever-type handle sets come in a variety of finishes.
The typical interior door measures 1 3/8Ē thick, but doors can come in different thicknesses. Most door hardware is made to fit a range of thicknesses, but itís a good idea to check the thickness of the door before selecting new hardware.
Necessary Tools and Materials
- Phillips screwdriver
- Straight screwdriver
- Wood chisel
- Hammer
- Door hardware set
How to Install Door Hardware
Double-check the contents of the door hardware package. Typical door hardware sets include interior and exterior sides of the handle set, the latch mechanism, a strike plate that goes on the jamb of the door, installation screws, and key.
- First, remove the old door hardware. Depending on the type and age of your door hardware, youíll typically find two machine screws on the interior side of the handle set. Remove the screws connecting the two sides of the handle and pull the two sides out from the latch. Remove the latch screws in the door edge and pull out the latch. Finally, remove the strike plate on the doorjamb.
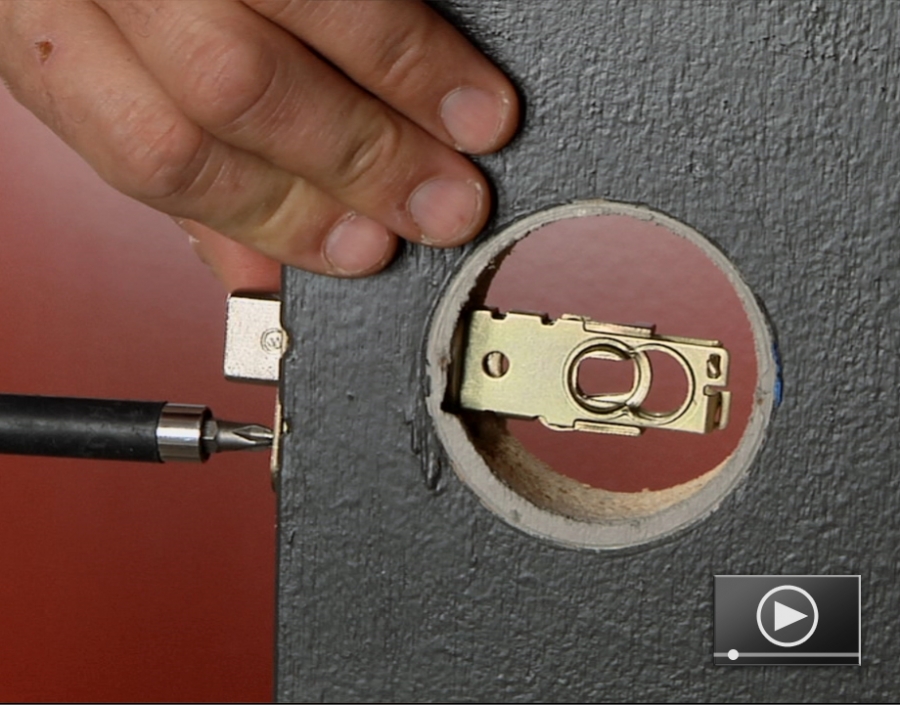
- To install the new door hardware, start with the latch. Since it can be installed in either direction, make sure it is installed so that the half round part is going to hit the strike plate on the doorjamb. The latch faceplate should fit flush with the door edge. If the plate doesnít fit flush, use a chisel and hammer to enlarge the recess. Many hardware sets include both square and rounded corner faceplates, which are interchangeable. Select the appropriate faceplate, insert the latch into the existing hole, and secure it with two screws.
- Insert the interior side of the handle set through the latch mechanism. Then install the exterior side over the top, aligning the screw holes. Secure with the two machine screws. Itís a good idea to install the first screw loosely to make sure the second screw is properly aligned before tightening.
- Finally, install the strike plate in the doorjamb with two wood screws. Again, use a chisel to enlarge the recess as necessary for a proper flush fit.

Ryan Carpico
Ryan is a Registered Architect who earned a Bachelor of Architecture from the University of Kentucky in 1998. His experience in a broad spectrum of architectural projects includes design and project management in multi-family residential, general commercial, and institutional projects. This architectural experience is balanced with a background in general contracting of residential and light commercial construction projects. Ryanís knowledge and ability as both architect and builder enable him to address both the technical and practical sides of the comprehensive body of construction knowledge.
Website: carpicodesign.com/
