How to Install a Glass Shower Enclosure
Video
After tile, one of the most challenging jobs in building a custom shower is installing a glass shower enclosure. There are many options for shower enclosure systems, but to work properly the enclosure has to fit the shower precisely. This often necessitates hiring a professional to fabricate and install a system based on the specific dimensions of your custom shower. However, there are glass shower enclosure systems available that any savvy do-it-yourselfer can install with a few basic hand tools and a little know-how. Join the At Home channelís host, Jeff Wilson, as he demonstrates how to complete a custom shower with a glass enclosure system.
Constructing a custom shower is a complex DIY project. Not only does it involve several different installation steps, but it also involves selecting from many different design and material options. If youíve been following our series on building a custom shower, youíve probably read about the choices weíve made, from the tileable base and ceramic tile to the shower fixture. Our last step to complete the shower involves selecting an enclosure system to keep the water, and warmth, in the shower stall.
Aside from a simple shower curtain, one of the most common options for enclosing a shower is glass. Glass not only offers a wide variety of tints and textures, it also allows more light into the shower stall and is easy to keep clean. The two main types of glass shower enclosure systems are framed and frameless.
- A framed system, as the name suggests, uses metal framework to hold the glass panels in place.
- A frameless system uses smaller connection brackets and silicone glazing to create an enclosure that almost disappears.
For our project, weíre using a Basco framed glass shower enclosure that was fabricated to the specific dimensions of our shower based on measurements we submitted through their website. The customized shower enclosure is delivered as a kit complete with all of the components and hardware needed for assembly.
How to Install a Glass Shower Enclosure
While every shower enclosure system is a bit different from the next, they all install in roughly the same way. You should be able to find good instructions from the manufacturer to help you through the process.
-
Before installing any parts of the frames, itís a good idea to dry-fit the bottom rail on the shower curb and mark the edges. This will serve as a guide for the permanent placement of the bottom rail to be held in place with silicone caulking.
-
Dry-fit the side rails as well, using a level to make sure they are plumb, and mark the anchor holes.
-
Next drill pilot holes for the side rail fasteners and, if necessary, insert anchor plugs. Use a masonry bit for drilling through ceramic tile. Be sure to clean up any debris on the shower curb for proper attachment of the bottom rail.
-
Place a thick bead of silicone caulking on the shower curb between the guidelines you marked earlier and set the bottom rail in place.
-
Set the side rails in place and attach with screws. Use a bead of silicone caulk on the back of the rails to make sure that water wonít seep behind the metal pieces into the wall or outside the shower.
-
Working out from the walls and side rails, set the glass panels and any intermediate vertical rails. Many systems will include setting blocks that fit into the bottom rail as a support for the glass panels.
-
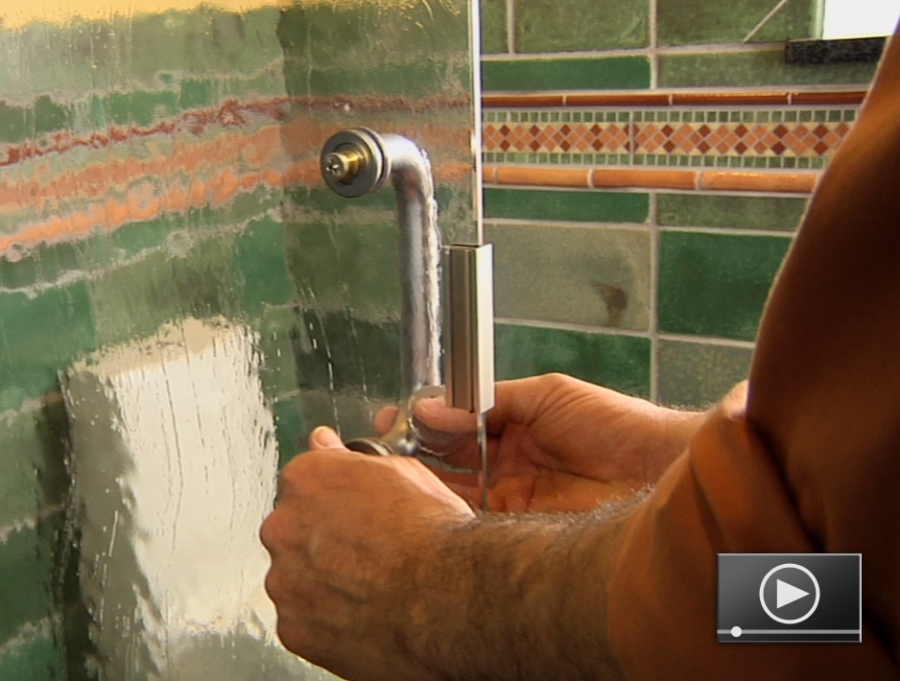
Once all of the stationary glass panels and rails are in place, install the top rail. Typically the top rail will fit over the vertical rails and snap into place. Install a screw at the top and bottom of each vertical rail to completely fasten the system together.
-
Next, install the shower door. Many systems will include the door and hinges already attached to the hinge side door jamb. Set the door assembly into the bottom rail and use a level to plumb the door to ensure proper swing and closure. Set the strike side door jamb, again using a level to get it vertically plumb. Then snap the top and bottom rail covers into place to finish the door opening. Fasten with screws as required. With the door in place, install the latching magnet or device and the door hardware.
-
Next install the rubber glazing strips to hold the glass in place in the rails on both the interior and exterior of the shower enclosure. A little glass cleaner works well as a lubricant and a small wood block helps for stuffing the glazing strips around the perimeter of the frame.
-
The final step is to caulk any joints where the frames meet the walls. This will help to seal up the shower enclosure and prevent water from getting behind the frame and into the wall assembly.Wait at least 4-6 hours for the silicone caulk to set up before using the shower.

Ryan Carpico
Ryan is a Registered Architect who earned a Bachelor of Architecture from the University of Kentucky in 1998. His experience in a broad spectrum of architectural projects includes design and project management in multi-family residential, general commercial, and institutional projects. This architectural experience is balanced with a background in general contracting of residential and light commercial construction projects. Ryanís knowledge and ability as both architect and builder enable him to address both the technical and practical sides of the comprehensive body of construction knowledge.
Website: carpicodesign.com/
