How to Install a Handheld Shower Fixture
-
font size
decrease font size
 increase font size
Video
One of the final steps in completing a custom shower project is selecting and installing the shower fixtures. While the task of selecting a shower fixture from the wide variety of styles can be challenging, installing the fixture is a simple job. With basic plumbing tools and skills, any do-it-yourselfer can install a shower fixture. Join the At Home channel’s host, Jeff Wilson, for a tutorial on installing a handheld shower fixture in the continuation of our custom bathroom series.
No longer limited to a fixed head and constant water flow, shower fixtures now come in a variety of styles that can be mounted almost anywhere in the shower. One of the most flexible options is a handheld shower fixture, a common universal design component for the bathroom. Many are also available with an adjustable mounting bracket.
Necessary Tools and Materials
- Tape measure
- Pencil or china marker
- Screwdrivers
- Channel-lock pliers
- Pipe wrench
- Pipe or Teflon tape
- Power drill with masonry or tile bits
- Clean rag
Custom Bathroom Series
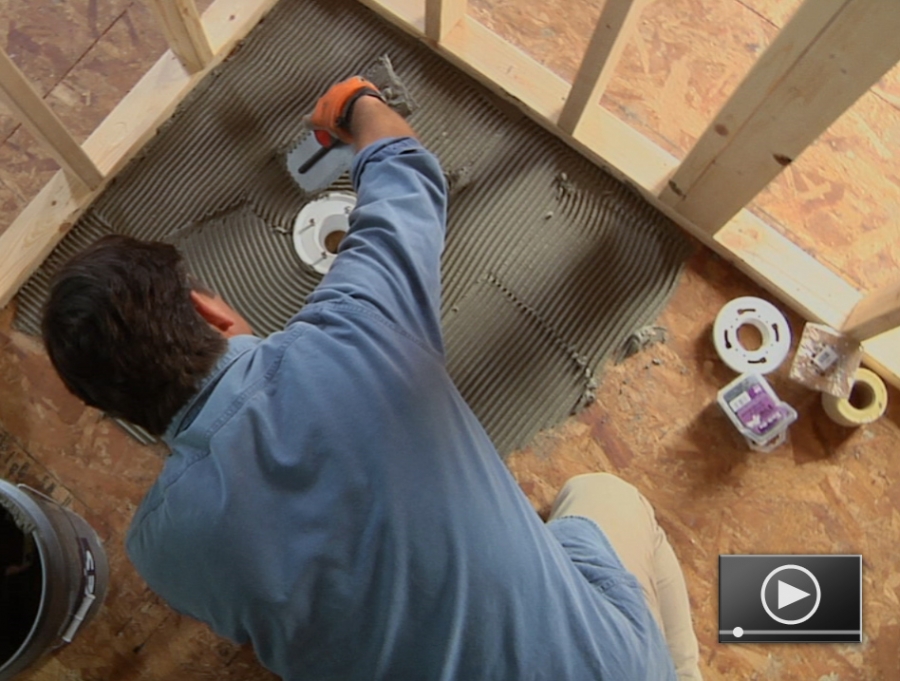
How to Install a Tileable Shower Base
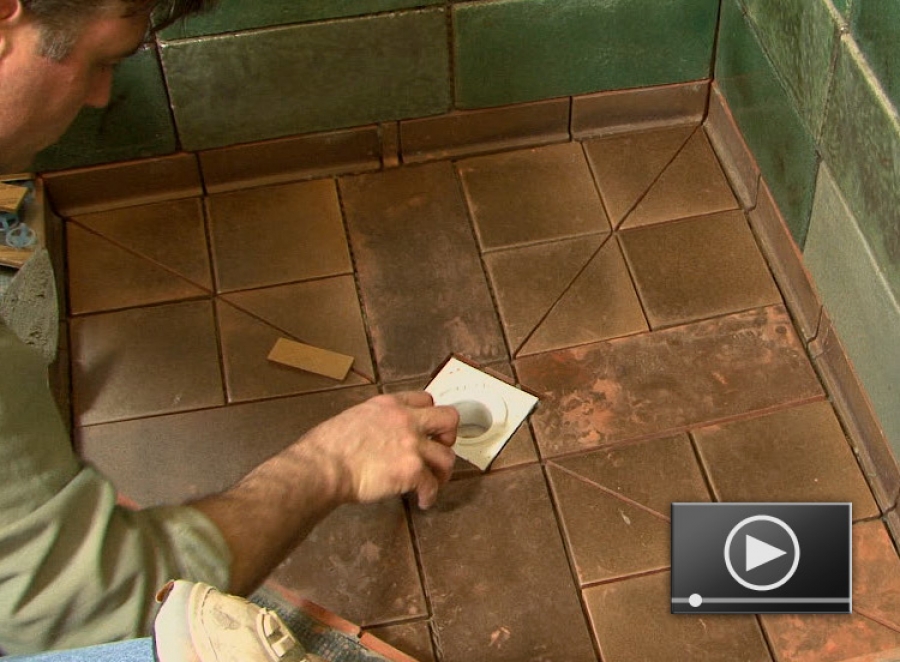
How to Tile a Custom Bathroom
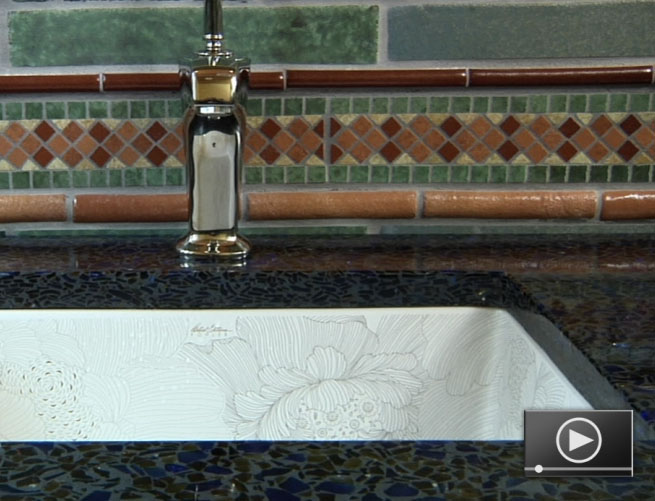
How to Install a Bathroom Lavatory
How to Install a Glass Shower Enclosure
How to Install A Toilet
Mounting the Handheld Showerhead
As with any DIY installation, begin by thoroughly reading the manufacturer’s installation instructions. This not only helps to identify the components, but it can help in gathering all of the tools needed to get the job done right. The instructions can also help to determine whether and where to use sealant, as many newer shower faucets include foam gaskets in lieu of sealant or plumber’s putty. The handheld showerhead we will be installing includes the supply elbow fitting, shower head, hose, bracket, valve control, and faceplate.
-
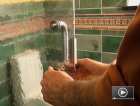
Begin at the top by installing the supply elbow. Wrap the pipe stub with some Teflon tape to keep the connections from leaking and thread the supply elbow onto the pipe stub by hand until tight. Using a rag to protect the finish, tighten the fitting with an adjustable pipe wrench. The key is to tighten it snug but not so snug that you distort the connection.
-
Next, install the bracket for the handheld showerhead. This bracket can be located almost anywhere, and you’ll want to find the best location based on the size of the showerhead, the height of the ceiling, and the height of the typical shower users. When you’re not using the showerhead as a handheld fixture, you’ll want the showerhead to supply water from an appropriate fixed location.
-
Most brackets are comprised of a mounting bracket and finish trim bracket. Remove the components and mark the anchor spots for the mounting bracket. If you’re attaching through wall tile, use a masonry or glass tile bit to drill holes for the screws and anchors. Use anchor plugs if there is no blocking in the wall for mounting. A little silicone sealant in the holes can help to protect the holes from excess water.
-
Once you’ve installed the mounting bracket, slide the finish trim bracket on and lock into place. Depending on your bracket, you may need to snap or screw together a couple of pieces to complete the bracket assembly. As typical, be sure to check the manufacturer’s instructions.
-
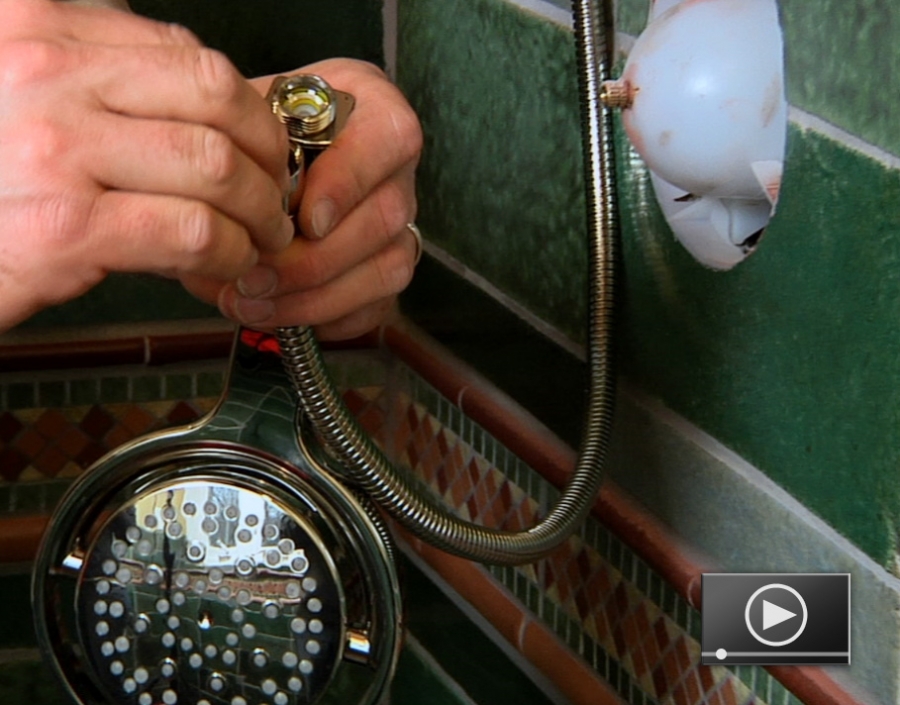
Next, install the hose that connects the supply elbow to the showerhead. Insert the appropriate gasket into each end; a simple rubber ring for the supply connection and a rubber ring with an aerator for the showerhead connection. Finger-tighten one end of the hose to the supply elbow and the other end to the showerhead. Again, use a rag to protect the finish when fully tightening with adjustable pliers or a pipe wrench.
Installing the Valve Controls
Now it’s time to install the valve cover. In our project, the main portion of the shower valve was installed in-line with the supply piping during the rough plumbing phase. The remaining components to install are the valve controls, which determine the temperature and flow of the water.
-
The first step is to remove the plastic protection cover or plaster guard that is used to keep any dust and drywall out of the valve assembly during the finishing of the wall and tile.
-
Attach the backing plate to the valve assembly with screws. Check the manufacturer’s instructions to determine if sealant is necessary.
-
Next, install the stem adapter on the valve gear and set the faceplate over the backing plate. Slide the handle onto the stem adapter and screw the handle base onto the backing plate. Tighten by hand and check the handle for proper alignment with the hot and cold indicators on the faceplate.
-
Finally, turn on the water supply to the shower and check the assembly for any leaks.

Ryan Carpico
Ryan is a Registered Architect who earned a Bachelor of Architecture from the University of Kentucky in 1998. His experience in a broad spectrum of architectural projects includes design and project management in multi-family residential, general commercial, and institutional projects. This architectural experience is balanced with a background in general contracting of residential and light commercial construction projects. Ryan’s knowledge and ability as both architect and builder enable him to address both the technical and practical sides of the comprehensive body of construction knowledge.
Website: carpicodesign.com/