How to Tile a Custom Bathroom
-
font size
decrease font size
 increase font size
Video
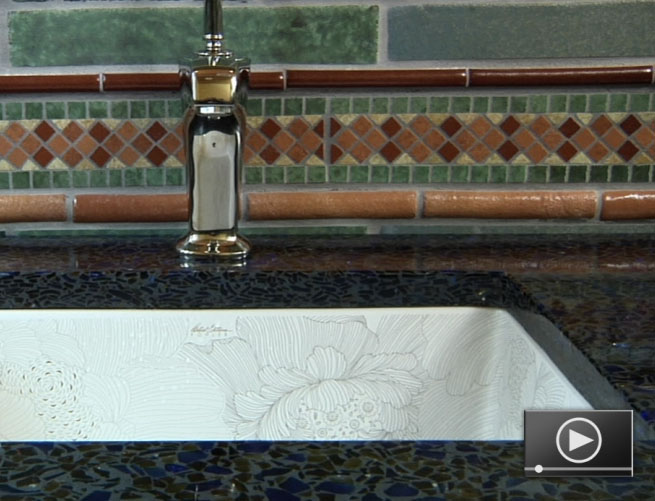
Ceramic tile is an ideal choice for walls and floors in any bathroom. It’s durable, impervious to water, and comes in an almost limitless selection of colors and styles. Tiling a custom bathroom with your own hands is a rewarding project for an experienced do-it-yourselfer. Join our host, Jeff Wilson, as he offers guidance on installing wall and floor tile in the second installment of Buildipedia's custom bathroom series.
Prepare the Substrate
The first step in any tile installation is to prepare the proper substrate. Because bathroom surfaces are often wet, concrete backer board should be used as the substrate behind any wall and floor tile. The backer board will give the tile a strong, waterproof base that will actually chemically bond with the thinset mortar and tile.
For more on installing concrete backer board, watch the first video in our custom bathroom series. This video covers the installation of a pre-fabricated tileable shower base, which is made to directly accept tile, and eliminates the step of having to fashion a shower base with rubber sheeting and mortar.
Custom Bathroom Series
How to Install a Tileable Shower Base
How to Install a Bathroom Lavatory
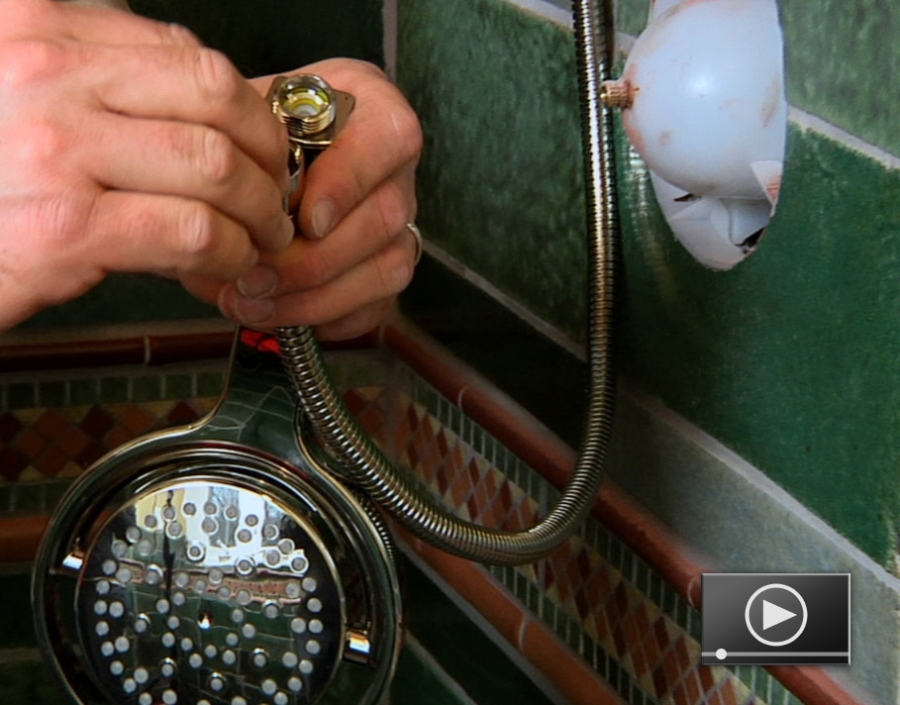
How to Install a Handheld Shower Fixture
How to Install a Glass Shower Enclosure
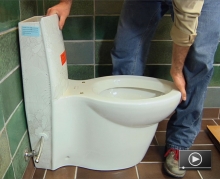
How to Install A Toilet
Tile Layout
Prior to installing any tile, you may want to spend a few minutes to determine the best layout for your tile based on how it fits in your specific space. For simple designs, you may want to snap a line in the center of each wall or the floor and work to the corner so that you have equal tile cuts on either end. For more complex designs, including those with different-size tiles or colors, you may want to lay out the tile on a flat surface to determine how the colors or sizes fit together.
Thinset Mortar
When you’re satisfied with the layout of the tile, your next step is to mix up some thinset mortar. Thinset mortar is typically available as a dry powder and is mixed with water. Read the manufacturer’s directions prior to mixing to determine the proper ratio of dry mortar to water. Mix the thinset to a peanut butter consistency, then let it rest, or “slake,” for about 10 minutes. After 10 minutes, mix it again for about a minute, and you’re ready to go.
How to Install Tile
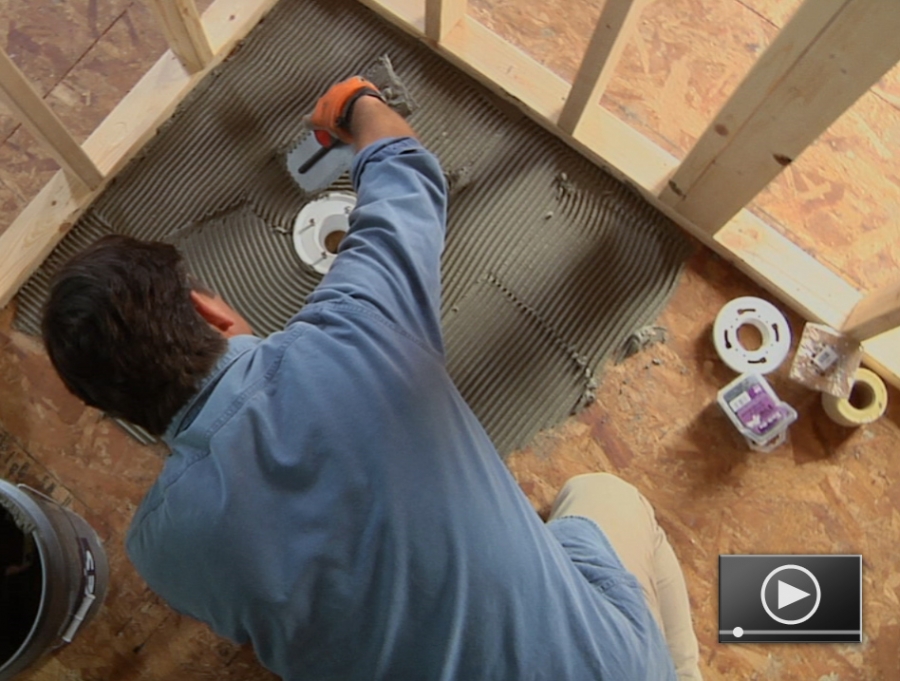
If you’re tiling both the walls and floor, it is best to start with the wall tile to avoid making a mess on any finished floor tile. Begin at the bottom of the wall. In our case, we’ve selected cove-base trim pieces as a baseboard transition between the floor and wall tiles.
Working in small sections, apply the thinset on the concrete board using a 3/8” notched trowel. Set the tiles firmly in the thinset mortar and gently twist the tile to get the best adhesion and eliminate any air bubbles beneath the tile. Use tile spacers to keep grout lines straight and even. Remove any excess thinset in the gaps to allow enough room for the grout. As you move up the wall, use a level to check your progress.
Inevitably, you will need to cut some tile, and there are a few ways to do that. For straight-line cuts, a tile cutter works well. Mark the tile, score it, and push down to snap it cleanly. Use sandpaper to soften the sharp edges, if necessary. For more complicated cuts and notches, such as around outlets and windowsills, a wet saw works well. A wet saw has a water-cooled, diamond-tipped blade. You can rent one for your project at most home improvement stores. Again, mark the tile and slide it slowly toward the blade. Let the saw do the work and do not force the tile. Most wet saws have a fence, or guide, to keep longer cuts straight, and a speed square makes a useful guide for 45? angle cuts. Wear safety glasses and ear protection at a minimum and keep fingers and hands away from the spinning blade.
You may also have to cut a hole in a tile or two to allow for rough plumbing. A tile hole-saw, which is a diamond-encrusted drill bit that comes in various diameter sizes, works well for this.
Once the tile is set, it is a good idea to double-check the joints to be sure they are clean enough for the grouting process. Typically, over night is enough time to allow the tile to set and achieve proper adhesion.
How to Grout Tile
Once the thinset has hardened and the tile is firmly set in place, it is time to grout the joints. For wider joints, larger than an 1/8", sanded grout typically works better. For tighter joints, of an 1/8" or less , use unsanded grout.
Mix the powdered grout just like the thinset mortar. Be sure to read the manufacturer's instructions to determine the proper ratio of water to powdered grout. And as with the thinset mortar, let the mixture sit or slake for 10 minutes prior to application.
Using a rubber grout float, work the grout into the joints, pushing firmly from all directions to ensure that the grout completely fills all the voids. The grout typically sets up more quickly than the thinset, so work in small sections. On your last pass with the float, pull across the tile on a diagonal to be sure not to gouge the grout lines. Remove as much grout off the surface of the tile as you can, as this will make cleaning easier.
Next, using a damp sponge, wipe the excess grout off the surface of the tile. It is important to continually rinse out the sponge. Too much water in the sponge will drip down the wall, causing the grout to wash out of the joints. You will use a lot of water on this step, but it's necessary to remove all the grout from the tile surface – grout left on the surface of the tile is very difficult to remove.
After the grout has set up for a few hours, use a dry rag or buffer to wipe away any remaining grout haze.
With the walls completed, it is time to begin the floor tile. The process here is just like the walls – mix mortar, trowel it on, and lay the tile using the tile spacers.
Once the floor tile has set overnight, follow the same steps for grouting: press the grout into the joints with the float, scrape away as much grout as possible with the float, and then wash the surface clean.


Ryan Carpico
Ryan is a Registered Architect who earned a Bachelor of Architecture from the University of Kentucky in 1998. His experience in a broad spectrum of architectural projects includes design and project management in multi-family residential, general commercial, and institutional projects. This architectural experience is balanced with a background in general contracting of residential and light commercial construction projects. Ryan’s knowledge and ability as both architect and builder enable him to address both the technical and practical sides of the comprehensive body of construction knowledge.
Website: carpicodesign.com/