Installing Hardwood Flooring
Video
Installing a Hard Wood FloorInstalling hardwood flooring on your own is easy and an effective way to save money.
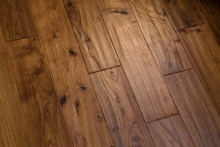
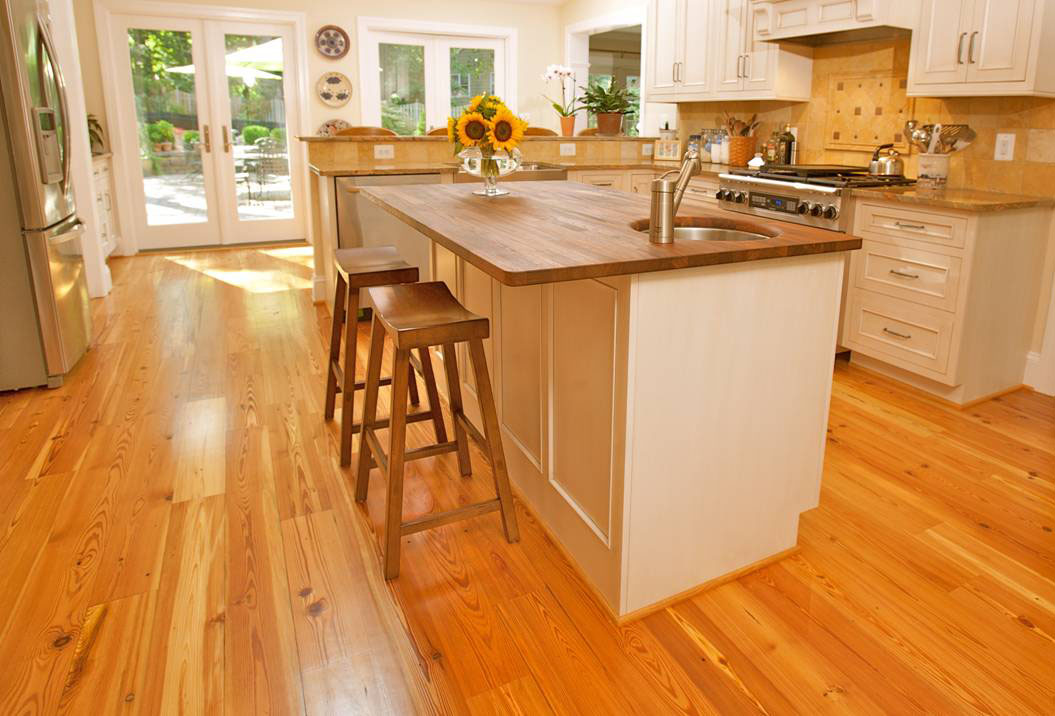
Real hardwood flooring is becoming less and less common as laminates come on the market. That’s a real shame – laminates, no matter how beautiful, simply don’t have the warmth, depth, and durability of real hardwood. On top of that, it’s not possible to refinish most laminates, so once they’re damaged they’ve got to be replaced. The oak floors in my house are almost 75 years old, have been refinished at least once, and still have a lot of life left. That’s why, when the time came, we opted to install real wood flooring in our addition.
When choosing hardwood flooring for your project, consider first whether to install pre-finished or unfinished flooring. Pre-finished, solid hardwood is finished at the factory with a multi-layered process that typically includes some type of durability enhancer in the finish, like aluminum oxide. The finish is much harder and more resistant to wear and scratching than unfinished flooring and has the additional benefit of requiring no sanding (read: no dust) and generating no harmful VOCs inside the house from the finishing process. On the other hand, pre-finished flooring is more expensive than unfinished flooring, and the resulting surface will have small “v” indentations between each board, whereas flooring that is finished in place will have a smooth, uniform surface.
Whatever you choose, remember to buy 5%–10% more than you estimated needing. Often waste occurs during installation, so you’ll want to make sure you have plenty on hand to finish the job. Also, remember to bring the flooring into the environment where it will be installed several days before you start – most flooring manufacturers require this period for the wood to acclimate to the humidity conditions inside the house before installation.
Getting Started
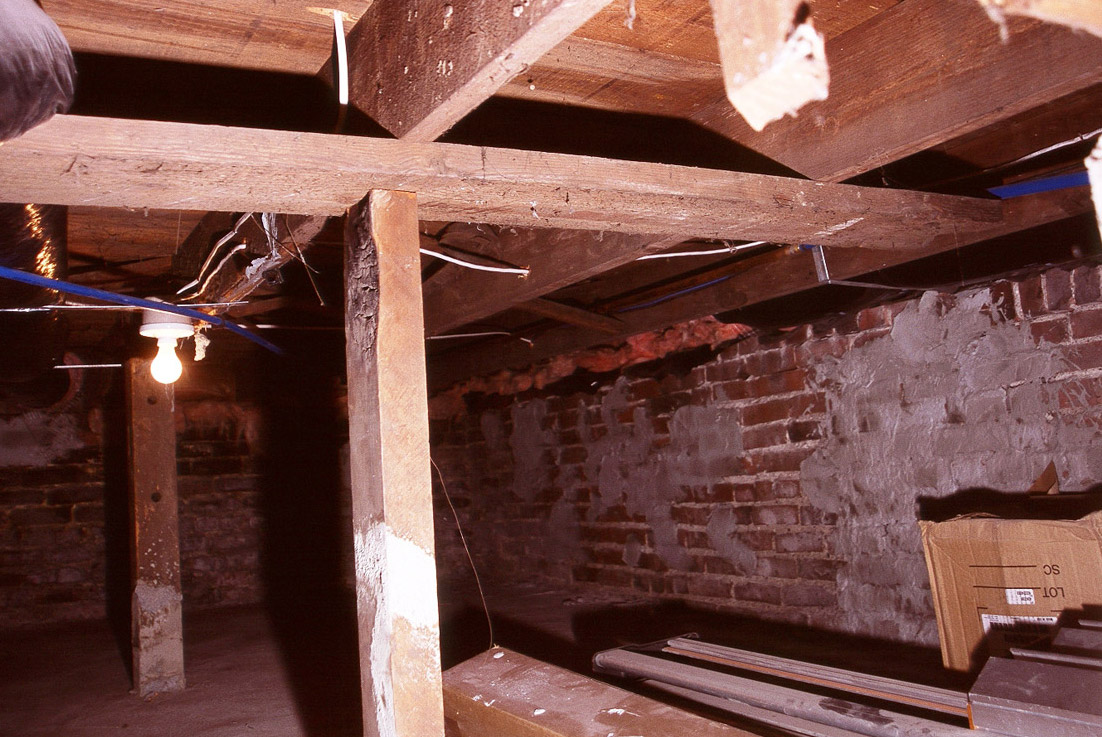
Layout. Most often, flooring is installed perpendicular to the floor joists. However, it is possible to install flooring parallel to the floor joists if an extra layer of subflooring is installed first. In either case, make sure the subfloor surface is clean and dry before starting. Then add a layer of red rosin paper or other underlayment material and staple it securely to the subfloor. Now make some reference marks on the rosin paper to make sure the installed floor looks as square in the room as possible. On newer construction this might be a simple affair, while on older homes the walls and floors can warp and wave quite a bit, presenting more of a challenge to make the finished floor look straight in a room. It may be that it’s best to start in the area where the flooring will be the most visible, like at a doorway or transition to another floor type. There the boards should line up perfectly; then those places where the last course may vary in width from one end of the room can be more easily hidden by furniture.
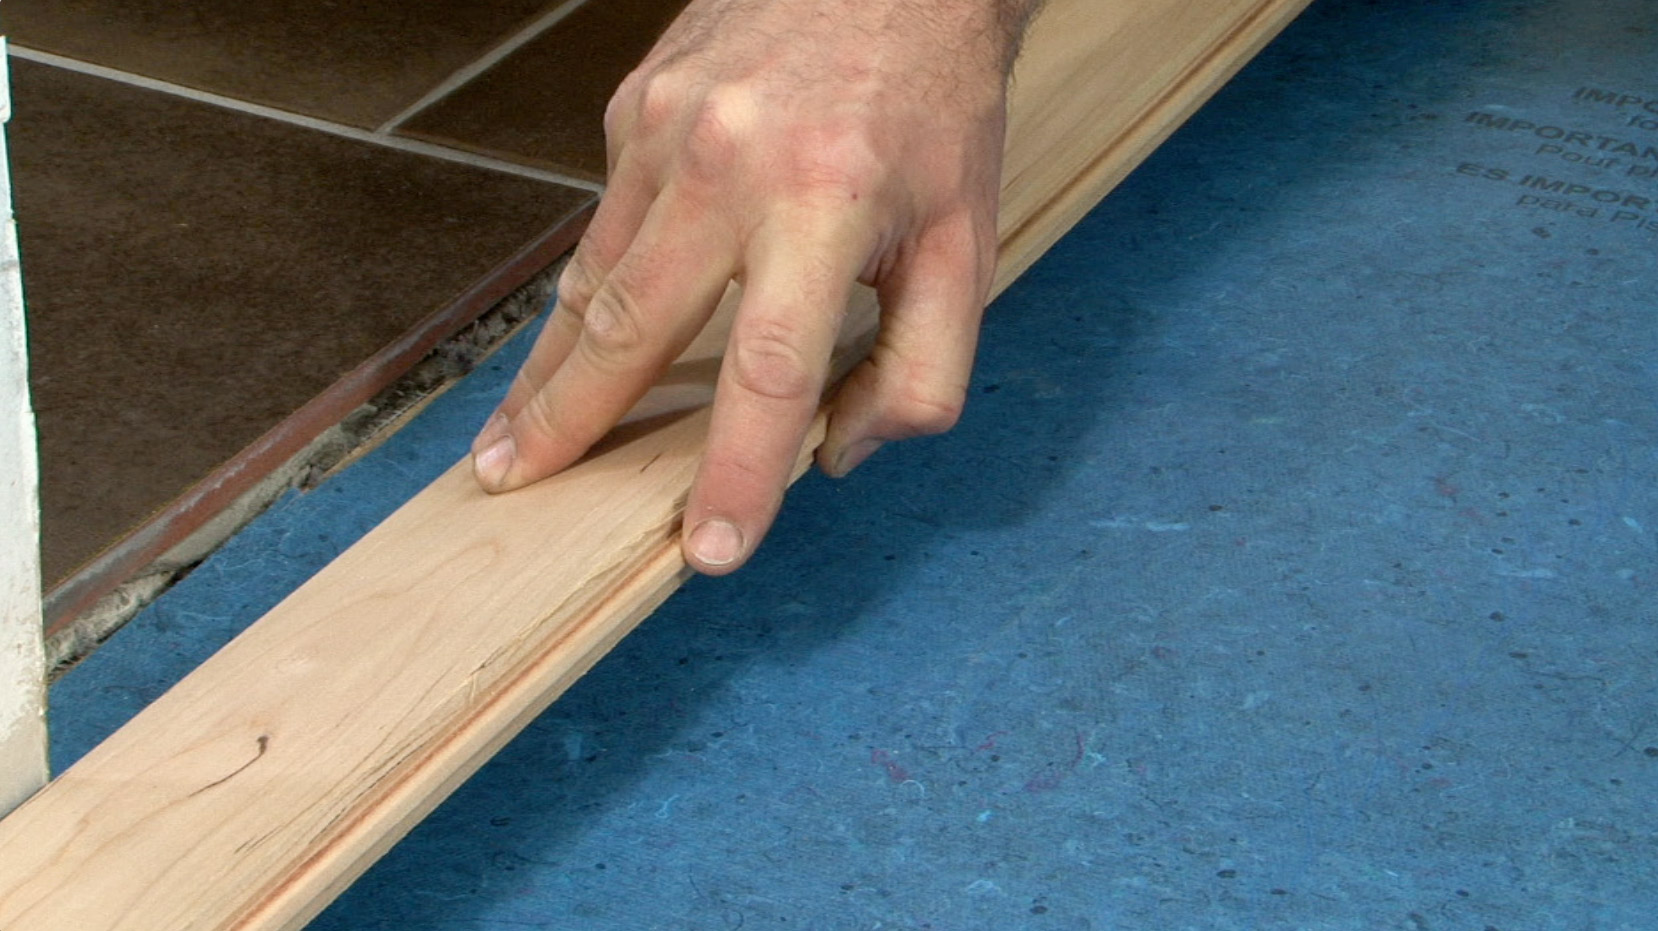
Installing the First Board. For the first board, choose a very straight piece. Getting the first board installed correctly will set up the rest of the pattern in the room. The first board should be face-screwed to the floor, leaving a gap of 1/2” between the groove edge of the board and the wall. This gap is for the eventual expansion and contraction that all natural wood floors experience in a home environment, and it will eventually be covered up by the baseboard and shoe mold trim pieces. Then, using a 3/8” countersink bit, countersink each screw halfway through the thickness of the board. Use a 3/8” plug cutter to cut plugs out of scrap pieces of flooring, install the plugs with a drop of wood glue and the tap or two of a mallet, and shave off the exposed part of the plug with a very sharp chisel. Leave the plugs just a tiny bit long – you’ll sand them flush later, during the finishing process.
The Easy Part
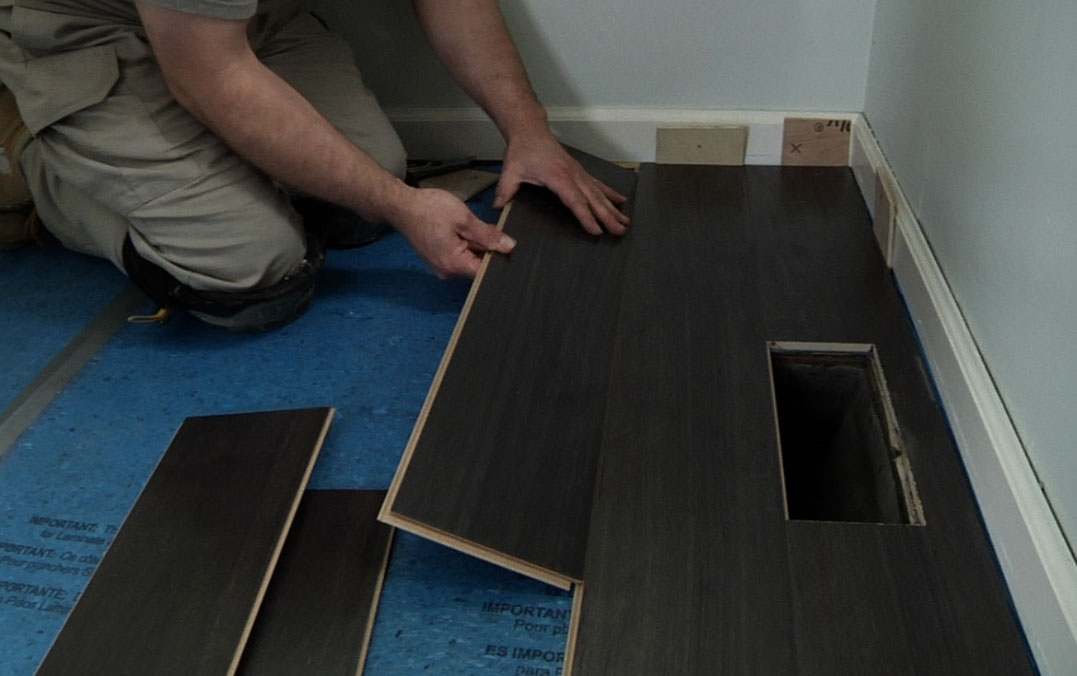
Using the Pneumatic Nailer. Once the first board is installed, move on to the second row. Place the groove side of the new piece over the tongue side of the installed piece. Gently tap the piece into place, using a scrap piece of flooring as a block so as not to damage the exposed tongue on the new piece. Use a block and pry bar at the butt ends of boards, where they meet the wall, to nudge them into place in that direction, being sure to leave the same 1/2” gap along the wall at the butt ends as at the edge walls.
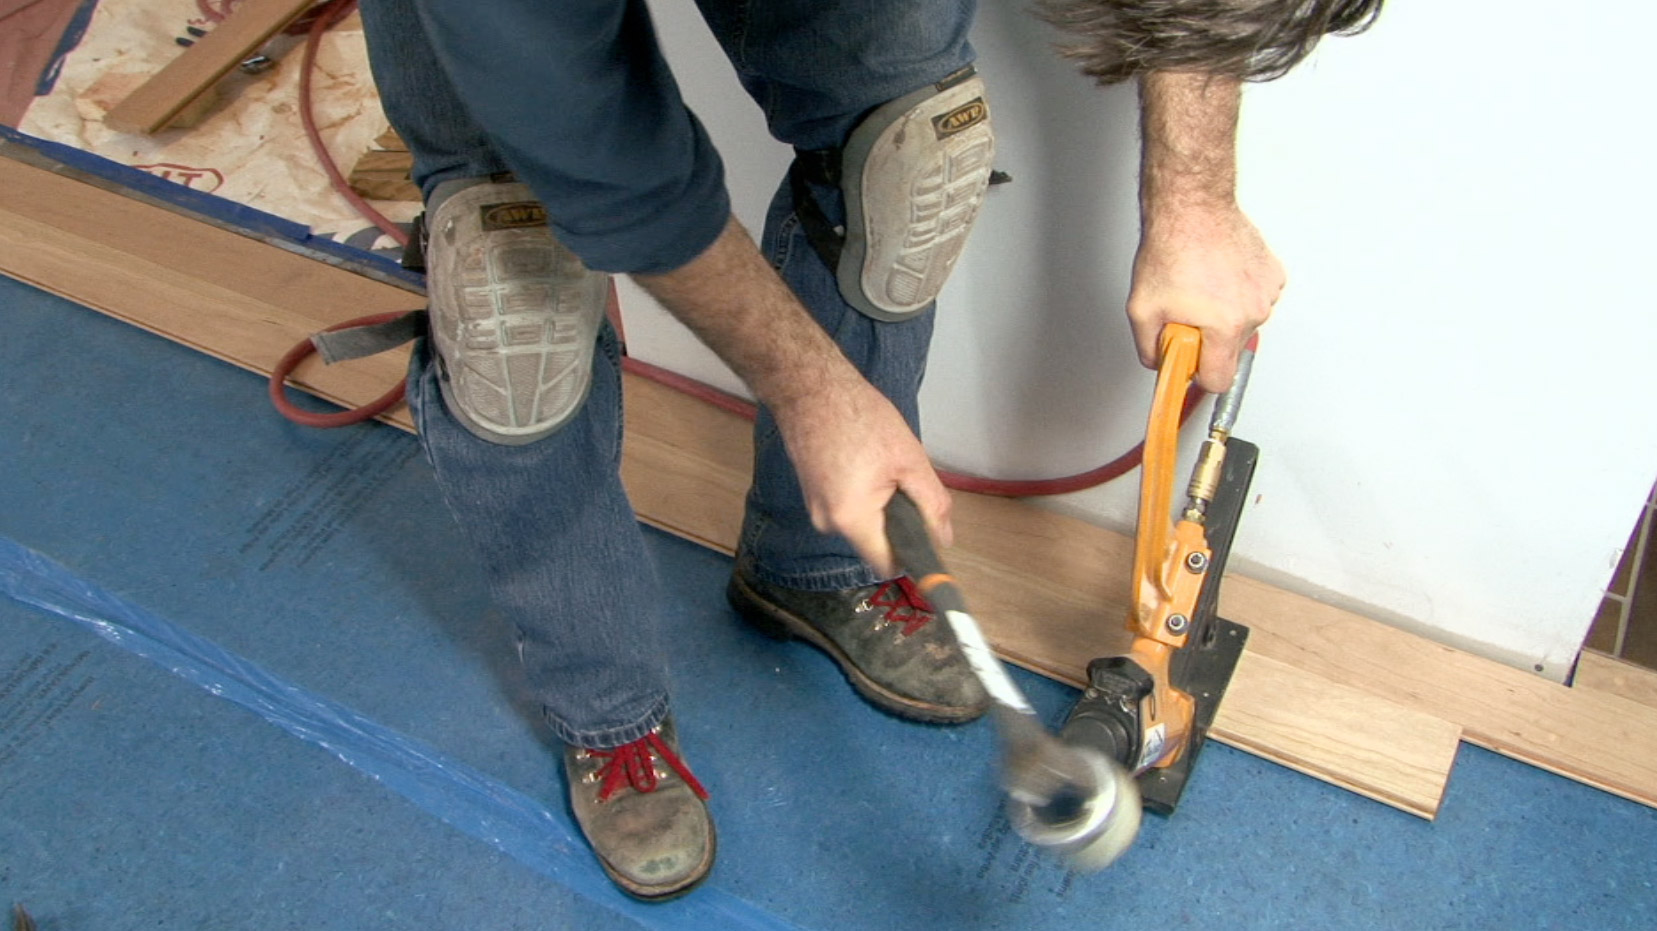
For the remaining boards, use a rented floor nailer/stapler, available at most home improvement and tool rental stores. These pneumatic nailers use “U” shaped staples or “L” or “T” shaped cleats – make sure to get enough of the precise type and gauge for your nailer and project. Once the board is nudged into place, snug up the nailer against the tongue side of the board, strike the trigger with a mallet, and drive a fastener at an angle through the tongue and into the subfloor and joist below. The head of the fastener will be flush or barely countersunk below the surface of the wood, so it won’t interfere with the groove on the next piece of flooring. If this does not happen, adjust the nailer to seat the fastener correctly. Space fasteners by about 8” along each board.
As you work, choose boards that complement each other in color and grain. Vary the colors so that you don’t end up with big light or dark areas. Stagger butt joints so that they’re no closer than 6” from one another. Each board will have its own personality – some might have warping or checking that will make them a particular challenge to install. You may need to use a series of blocks and pry bars to wedge such boards into place. Temporarily nailing or screwing a block into the subfloor so that you can get some leverage on a particularly difficult piece will help. You’ll also likely have to notch around door jambs, corners, and other obstacles – take your time and make careful, clean cuts.
As you reach the other side of the room, you won’t be able to strike the nailer with the mallet without hitting the wall. For these rows, use a pneumatic finish nailer, or simply drill pilot holes, at an angle, and then use ring-shank nails or screws. On the last row or two, even this approach won’t work, so these pieces will need to be face-screwed like the first row. On the very last row, it’s likely that you’ll have to rip the final piece on a table saw to get the right width. Again, maintain a 1/2” gap for expansion and contraction against the final wall.
The Worst Part
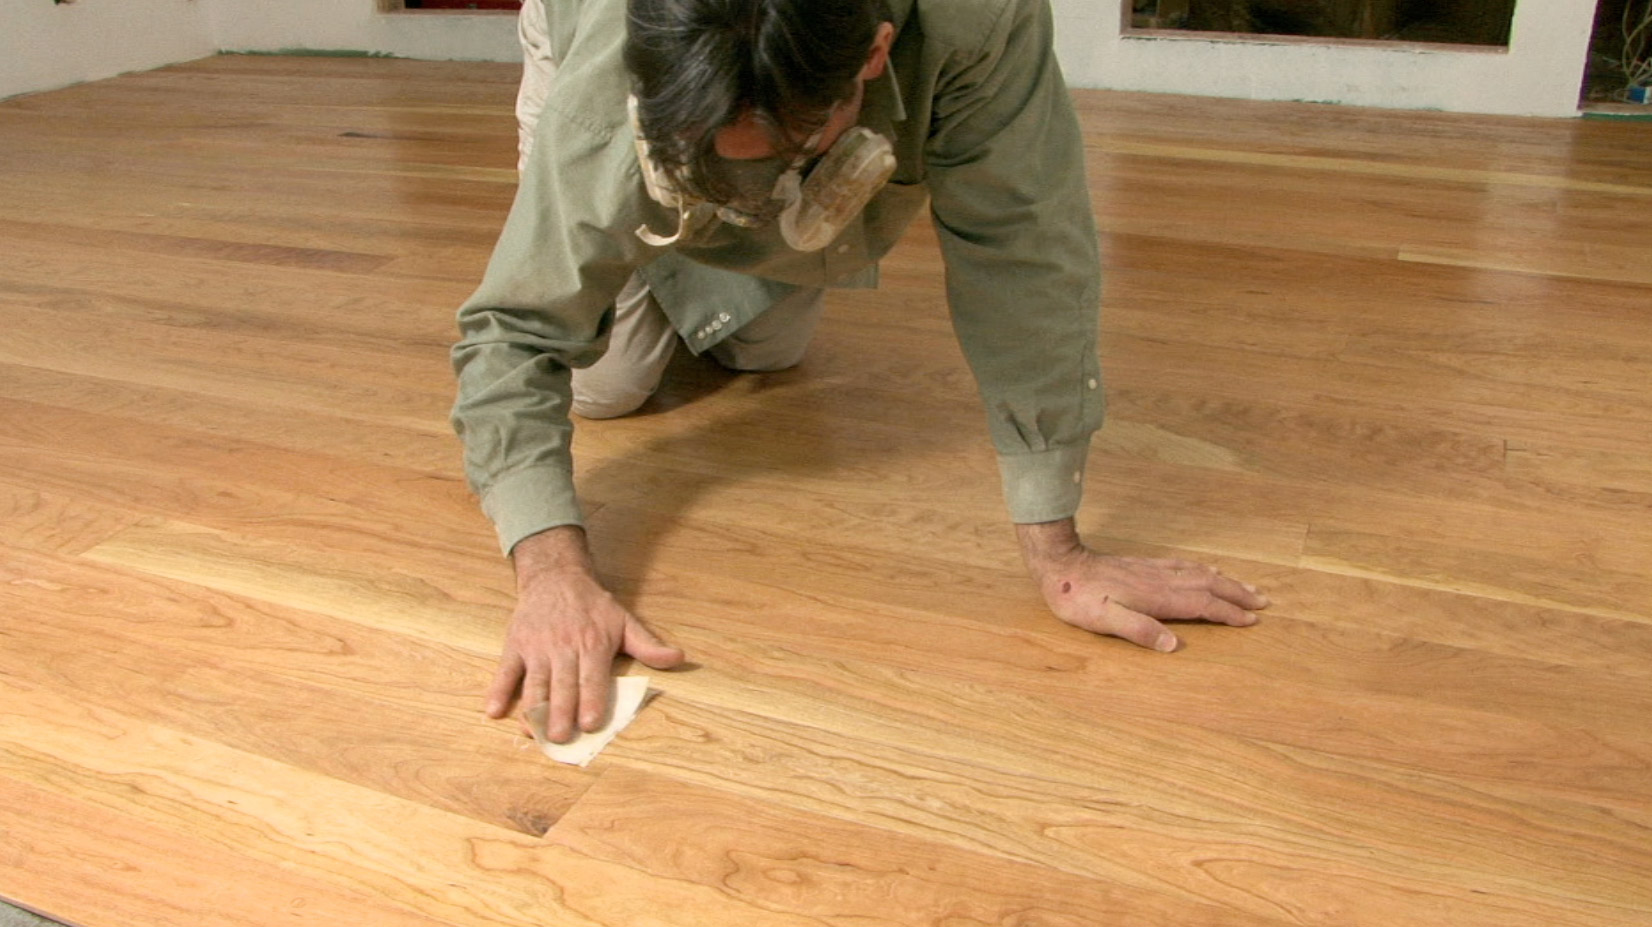
Sanding. Once the final piece is installed, you can move on to finishing the floor. First, sweep the floor carefully to get rid of any bits of grit or fasteners that might scratch the floor in the sanding process. Before sanding, be sure to completely isolate the area from the rest of the house – the amount of fine dust created during this process is incredible. I like to “drape and tape” doors and openings and put a box fan in an open window, blowing out, while I work. Also, make sure to wear proper safety gear – goggles, gloves, ear-protection, and a mask are all necessary during the sanding phase.
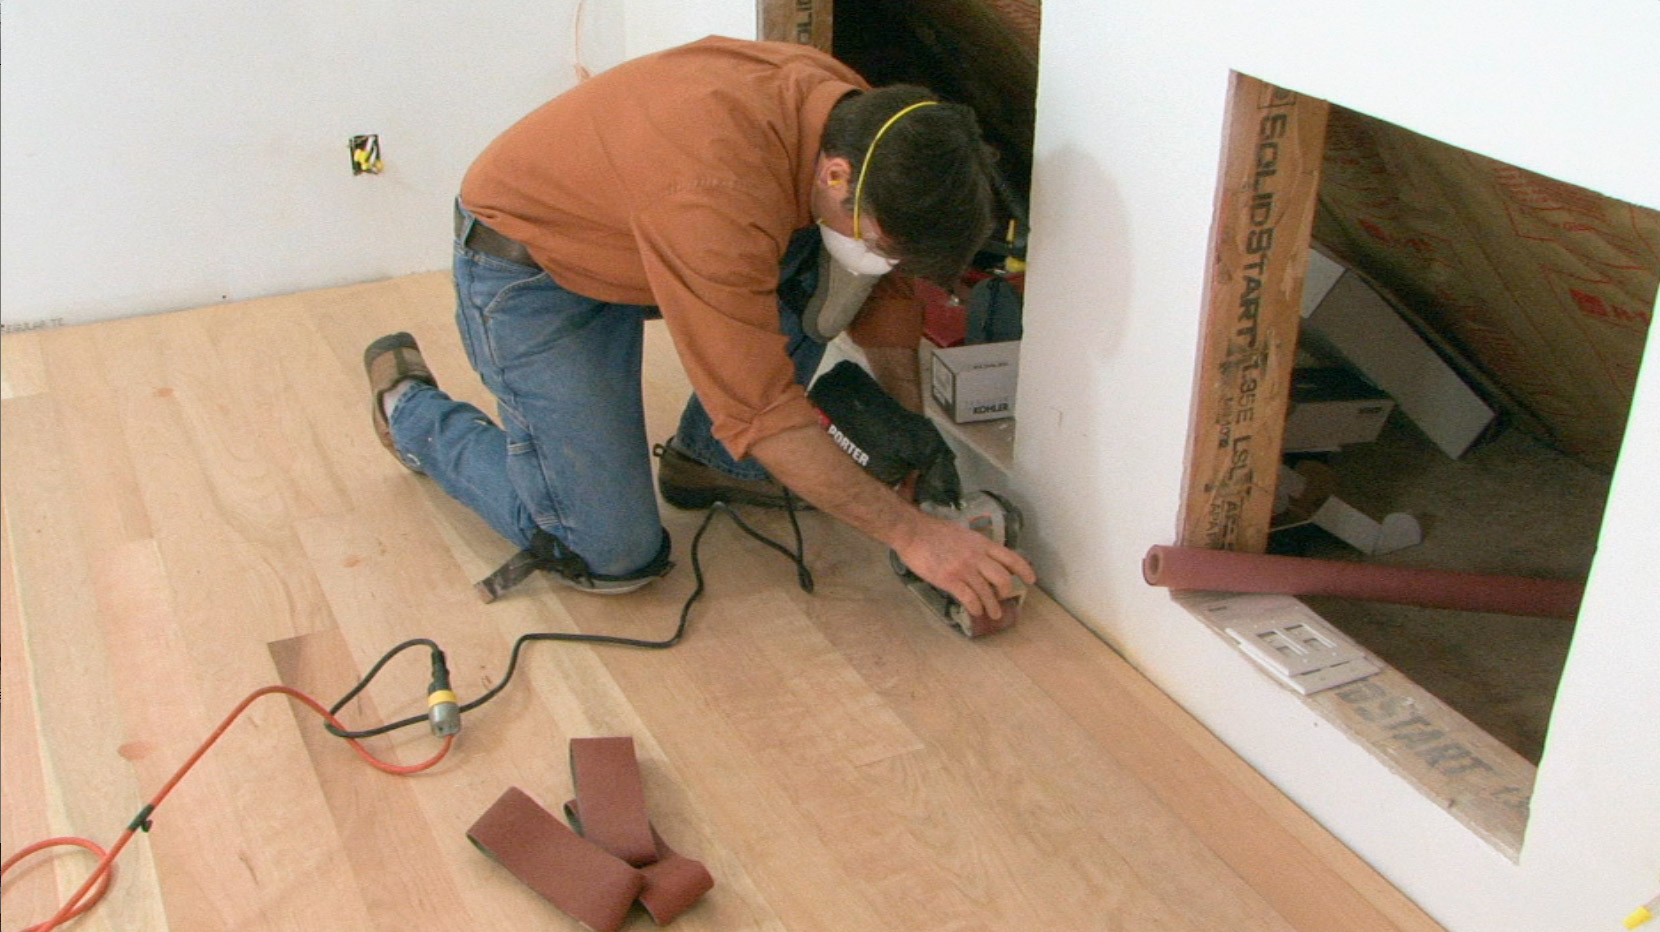
That sanding phase is, arguably, the most difficult part of the job. At this point, you’ll have a decision to make. If the space to be sanded is more than a couple of hundred square feet, rent a drum or large, random orbital sander and 7” disk edging sander from a tool rental store. If the space is small, like a portion of a bedroom floor or a hallway, you can probably do the job better with a small, hand-held belt sander on the main floor and a hand-held orbital sander for the edges and touch up work. This is important – using a large drum sander is back-breaking, hard work. While the large, random orbital floor sanders are somewhat easier to handle, they’re a little less effective at removing large amounts of material, as in the case of particularly rough flooring with humps and exposed edges between boards that must be sanded off before finish sanding can begin. Using these large drum sanders is both heavy and delicate work, which can be difficult to accomplish if you’re not a regular weight-lifter.
In the case of a particularly rough floor, use a large drum sander and start with 20 or 36 grit sandpaper. Work diagonal to the grain of the wood, sanding down humps and edges.
Warning: If you’ve never used a drum sander, they can be heavy and can easily damage a floor if the drum is “dropped” into position. Carefully and painstakingly lower the drum while moving the sander gently forward at the same time.
After the diagonal passes to even the exposed edges, make another pass with the same grit, this time with the grain. Work from one direction, with the grain of the wood, and then switch ends of the room and work the other direction, still with the grain. This way, the sanding job will be uniform across the entire floor.
Once you start sanding with the grain, continue to sand with the grain, working through each of the grits (20, 36, 60, 80, and 100), carefully sweeping and vacuuming between grits to avoid scratching the floor with the coarser grit from the last pass that might be left behind.
If you have well milled flooring that is already smooth and without exposed edges, start sanding with 80 grit sandpaper. Start with the edger, and then use the drum or belt sander to “fill in,” working with the grain. After a round with the 80 grit sandpaper, sweep and vacuum well to remove all stray grit from the floor. Switch to 120 grit sandpaper and repeat the process.
The final cleaning, before finishing, is critical. On our project, we realized that we’d need to clean the walls and ceiling, as well as the floor, and clean several times by sweeping with brooms and rags, followed by vacuuming. We let the dust settle between cleanings, and then cleaned again, finishing up with tack cloths to get the finest dust off the floor just before we started to apply the polyurethane finish.
Finishing
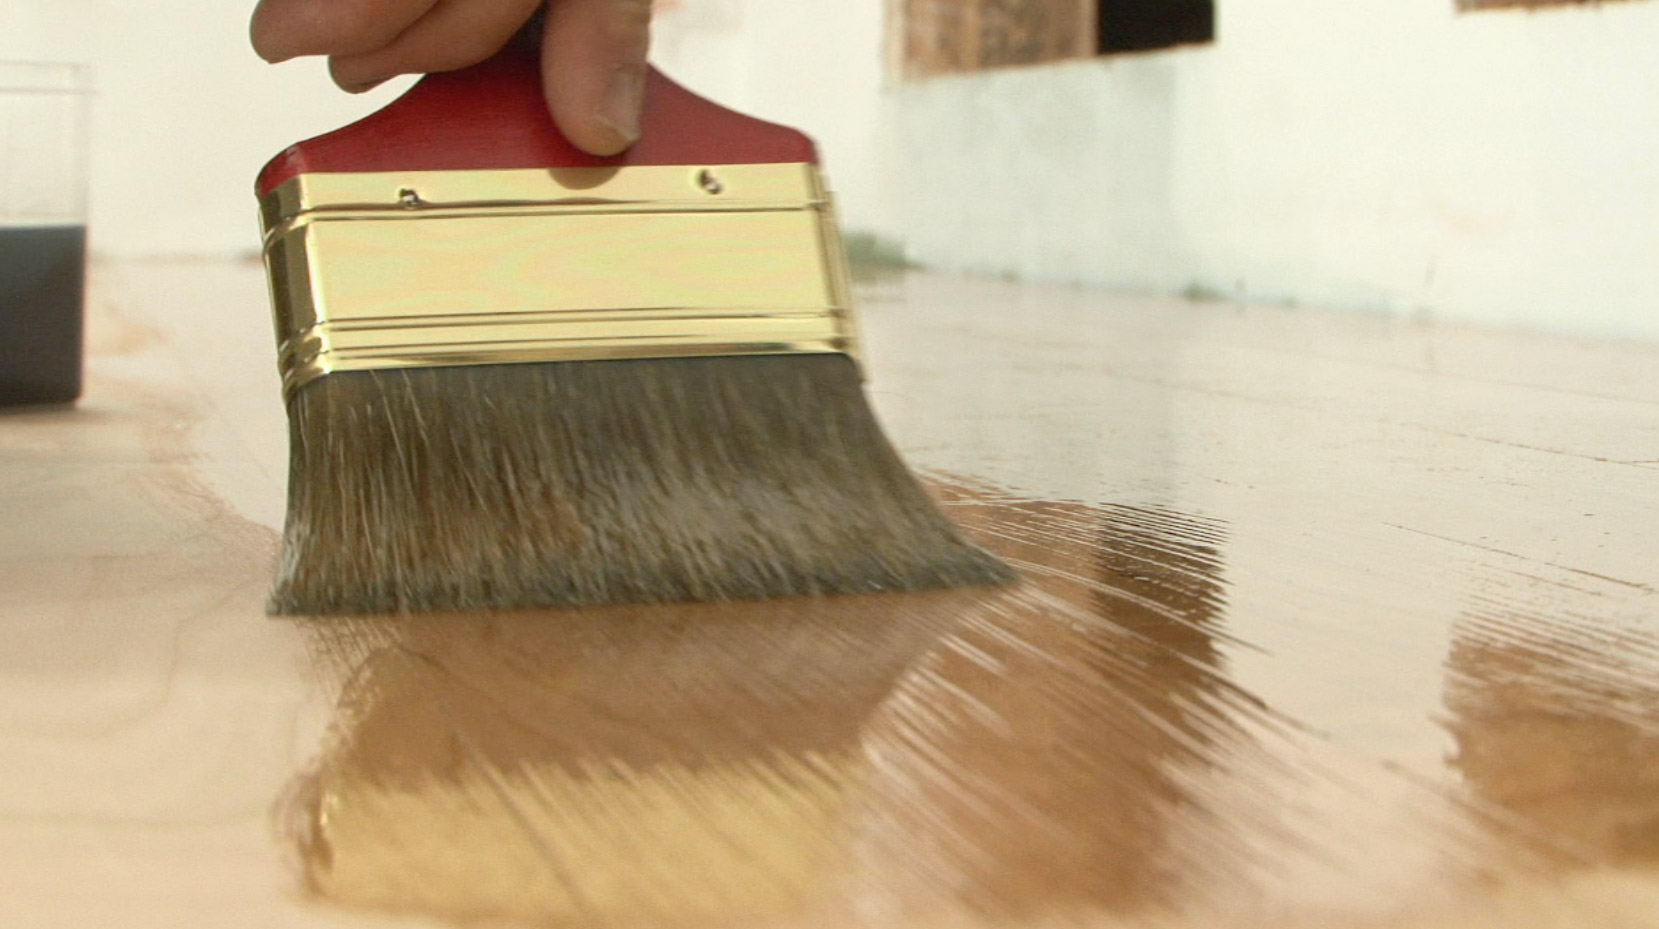
Many different flooring finishes are available, including oil- and water-based. I prefer oil-based versions for the warmth they impart, but they contain particularly nasty VOCs that you’ll need to be careful not to breathe. Always wear a respirator when applying oil-based stains or polyurethane (or any coatings, for that matter). If you choose to stain the wood first, apply the stain liberally, and then wipe away the excess with paper towels. Be sure that the stain is dry before moving on to the finishing step.
Choose gloss, semi-gloss, or satin sheen, but remember that the higher gloss sheens tend to show flaws and irregularities more than duller sheens. We used “high-build” polyurethane that required only two coats, but some finishes require three coats or more. Be sure to read the manufacturer’s directions on the label.
While all manner of wide, pole-mounted applicators are available, there’s just no better way to get perfect coats of finish than with a 4” brush. I got this tip from Bruce Johnson, a respected author and expert for Minwax. Larger applicators, while they might apply more finish per stroke, lack the kind of control necessary to ensure a streak-free, even finish. Work with the grain, in swathes about 12” wide, and carefully back-brush as you go, keeping the leading edge wet. Work quickly but carefully, and let the coat dry according to the manufacturer’s directions before starting the next coat.
Between coats, sand lightly with 150 or 220 grit sandpaper, and then carefully clean up the dust before you start the next coat. Once finished, most polyurethane finishes will allow sock-foot traffic within 24 hours of application but may require at least a week before furniture is moved into the room. Don’t rush this part – it’s easy to jump the gun and damage a floor that hasn’t completely cured.
Once the coating has cured, move in and enjoy your new hardwood floors. While it’s a lot of work, they’ll be a beautiful addition to your home that will last for many years to come.

Jeff Wilson
Jeff Wilson, author of The Greened House Effect and host of Buildipedia's Everyday DIY series, many HGTV and diy network shows and 25-year veteran of the construction industry, lives with his wife and two daughters in a perpetually half-renovated home in a small college town in Ohio. You can see Jeff’s most recent project, the Deep Energy Retrofit of his 1940’s Cape Cod style home at thegreenedhouseeffect.com.
Website: www.jeffwilsonregularguy.com
