Applying Finishing Touches to Concrete Foundation Walls
Video
Adding a finished surface to your basement wall will make it feel more like a "real" room. Learn the how-to steps here and find out what material choice would work best for you.
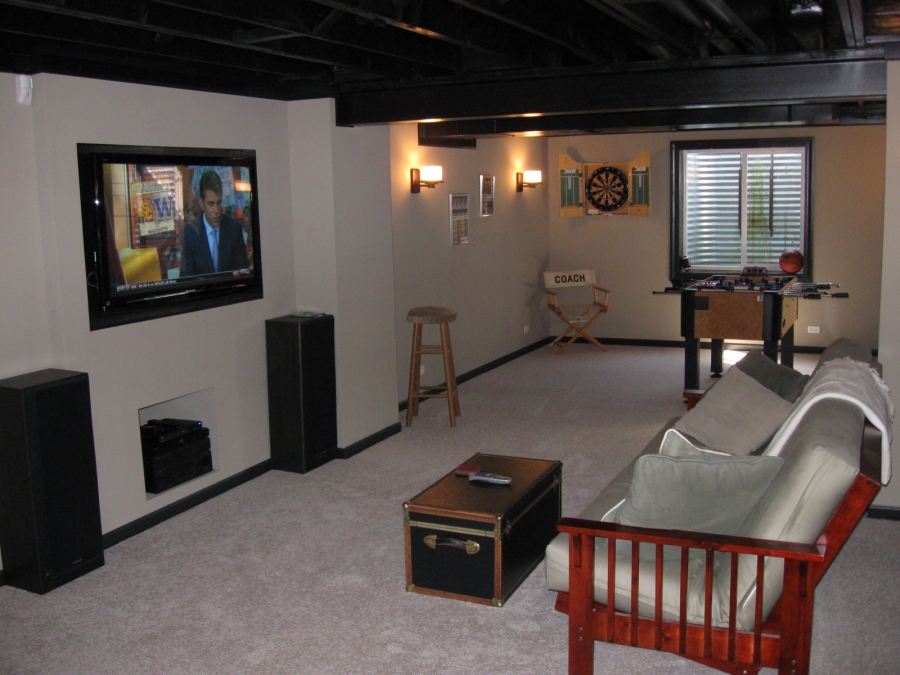
An unfinished basement can be a dark and damp place that is rarely used for anything other than storage. Although the basement is commonly left unfinished when a home is built, at some point during the life cycle of the home the residents usually require additional living space; the square footage of a basement typically provides ample space for a family room, home office, or even a playroom. A key component to finishing a basement is applying finishes to the exterior foundation walls. Understanding what types of finishes are available will assist you in creating a fully habitable, comfortable, and healthy living space.
Basement Space Offers the Best Value
The best part about choosing to renovate an unfinished basement is your savings and the return on investment (ROI). Finishing the basement is the least expensive method of adding usable square footage to your existing home, because the structure is already in place. According to the Remodeling 2010–11 Cost vs. Value Report, national averages suggest that at resale you might expect to recoup 70% of the total job cost of a professional basement remodel. Although this percentage of cost recouped is not as high as it has been in years past (90% in 2005), it does present a higher current return on investment (ROI) than the more expensive family room addition (62.5% in cost recouped).
Moisture and Air Sealing
First things first: most homes are constructed over one of two types of foundation, masonry or poured concrete. The number one problem affecting a finished basement is moisture; thus the most critical step in finishing a basement is moisture control. Ideally, moisture controls such as exterior foundation waterproofing, a perimeter drain, and a sump pump are structurally incorporated when a home is built. However, because we don’t all live in newly built homes, a homeowner frequently and unfortunately is living without one or all of these moisture control methods. According to the 2009 American Housing Survey conducted by the U.S. Department of Housing and Urban Development (HUD), the median age of the American home is 36 years. Houses built during the 1970s generally have ineffective exterior foundation waterproofing and no perimeter drain or sump pump.
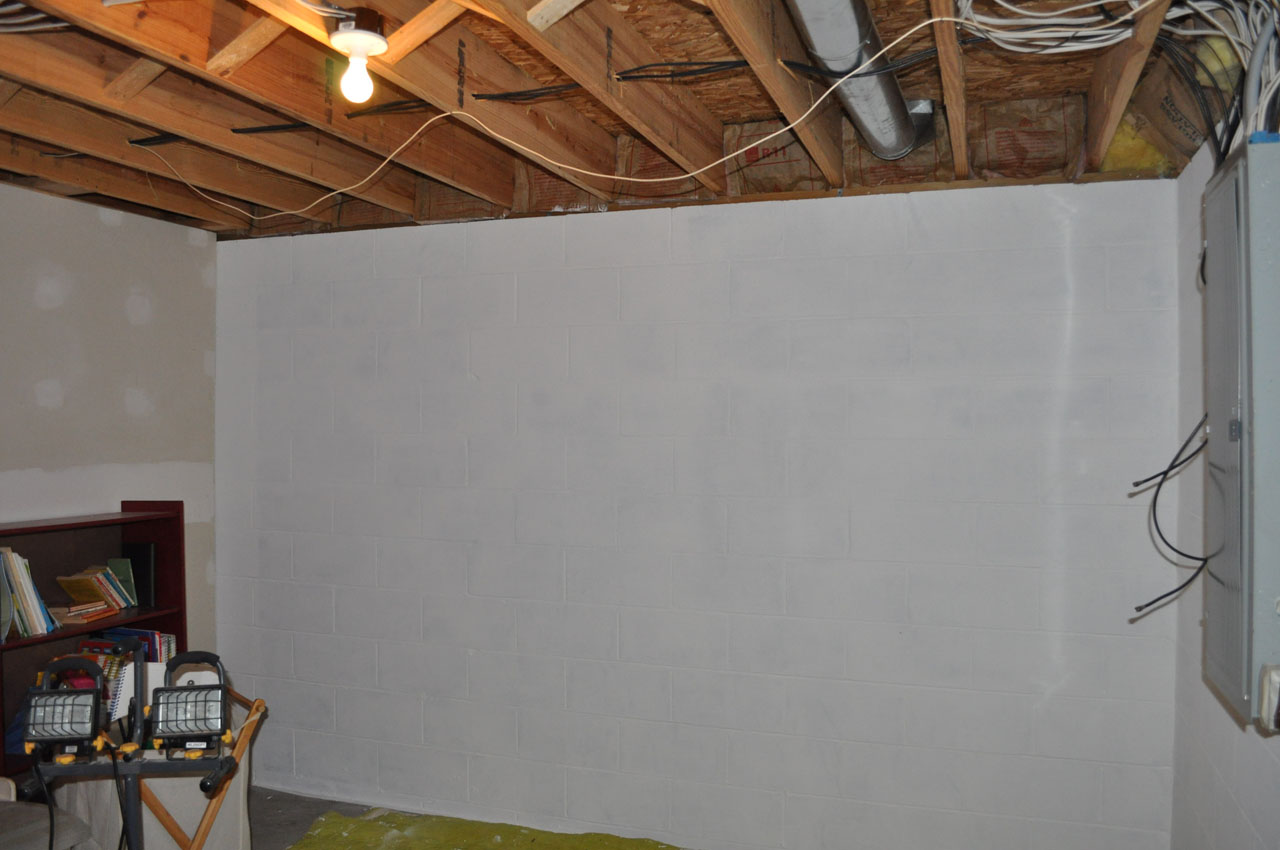
Prior to finishing your basement, you should conduct an inspection of the foundation, preferably during or after heavy rains throughout the year. By doing so you will have a better understanding of any potential moisture problems. Should your basement stay dry over the period of a year, you can feel relatively confident in finishing your basement. If you find any evidence of minor condensation during your inspection, you’ll want to ensure that exterior water controls are properly directing water away from the foundation. The exterior grade around your home should slope away from the foundation, gutters should be properly collecting rainwater from the roof, and downspouts should be extended a minimum of 6’ from the foundation. Cold-water piping can also produce condensation. To prevent this moisture from causing future problems, completely wrap the piping with tubular sleeve foam insulation.
Evidence of minor leaking can typically be resolved by implementing the aforementioned exterior moisture controls, and any visible cracks should be filled and sealed. Substantial leaking is an indication of a much larger problem and will require more significant measures to ensure that your basement remains dry. Such measures will require excavation in order to install a perimeter drain and a sump pump and/or the application of waterproofing to the exterior surface of the foundation.
In addition to controlling moisture, you should also seal and insulate the rim joist cavity to prevent air leakage and increase energy efficiency. The rim joist cavity is located on top of the foundation wall and beneath the rough subflooring of the first floor; it is an area that is vulnerable to the passage of cold air from the outside and vice versa. According to the U.S. Environmental Protection Agency (EPA), silicone or acrylic latex caulk should be used to seal the gap between the sill plate and the top of the foundation wall, and along the bottom and top of the rim joist. Expanding spray foam should be used to seal all penetrations through the rim joist. Rigid foam, unfaced fiberglass batts, or closed-cell high-density spray foam insulation are appropriate materials to insulate the rim joist cavity. Air sealing/insulating the rim joist cavity and resolving any potential moisture-related problems prior to concealing the foundation with interior finishes will greatly improve the likelihood that your efforts and your expenses in finishing your basement aren’t wasted. In addition, you will ensure that the added living space is healthy, energy-efficient, and free of any mold or mildew.
Finishes
A variety of materials are available to finish the interior surface of your foundation walls.
Basement Finish System
A variety of proprietary systems for finishing the interior surface of your foundation walls are on the market. Basement finish systems often are designed for below-grade conditions; they are durable, removable for easy foundation access, and offer thermal insulation. A licensed installer (not a DIY homeowner) generally installs these systems.
Paint
Although almost any foundation surface can be painted, painting a poured concrete foundation that was formed by using textured liner panels can provide a simple, low-cost basement finish that improves the aesthetics of a dark, dingy basement. You will want to use an exterior grade primer and paint after ensuring that the concrete or masonry foundation surfaces are clean. Failure to clean the surfaces will leave you with peeling and flaking paint.
Stucco
Similar to paint, stucco can be used as a finish over most building substrates. While it is more labor-intensive than paint, stucco provides a rich surface texture. Traditionally used on the exterior of a building, stucco can be used over interior smooth poured concrete and masonry foundations. Surfaces should be sealed and primed. Stucco is then troweled, floated, or dashed on to the surface in a manner that achieves the desired appearance.
Masonry
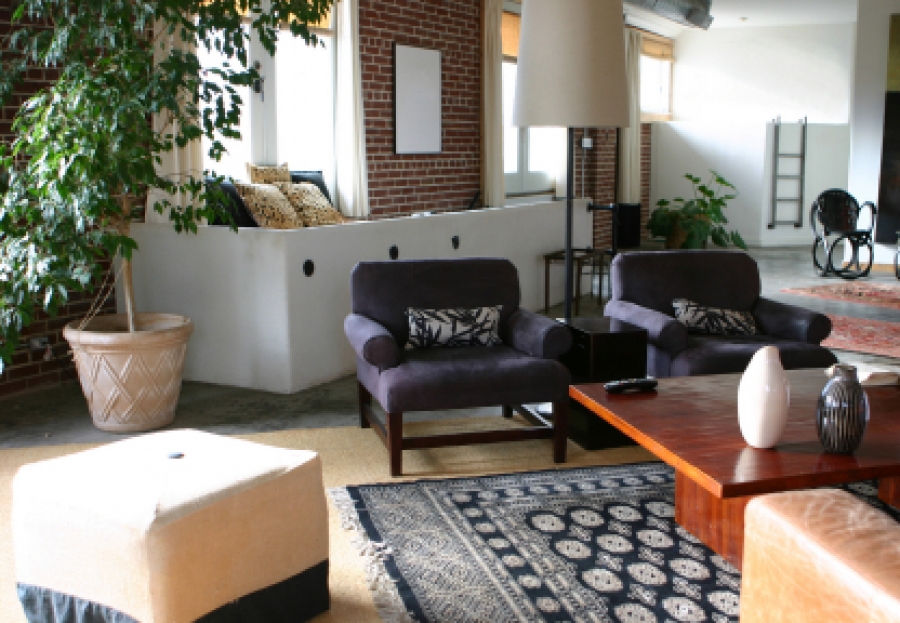
Thin brick veneer can be applied to the surface of interior smooth poured concrete and masonry foundations. The texture and feel of brick will transform an unfinished basement into a space that is rich with character. Thin set brick is typically 1/2" thick, weighing much less than traditional brick. Prior to applying thin set brick to foundation walls, ensure that the surface is clean of debris, sealants, and/or coatings. Thin brick can be applied to foundation walls by using a thin set adhesive with mortared joints.
Cultured Stone
Cultured stone is also a viable finish option for interior smooth poured concrete and masonry foundations. The appearance of this artificial stone provides an unfinished basement with an Old World feel. Similar to conditions for setting thin brick, conditions for setting cultured stone include foundation walls clean of debris, sealants, and/or coatings. Cultured stone is applied to the surface of foundation walls with mortar, and the joints are generally grouted.
Drywall or Wood Paneling
The most common approaches to finishing a basement are to build either a 2" x 4" wood stud interior partition wall or attach 2" x 2" wood furring strips to foundation. Which method you use depends on the condition of the foundation walls. Furring strips can be used on a foundation that is both true and plumb. A wood partition wall will help conceal a wavy or out-of-plumb foundation wall. Either method allows a finished surface such as drywall or wood paneling to be applied. Due to varying building requirements, you must consult with your local code official to determine what is required for your climatic location prior to constructing partition walls and adding insulation.
Basements are generally cooler in the summer and warmer in the winter. Unlike paint or stucco, partition walls and furring strips allow for insulation to be added to the interior side of a foundation wall for increased comfort throughout the year. The U.S. Department of Energy (DOE) R-Value Recommendation calculator is a helpful web-based tool that determines the recommended R-value for a specific location in your new or existing home. The recommendations, prepared by the Oak Ridge National Laboratory for the DOE, are based on an analysis of cost-effectiveness using average local energy prices, regional average insulation costs, equipment efficiencies, climate factors, and energy savings for both the heating and cooling seasons.
Traditionally, a 2" x 4" wood stud interior partition wall would be installed directly adjacent to the foundation wall. Today, we better understand how moisture travels through and affects building materials. It is preferable to provide at least 1/2" of air space or 1" of unfaced rigid insulation between the foundation wall and the 2" x 4" wood stud interior partition wall. Two-by-four wood studs should be installed 16” on center (OC) over a pressure-treated sill plate and under a single top plate. The cavities can be filled with unfaced fiberglass insulation and then covered with coated glass mat water-resistant gypsum backer board, drywall, or wood paneling.
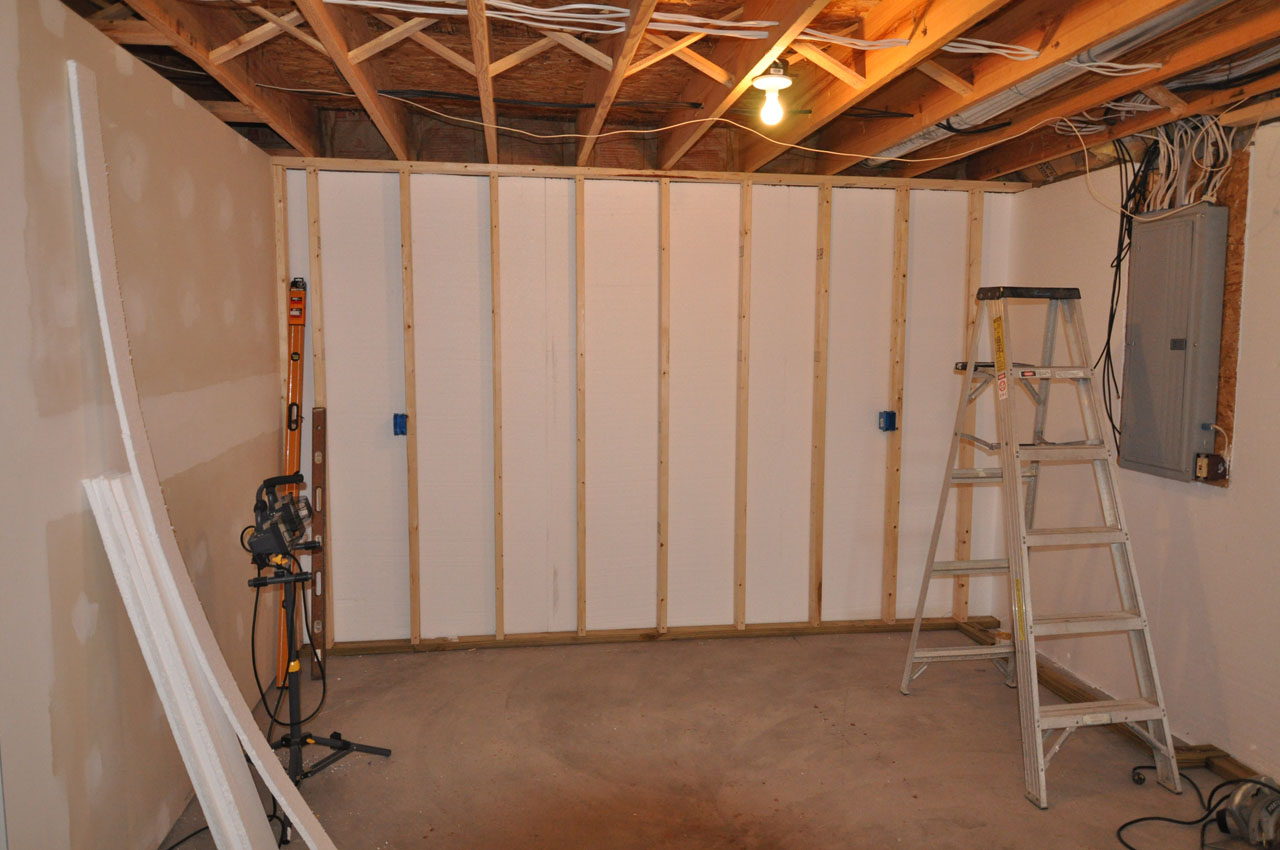
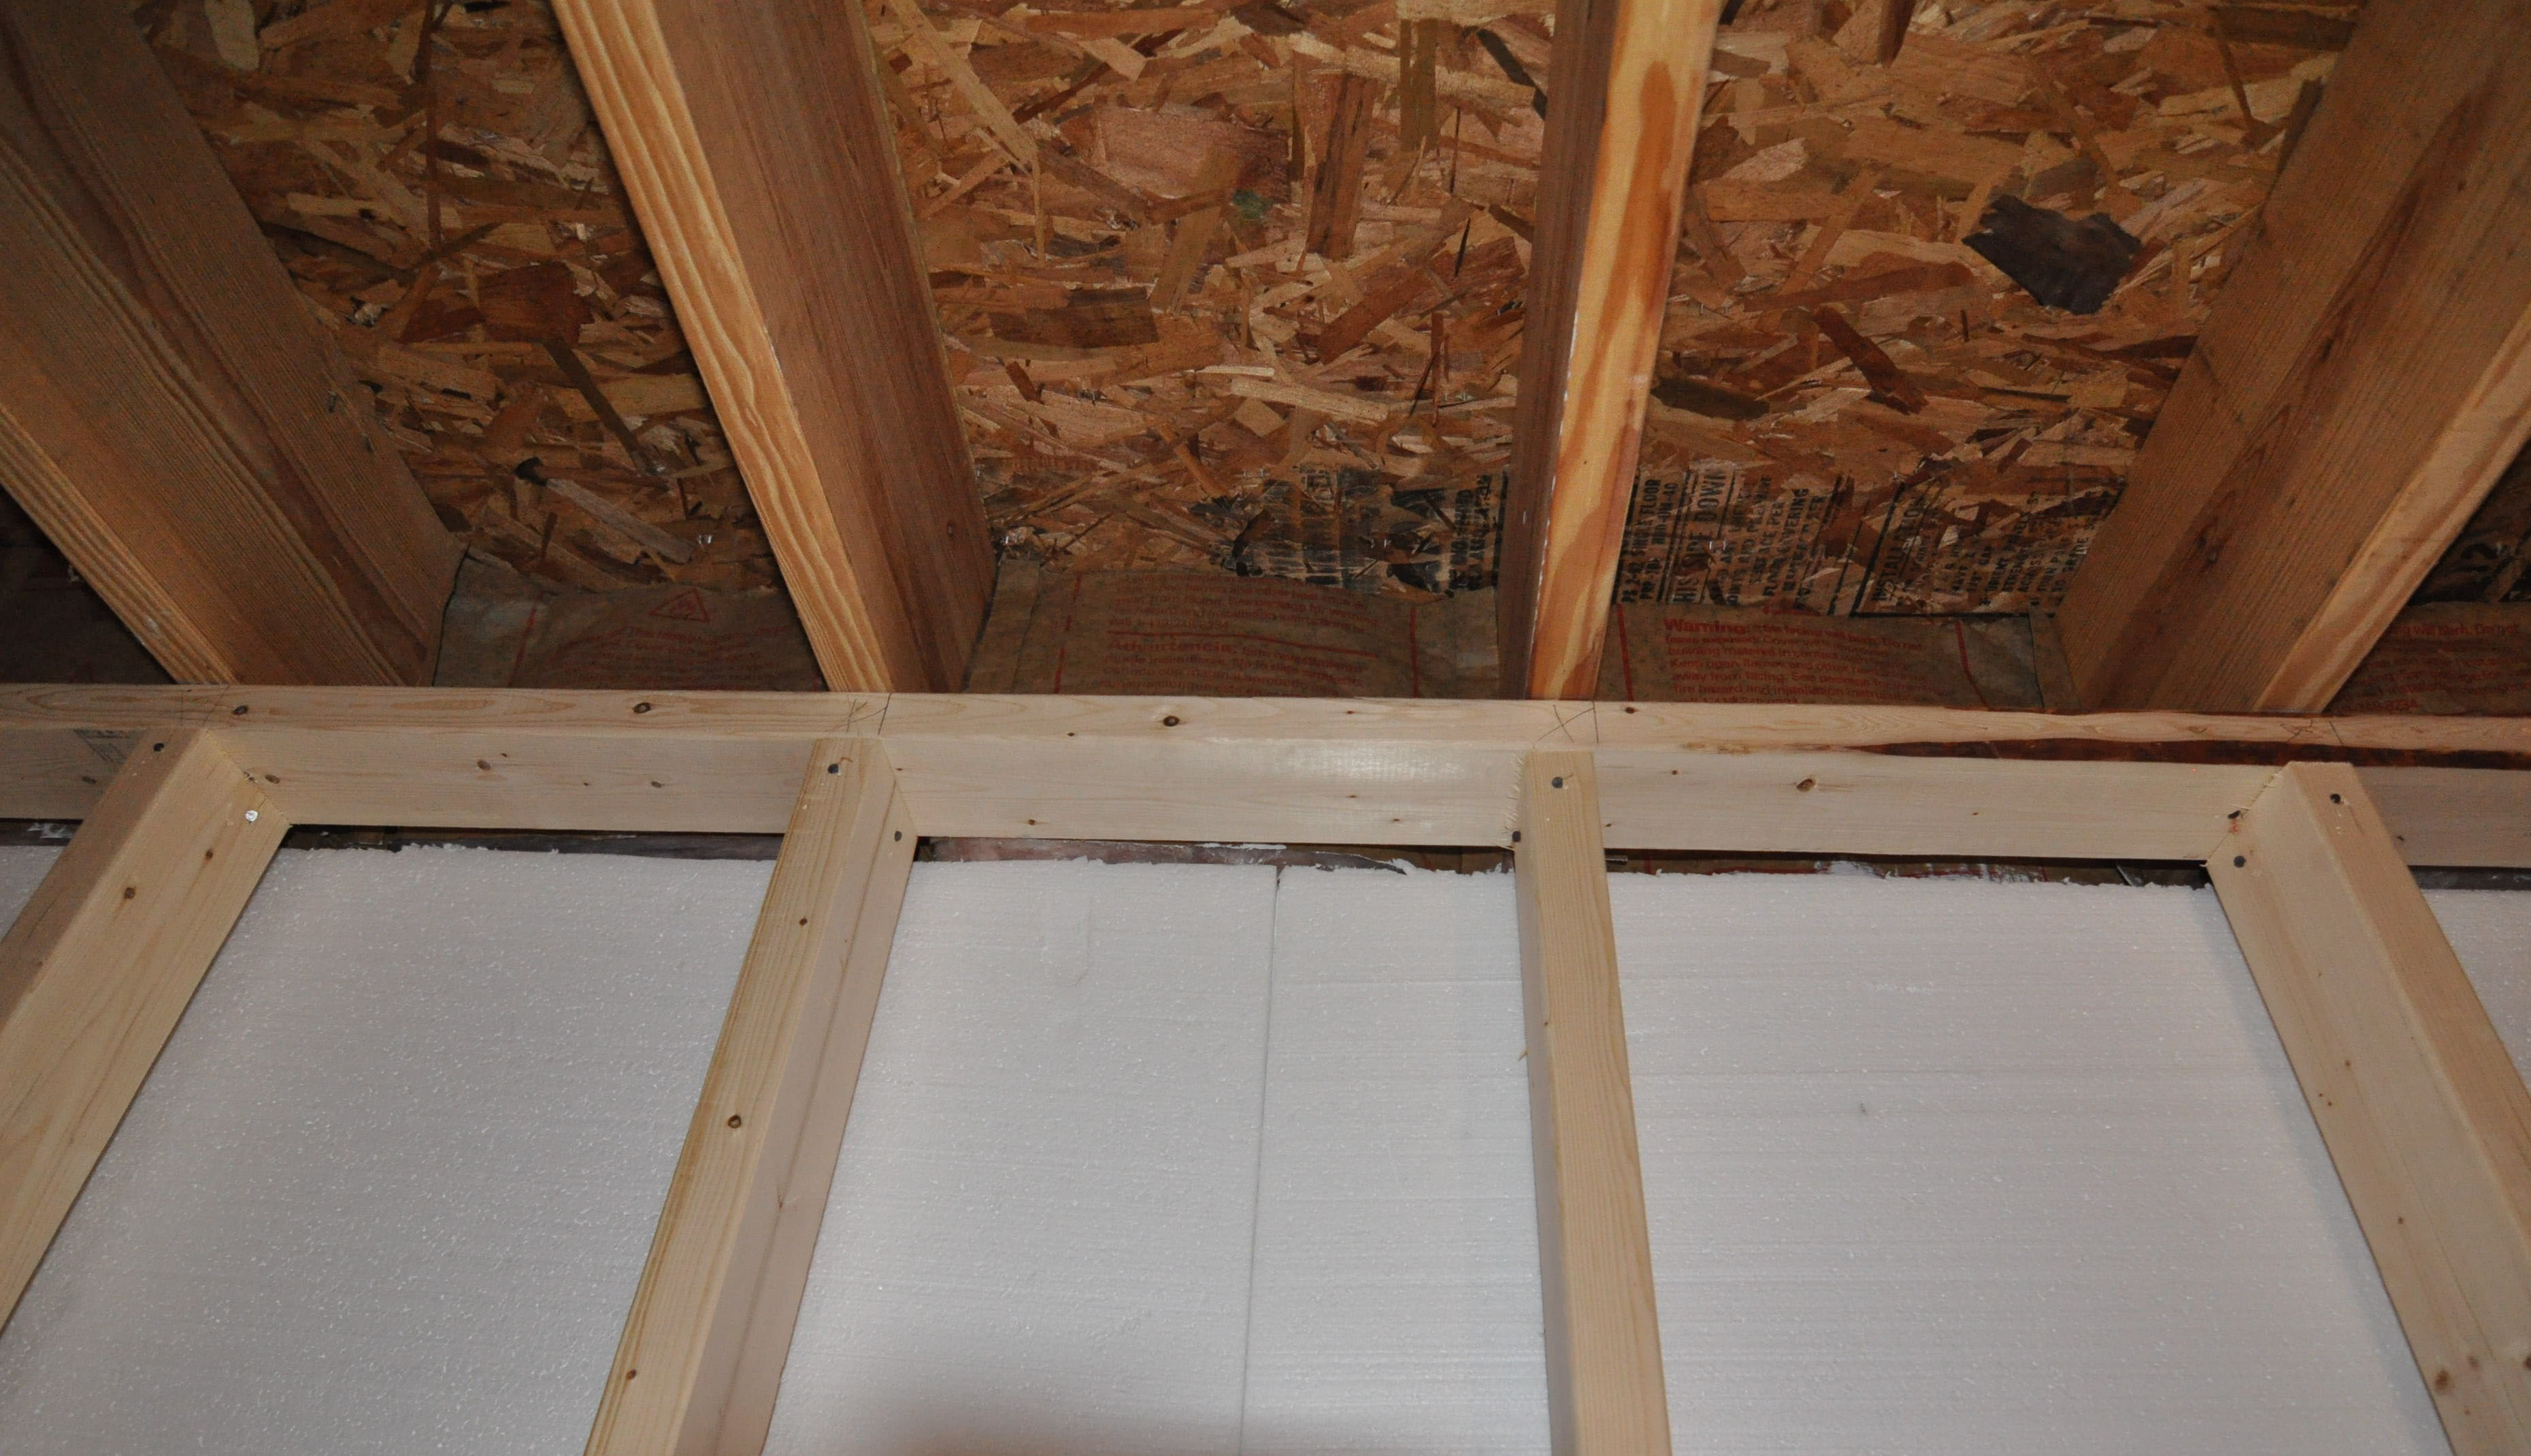
Similarly, 2" x 2" furring strips can be installed over 1" of unfaced rigid insulation. Two-by-two furring strips should be installed 16” OC over a 2" x 4" pressure-treated sill plate turned on edge and under a single 2" x 2" top plate. The cavities can be filled with 1 1/2" of rigid insulation and then covered with coated glass mat water-resistant gypsum backer board, drywall or wood paneling. Some manufacturers also produce rigid insulation products that interlock at vertical joints, where they are slotted for furring strips. These types of product reduce the amount of materials needed and simplify the installation for this type of finished wall surface.
In years past, vapor barriers were commonly used in both wood framed assemblies. Research completed by the Building Science Corporation suggests that there is no good reason for a vapor barrier and/or moisture barrier within finished wall assemblies along an exterior, below-grade foundation wall. Foundation walls are designed to dry toward the interior side of the foundation wall. A vapor barrier or moisture barrier would prevent an interior partition assembly from properly drying out. Under no circumstances should both a vapor barrier beneath the finished wall surface and a moisture barrier along the foundation wall be installed within the same assembly. Should moisture find its way between the two, there is no opportunity for the assembly to dry out.
After completing basement renovations, you should monitor moisture in the basement by using a hygrometer, a digital or analog instrument that is used to measure relative humidity. Ideally your home will be maintained at 25%–45% relative humidity, within 68–72 degrees. If there is high relative humidity in the basement after renovations are complete, a dehumidifier should be used to keep your basement dry.

Jeff Calcamuggio
Jeff is an Editor-at-Large for Buildipedia.com who writes and edits Featured At Home and Knowledgebase content. Prior to joining Buildipedia, Jeff's work experience included carpentry, construction documentation, specification writing, construction administration, project management, and real estate property inspection. Jeff is a member of the Construction Specifications Institute (CSI) and an educator at Columbus State Community College and enjoys challenging DIY home improvement projects.

