The Challenge of Trim Work
-
font size
decrease font size
 increase font size
I have always enjoyed working with wood and tools, especially tools that cut, hammer and pry.� My interest was instilled by my grandfather, who was a carpenter by trade.� As a child, I'd spend time in the garage with him, watching and learning.� While he worked productively on any given project, I'd be joining two varying length pieces of awkwardly hand sawn 2x4's with half driven 8 and 16d common nails, in no real pattern.
When my craft was completed, I would interrupt his work to show him mine.� As I look back today, I realize he never commented on whether it looked good or not, he would just challenge me to measure more accurately, cut straighter, better align the materials and to finish the nail.� I would pry the pieces apart and start over.
Later, grown up and married, my wife and I set out to start our family in a newly built, 2-story house.� We understood the difference between a custom home builder and a production home builder. We agreed that a production built home was the way for us to go.� Unfortunately, we lost sight of which type of builder we were working with during the process.� The finish material selection process in their showroom provided us with a number of options, and we apparently pushed the envelope with our desires.� Our ideas didn't mesh with the production home builder's interests.� We wanted what we thought was relatively simple, white wood trim and white paneled doors.� They could accommodate us, to some degree.� Our idea, however, required us to add a white trim package to the build price, which included standard white laminated cabinets, white wood newels and railings, white hollow-core flush doors and white pressed plastic trim.� We didn't want all of the woodwork white, just the trim and doors.� If we were going to upgrade cabinets and install a newel and railing, we'd prefer dark stained cabinets, newel and railing, but white painted balusters.� Options within options, through a production home builder, aren't an option.� I inquired if I could install the wood trim myself, attempting to cut dollars from the budgeted build price and achieve our desired interior finishes.� That, however, wasn't an option either, so we agreed to a base trim package, with no white wood work, and decided to do what we wanted, ourselves, after we moved in.
The lessons learned from my childhood, along with my residential framing experience and ideas developed while working for an architectural firm, were going to be put to the test in our newly built home.� Saw, hammer and pry bar...check; I had all of that, in addition to other framing tools, from the days of framing homes.� I found a source for the wood trim and pre-hung doors, had my eye on a sliding compound miter saw, and had a pretty good idea of my needs in terms of fasteners, sandpaper and paint.� I started by removing with a pry bar all the unwanted trim, doors and frames.� What I soon came to realize is that not all homes are framed as straight as the lines drawn on paper, and nothing in a house is perfectly accurate or aligned.
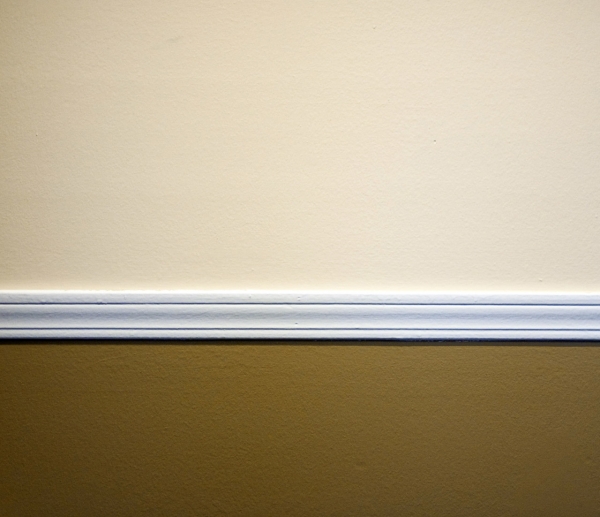
I started replacing doors on the first floor with primed, solid 6-panel, rabbeted frame, pre-hung doors and cased the openings with primed wood trim.� This process of cutting, leveling, squaring and hammering went fairly smoothly and quite quickly.� With a limited budget and just the right amount of material necessary to complete the wood base work, I pressed forward.� Working at a rather rapid pace in the evenings after work and on the weekends, my intent was to get this accomplished as soon as it was humanly possible.� I started by using coped joints at the inside corners; however, they were a real time-killer, so I started to use a mitered bevel joint on the inside corners and the outside corners.� I was fairly happy with the results on the coped inside corners.� While easier to cut, the mitered bevel joints where used at most inside and all outside corners.� They were cut to a pure 45 degree angle to form what I assumed were true 90 degree corners.� Unfortunately, there were gaps at the top or bottom of outside corners and openings along the face of inside corners.� At the time, caulk was my solution; I hadn't planned on caulk or the amount I needed.� I efficiently and effectively filled the gaps and nail holes, painted, and completed the first floor work.� While we lived our day to day lives, we were relatively happy with the completed work.� However, the gapped joints, humps, and lack of straightness stared at me, and I realized I had something to learn when it came to running trim.�
The second floor work was done in the same manner: doors, casing and base.� The doors upstairs presented a few anomalies from my first floor experience, but I ably worked within tightly framed openings and along a few crooked walls, without any significant modifications.� Prior to starting the wood base trim, I had referred to written and web materials to determine what I could do better to eliminate the gaps and humps and create more horizontal lines.� In my research, I learned about scribing with a carpenter pencil, how coped joints can hide wood expansion and contraction, and realized there are two tools I didn't have and had little or no real experience with: a hand plane and a t-bevel.� The hand plane was used to ease the mitered bevel joint edges a little bit on either side, bringing both pieces tightly together at an outside corner without a gap at either the top or bottom.� The t-bevel was used to determine the actual angle at inside and outside corners.� This allowed me to set the miter saw to an appropriate angle, not assuming a 90 degree corner, for the actual application, which in turn allowed two pieces to fit tightly together without gaps at the corners.� Scribing proved to solve humps and any lack of straightness in the corners. Scribing a pencil line along the base of the trim to match a bulge in the floor, I could remove, chisel and/or plane wood from the base to fit around the floor shape.� Straightness was improved in a similar fashion when I scribed a pencil line along the end of the wood base where it butted against an un-plumb wall.� This allowed a tight fit against the wall after cutting along the traced line, to match the wall's slight vertical angle.�
The second floor work was an improvement over the first floor work.� Having the correct tools and a better understanding of the techniques allowed for higher quality workmanship.� Most importantly, I was patient, not rushing to cut, pry or fasten.� It was an experience in fitting to a fine degree, not just placing two pieces adjacent to one another.� I practiced, learned, repeated and grew, similar to those days in the garage with my grandfather.� Our family moved from that home awhile back.� I look forward to facing similar challenges and being productive around our two daughters at our new residence.� Who knows, maybe one day they'll interrupt me and share with me their craft.


Jeff Calcamuggio
Jeff is an Editor-at-Large for Buildipedia.com who writes and edits Featured At Home and Knowledgebase content. Prior to joining Buildipedia, Jeff's work experience included carpentry, construction documentation, specification writing, construction administration, project management, and real estate property inspection. Jeff is a member of the Construction Specifications Institute (CSI) and an educator at Columbus State Community College and enjoys challenging DIY home improvement projects.
�