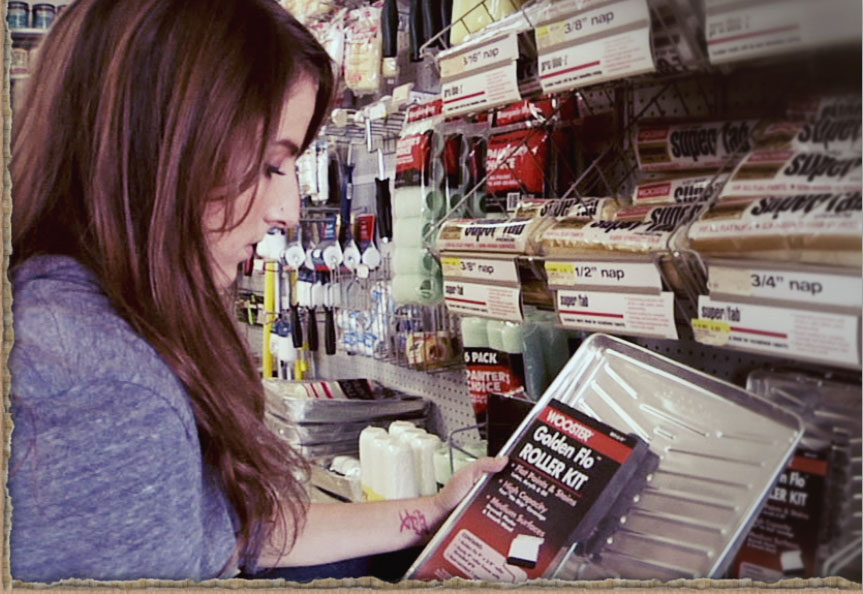
Paint roller kit. I paint in almost every refurbishing or upcycling project, so my DIY toolbox includes paint rollers and paint brushes of different sizes and textures. A basic roller set makes painting a breeze. Sets usually include a roller, a few different roller covers (different roller cover naps suit different surfaces), and a tray into which to pour paint. Because you can find rollers in a variety of sizes, you can use them for detail work as well as large expanses like walls and doors. I try to use high-quality roller covers that can be reused, instead of cheaper, throw-away ones, because sustainability is a priority for me.
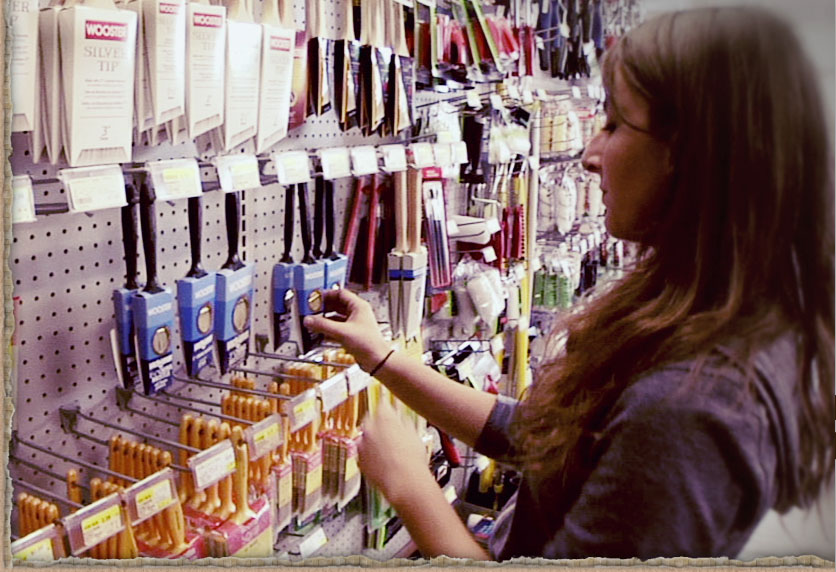
Paint brushes. I look for eco-friendly bamboo paint brushes, some of which even have recycled packaging or come from companies that donate to environmental protection groups with every purchase. Also, I make a point to use low- or no-VOC and solvent-free paints, and finishes made without toxic chemicals whenever possible. It wouldn’t make much sense to salvage and upcycle while using tools and materials that harmfully impact the environment.
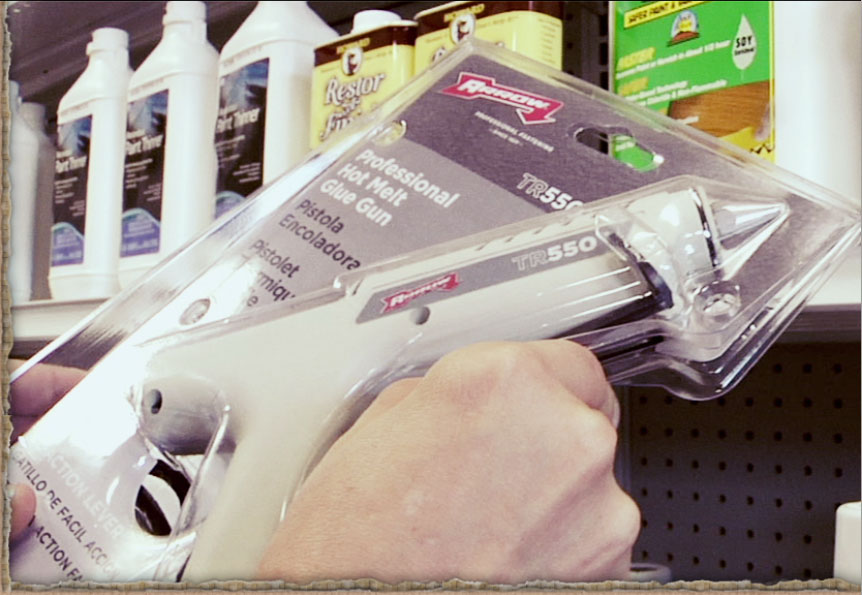
Hot glue gun. I use my glue gun for tacking, finishing, and décor. Get a glue gun with a kickstand so it won’t burn your work surface or your materials when you put it down. A dual-temperature glue gun will allow you to change the type of bond, as high-temperature bonds are more suitable for projects involving durable materials (e.g., wood, plastic, metal, ceramic) and low-temperature bonds are more suitable for projects involving delicate materials (e.g., cloth, foil, ribbon, paper).
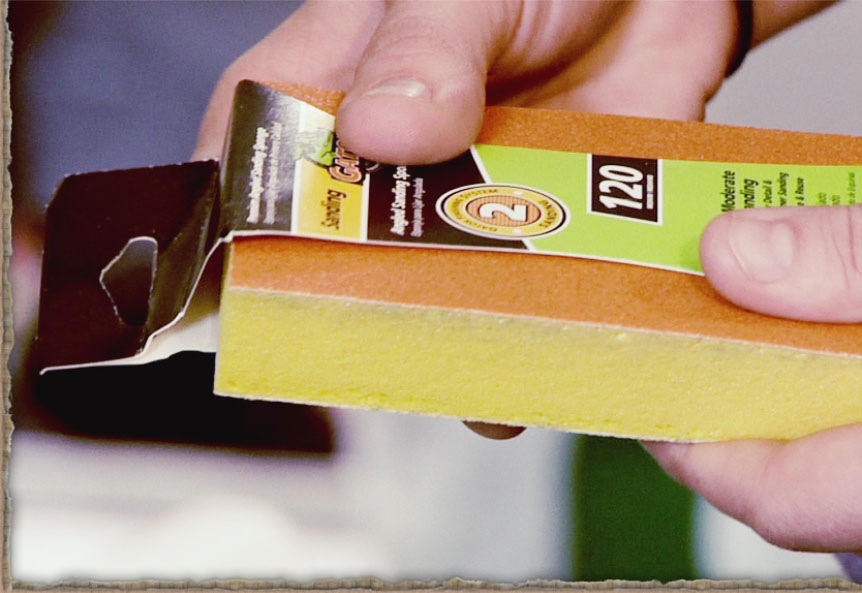
Sanding sponge. For comfort, control, and durability, I prefer sanding sponges over sandpaper or sanding blocks. Sanding sponges come in grades from coarse to fine and in a variety of shapes and sizes, so you can sand large surfaces or do fine detail work. Remember to always sand with the grain and to start with coarse and finish with fine grit (the higher the number, the finer the grit). Recently, I turned a grimy old door into elegant bathroom storage mostly by dint of sanding and painting.
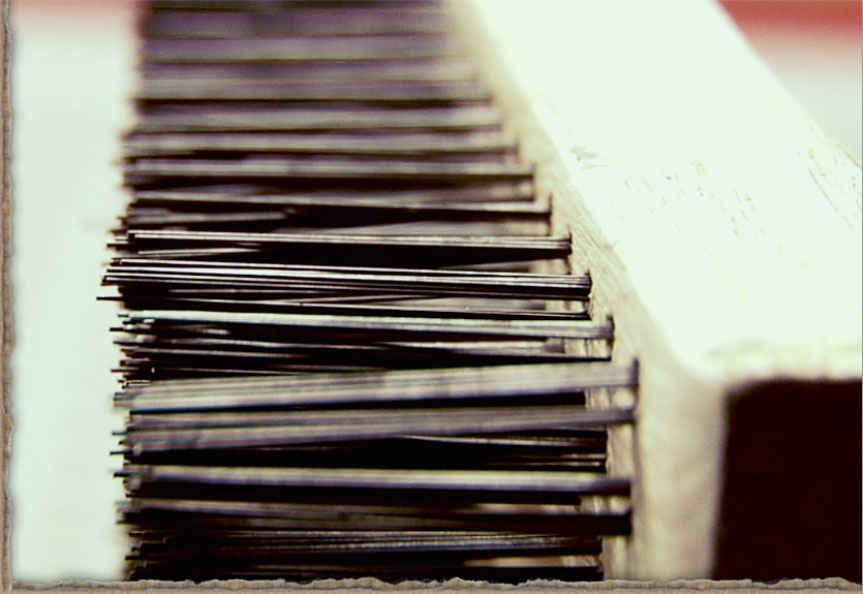
Steel wool and wire brushes. Sanding sponges won’t work on metal surfaces, however. For that, you will need steel wool and wire brushes. After sanding a reclaimed metal stove with steel wool and wire brushes and applying a spray sealant to weatherproof, it was gleaming like bronze. Now it’s a firepit that’s the pride of my garden. Steel wool has a variety of surprising “off-label” uses as well, including a rodent-proof stuffing for gaps and holes and an easy packing for overlarge holes for screws.
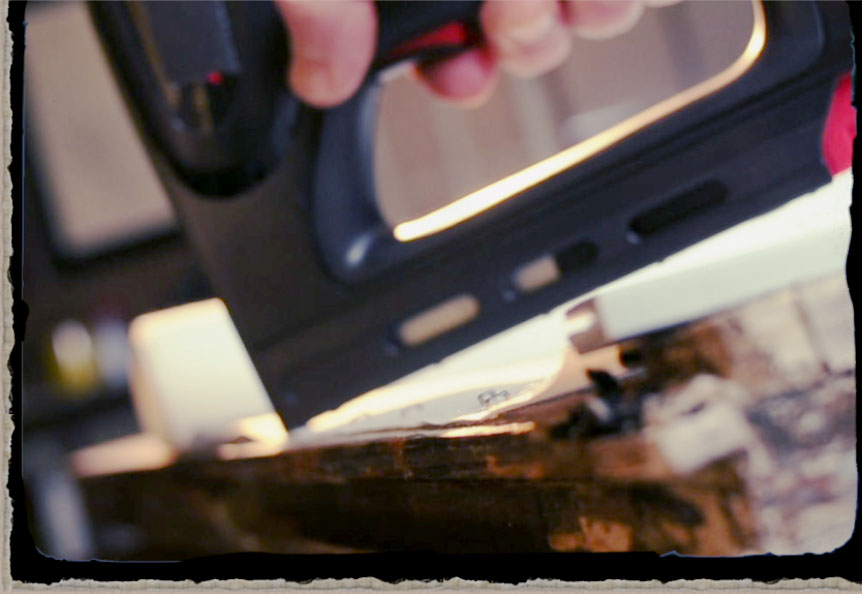
Staple gun. For reupholstery, making frames for art and photographs, and minor flooring and small woodworking projects, I love to use a staple gun. Depending on the kind of staple gun you get, you can even use it to drive staples into masonry. When I made my swanky leather belt chair, I used a pneumatic (or compressed air) staple gun.
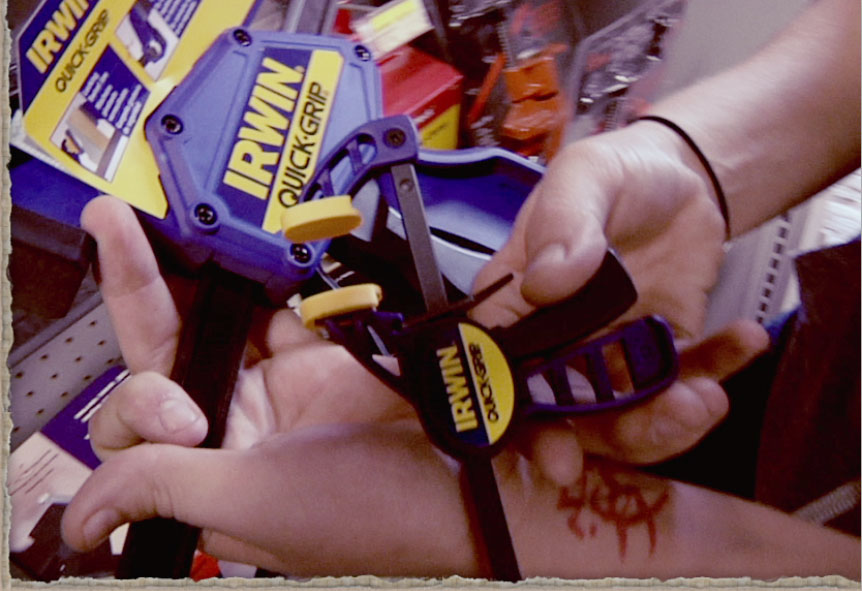
Quick grip clamps. Whenever I need to saw, secure, or glue, I use one-handed bar clamps (“quick grips”). They come in a variety of strengths and sizes, are made to distribute pressure evenly, have a resting foot to keep your project in position, and are padded to limit inadvertent damage to your materials. If you prefer, you can use C-clamps or spring clamps instead.

Level. A spirit or bubble level is a must-have. I use mine whenever I hang art or photos and when I do any woodworking project, to show whether my work is truly level and plumb. Although different types of levels exist, I prefer a large carpenter’s level. Look for one where the bubble touches the inside edges of the marking lines in the window and for one with a bubble responsive to even slight movements of the level. Also avoid levels with caps on the end or with seams that can lead to inaccurate readings and measurements.
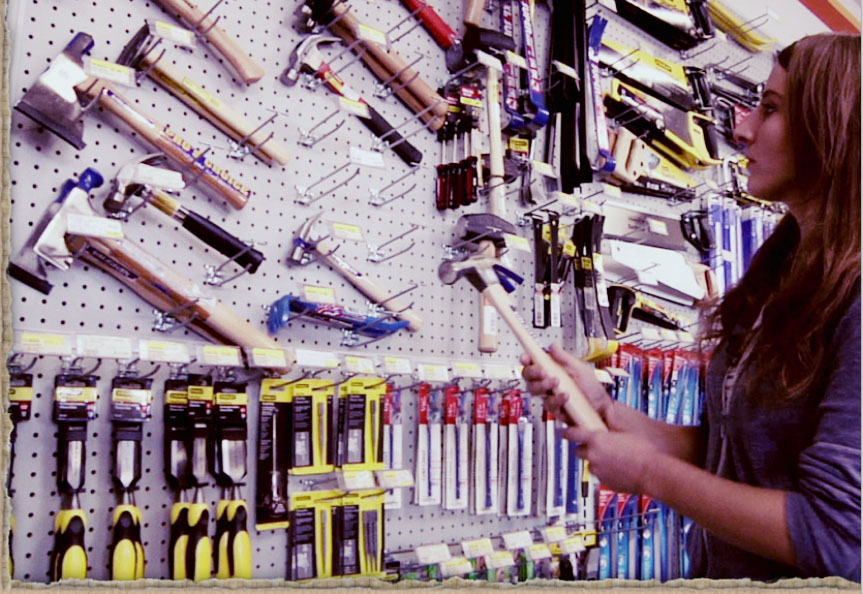
Basic hand tools. Everyone needs a hammer, screwdrivers, and a chisel. No basic toolkit is complete without a claw hammer, a flathead and a Phillips head screwdriver, and a chisel. I also love rubber mallets. They’re quiet to use, offer shock absorption, and will not dent metal or wood the way a missed strike with a hammer will. When choosing basic hand tools, get the ones that feel best in your hand: not too heavy and not too light and well balanced. Make sure your wrist stays straight when you use the tool and be sure that the handle fits tightly into the head.

Gloves. Protect your hands with a good pair of work gloves. I always want a pair made of a material that breathes with a good fit, a Velcro wrist, and a heavy-duty work surface on the fingertips and palms. A good pair of work gloves can save you from cuts, blisters, and abrasions without effecting your dexterity. Depending on the type of project you have in mind, you also will want to consider the cuffs of the gloves and how the thumbs are set.

Cordless drill. This tool is a must. It will save you lots of time and offers versatility. You can use a cordless drill for light home maintenance and repair jobs or for carpentry and remodeling work. Higher voltage drills offer more torque, and a drill in the 16–20 volt range should see you through any upcycling project. Look for NiMH batteries, available from many manufacturers, because they do not contain cadmium and are thus environmentally safer. Buying your power tools from the same manufacturer will allow you to interchange the batteries.
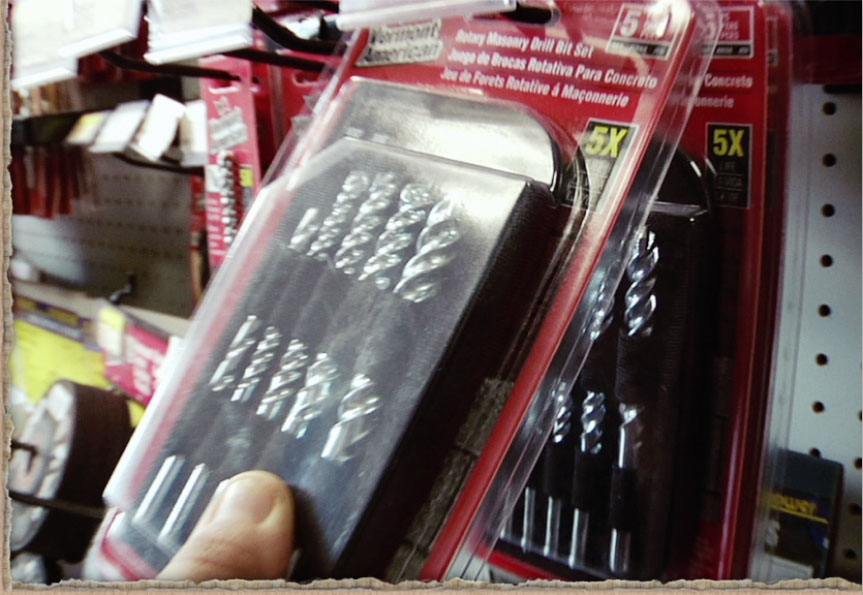
Drill bits. A basic drill bit kit is good to have, as drill bits come in a nearly infinite variety of sizes and are made of various materials. Picking up one of these sets will expand the usefulness of your cordless drill.
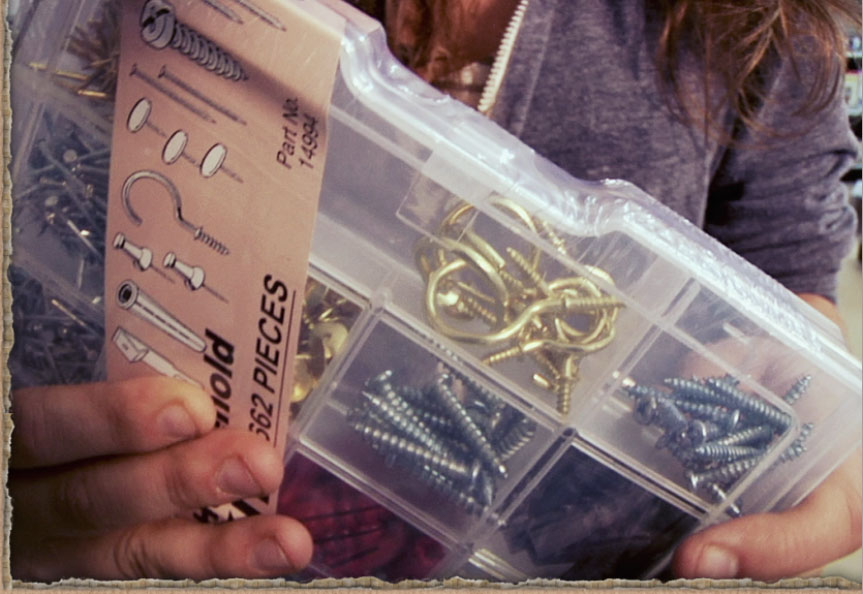
Nuts and bolts. Finding the right size screw, nut, or bolt can be intimidating. Luckily, most hardware stores sell handy kits full of the most common sizes. Alternatively, get a few screws, bolts, and nails in small, medium, and large sizes to keep on hand. Having some in silver tones and some in gold tones is a good idea, too. In all events, hardware stores are usually staffed with friendly experts who can answer your questions and point you in the right direction.
Once you’ve got your basic toolkit assembled, you’re ready to tackle most repurposing projects or home repairs. Leave me a comment to let me know what upcycling project you’d like to see next.

