When I first laid eyes on this tattered mid-century modern, Eames-style chair at an antique action, it really got my blood pumping. Although it was a little worse for wear, it had great lines and was structurally sound.
When the bids came to a screeching halt at a measly $14, I couldn’t have been more elated over my sweet, sweet victory.
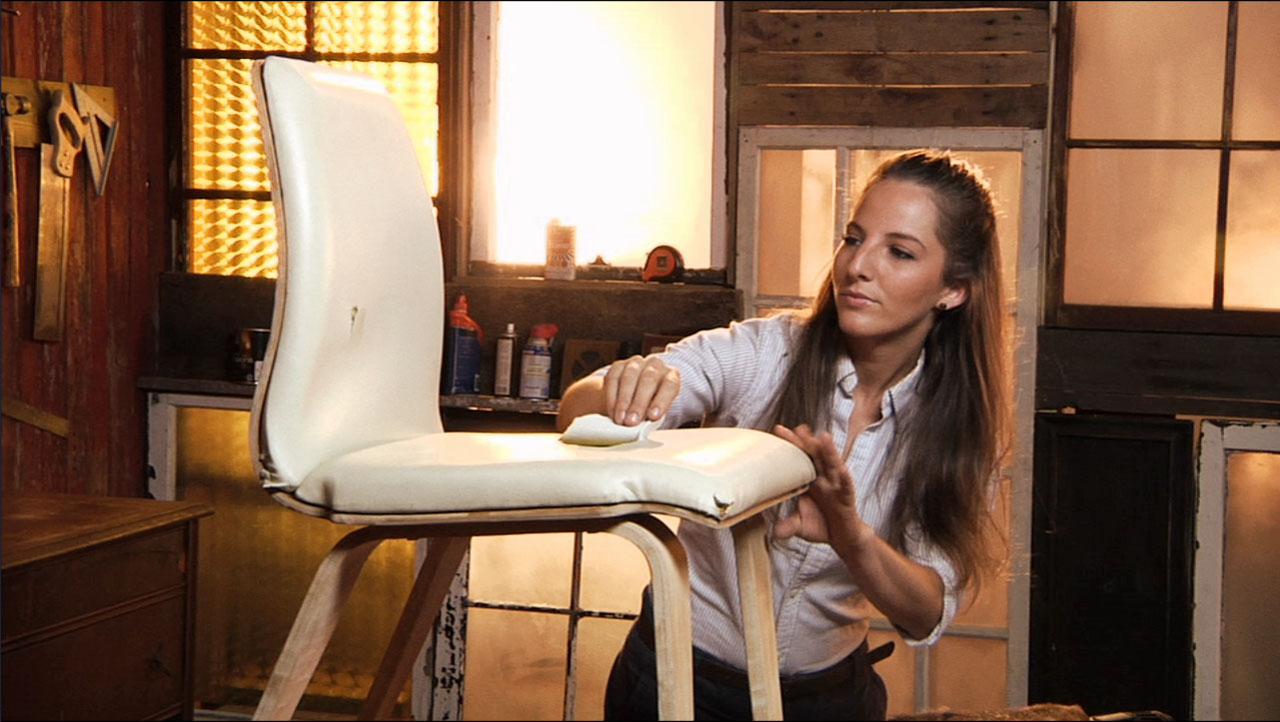
Once I got it home, I saw that my recent find had a few rough areas that I needed to address: the wooden chair legs had some minor water damage and the bland, white vinyl upholstery was torn and faded.
I knew that with a little elbow grease and some new upholstery, I could transform this vintage chair into a showstopping piece.
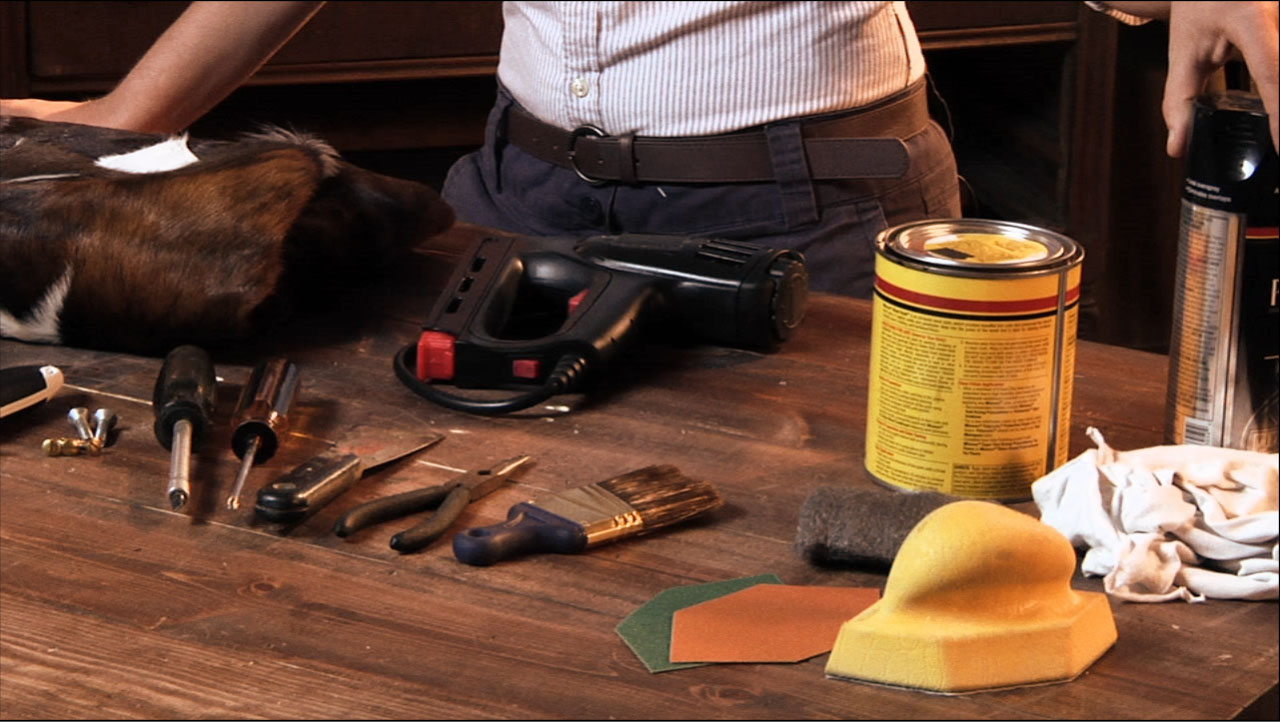
Step 1: Completely Disassemble Your Chair
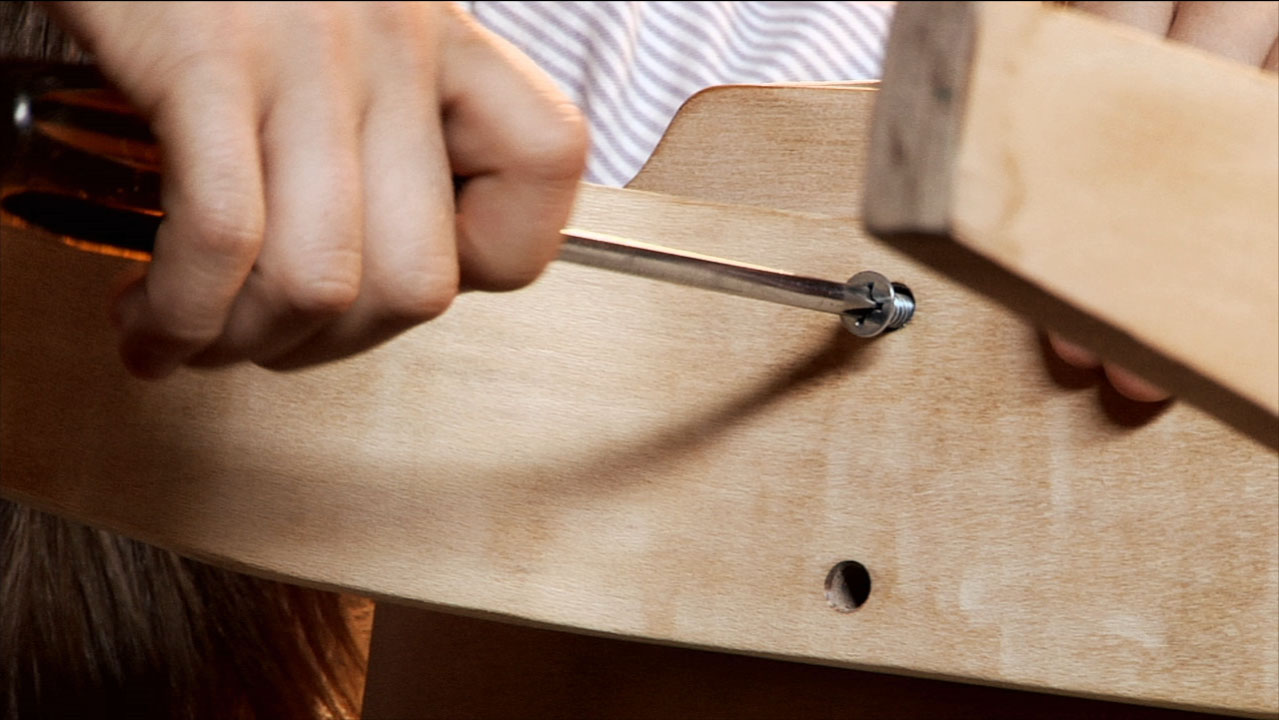
Using a screwdriver, carefully disassemble your chair completely. Set your seat and chair back aside.
Step 2: Resurface the Wooden Components of Your Chair
Carefully sand the entire surface of your chair, cleaning and smoothing out any damage. Always be sure to start with a coarse sand paper and use that to sand across your joints and any damaged areas.
Once you have smoothed out all the imperfections and existing stain, use a medium and then fine grade of sandpaper to uniformly polish your chair, leaving yourself with a perfectly smooth, scratch-free surface. Be sure to wipe down your finished woodwork with a damp cloth to remove any bits of dust before moving on to the next step.
Step 3: Stain and Seal
Apply a layer of stain with a clean brush in thin coats, wiping with a clean cloth after it sets.
Be sure to follow your manufacturer’s recommendations for dry times and application.
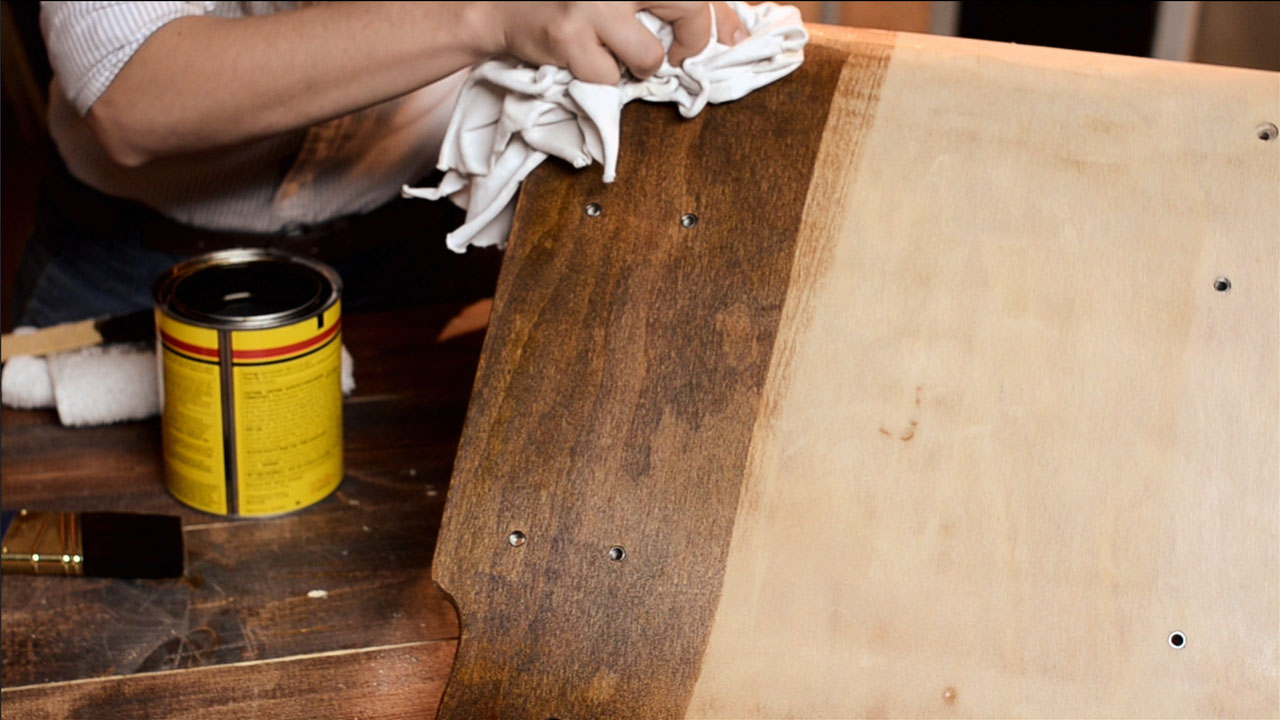
I applied a second coat of stain to my chair to achieve the depth of color that I wanted. Once everything was dry, I applied a coat of spray polyurethane to seal and protect my chair.
Step 4: Reupholster
While your woodwork is drying, take advantage of the downtime to reupholster the seat and chair back.
Use a putty knife and needlenose pliers to carefully pull out all of the staples, removing the old upholstery from the seat and chair back.
Luckily, my foam was in good condition and didn’t need to be replaced. Check out this upholstery project; for more tips on replacing foam and batting.
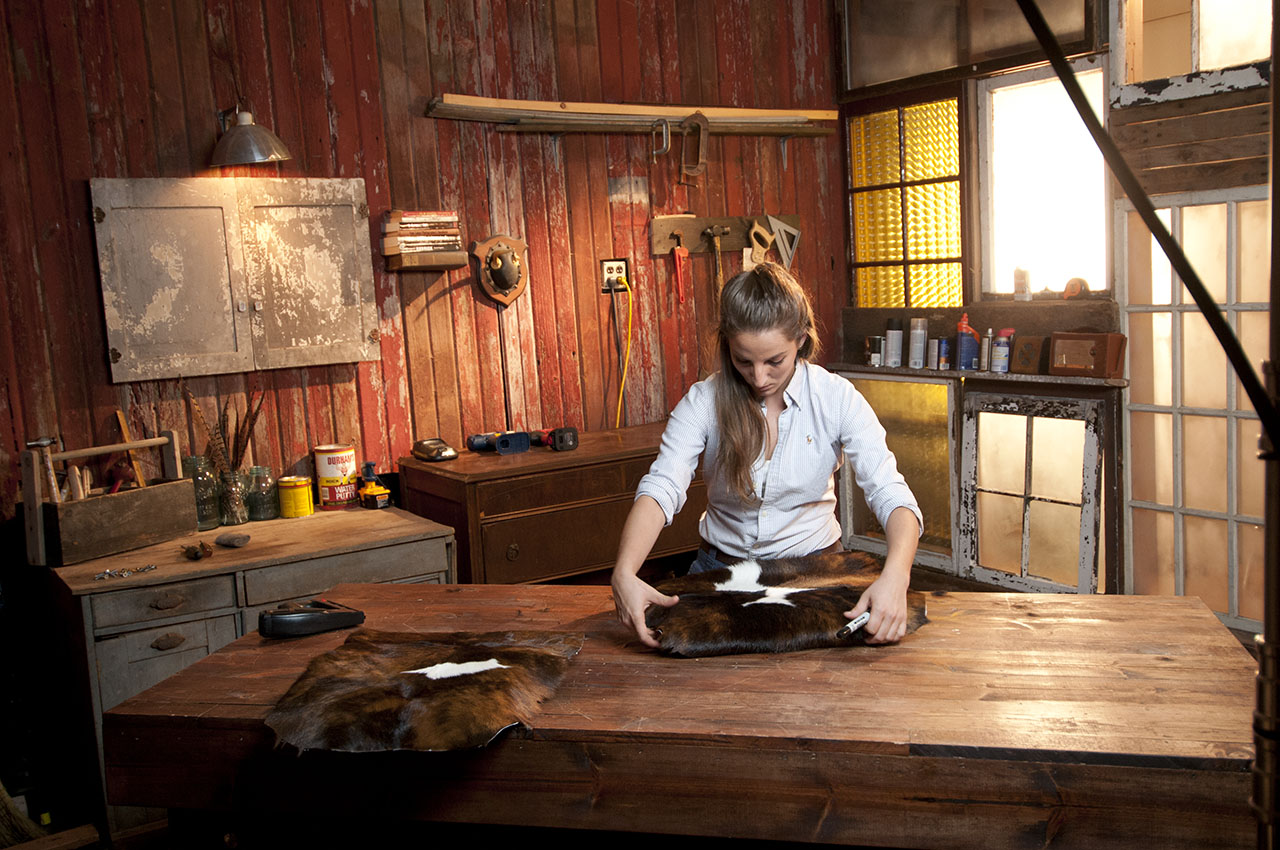
I selected a thick leather cowhide as my fabric, but you can select any upholstery fabric to complement your home.
Using the old fabric as a pattern, I cut a piece of cowhide to reupholster the seat and chair back with a rotary cutting tool. Be sure that when you are cutting your fabric that you leave a little extra around the edges – it makes stretching the fabric tightly across your seat easier, and you can always trim any excess fabric once it is attached.
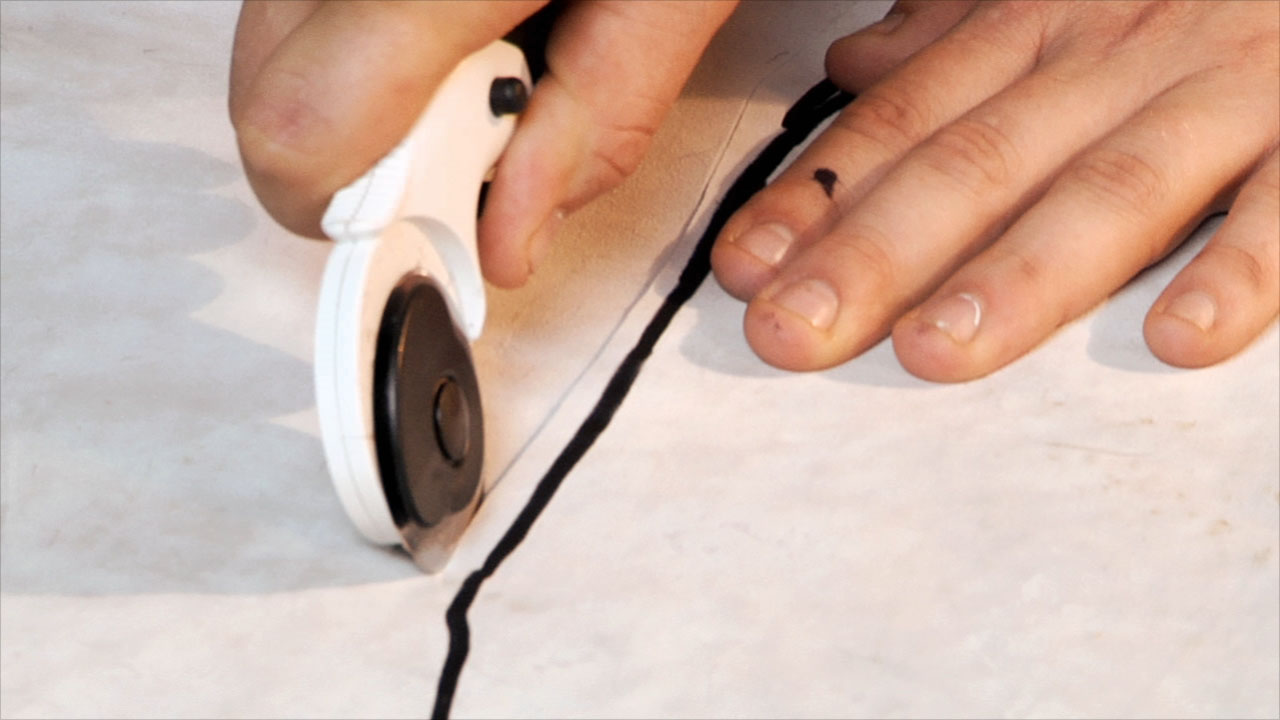
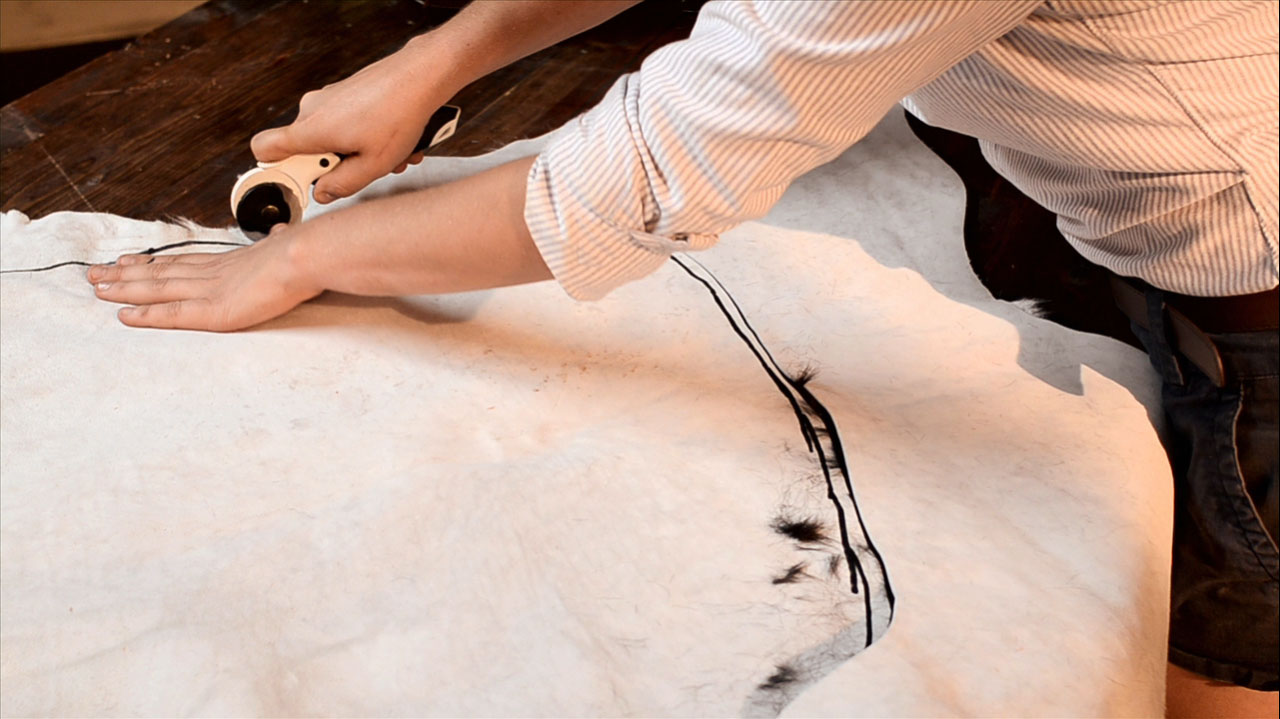
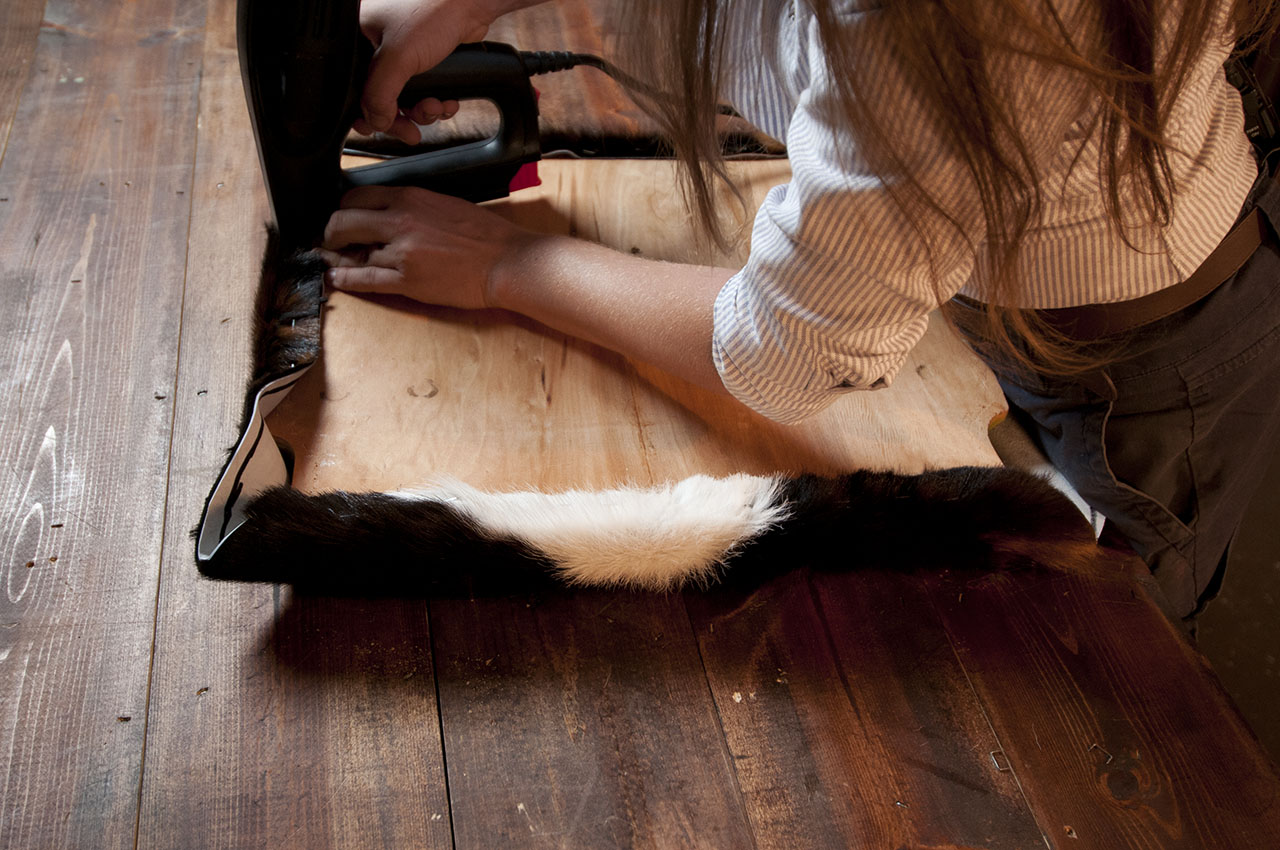
Once you have your pattern cut, begin stapling your fabric in place, pulling it tightly and attaching it to the underside of the seat. Work your way around, pulling your fabric tightly as you go and carefully stapling it in place, leaving the corners for last.
Neatly tuck and staple the corners of your seat.
Repeat the exact same process to upholster your chair back
Step 5: Reassemble your chair
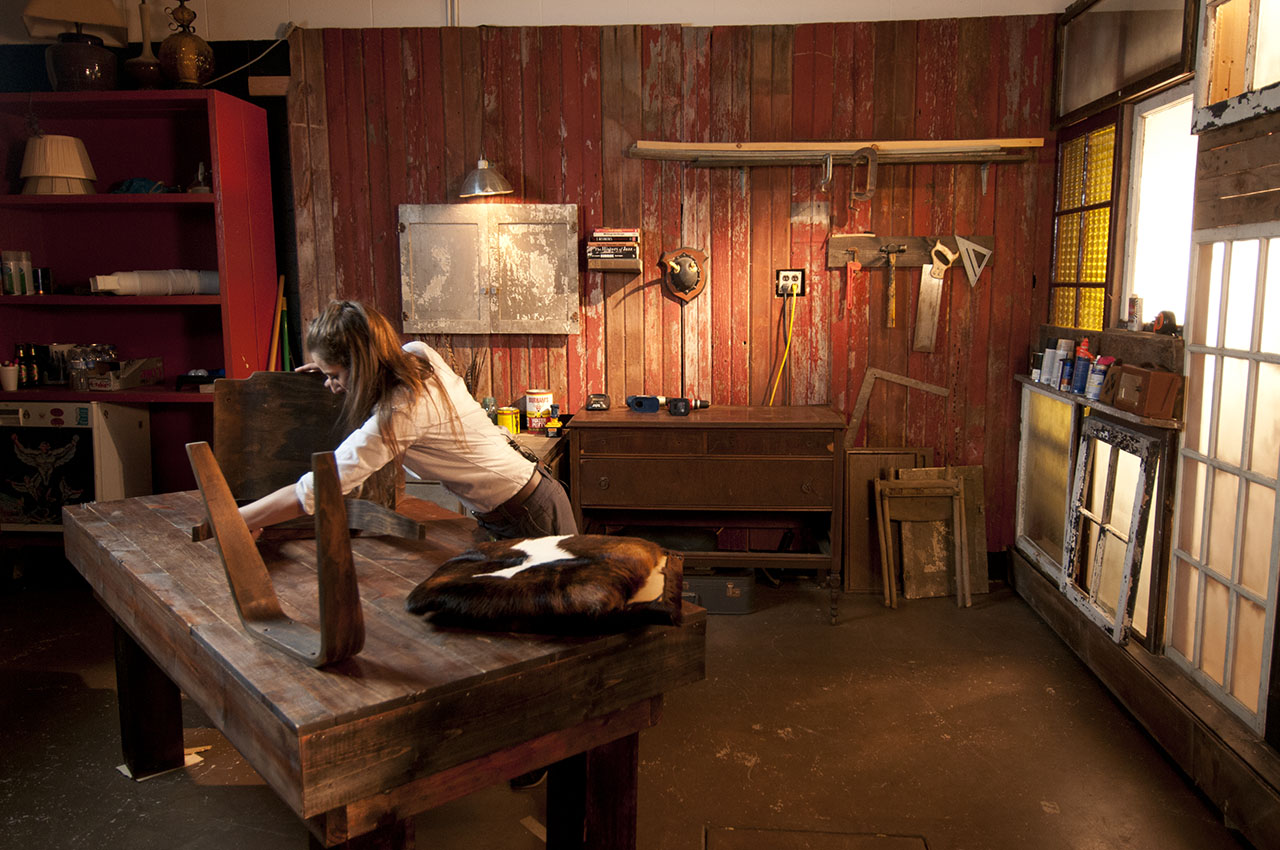
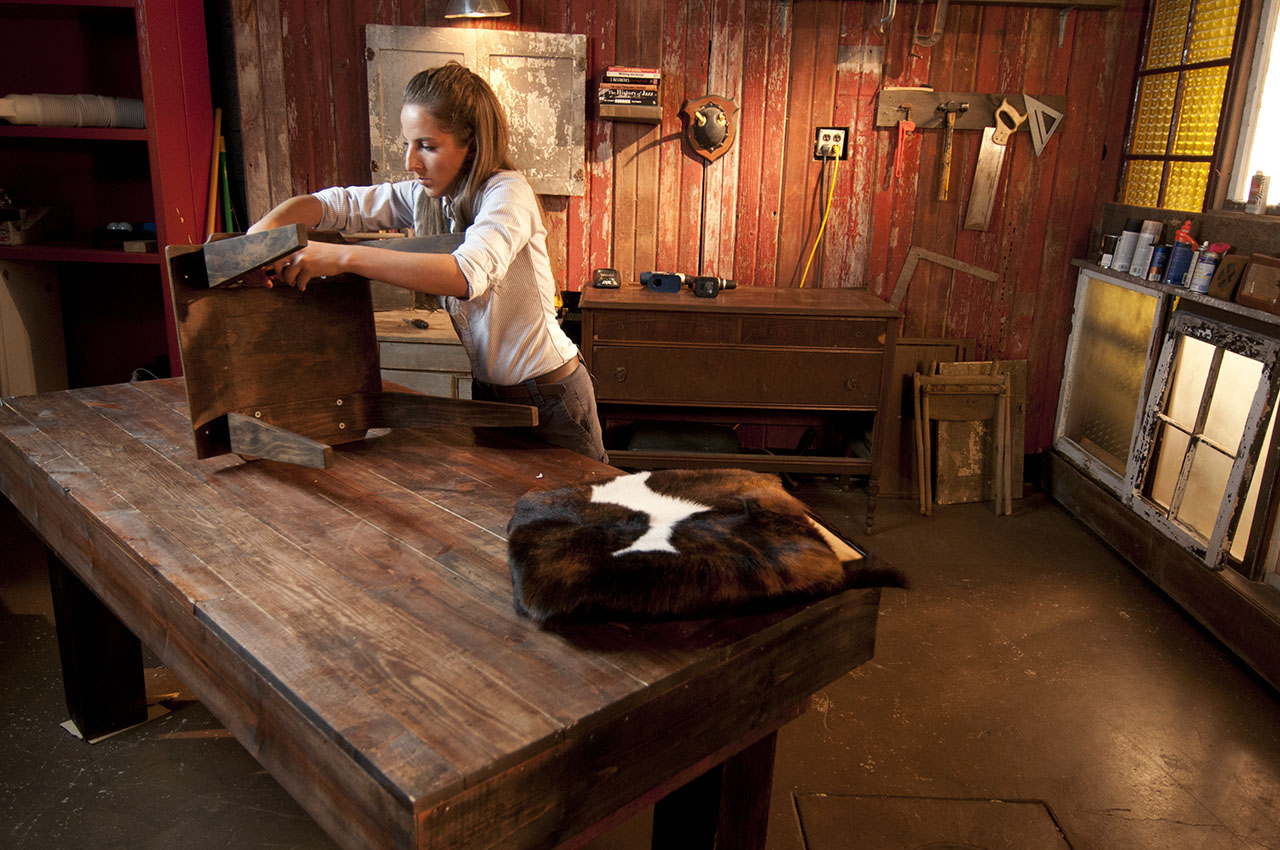
Once your upholstery is finished and everything is dry, all you need to do is reassemble your chair.
Using a screwdriver, carefully reattach your chair legs, seat, and chair back.
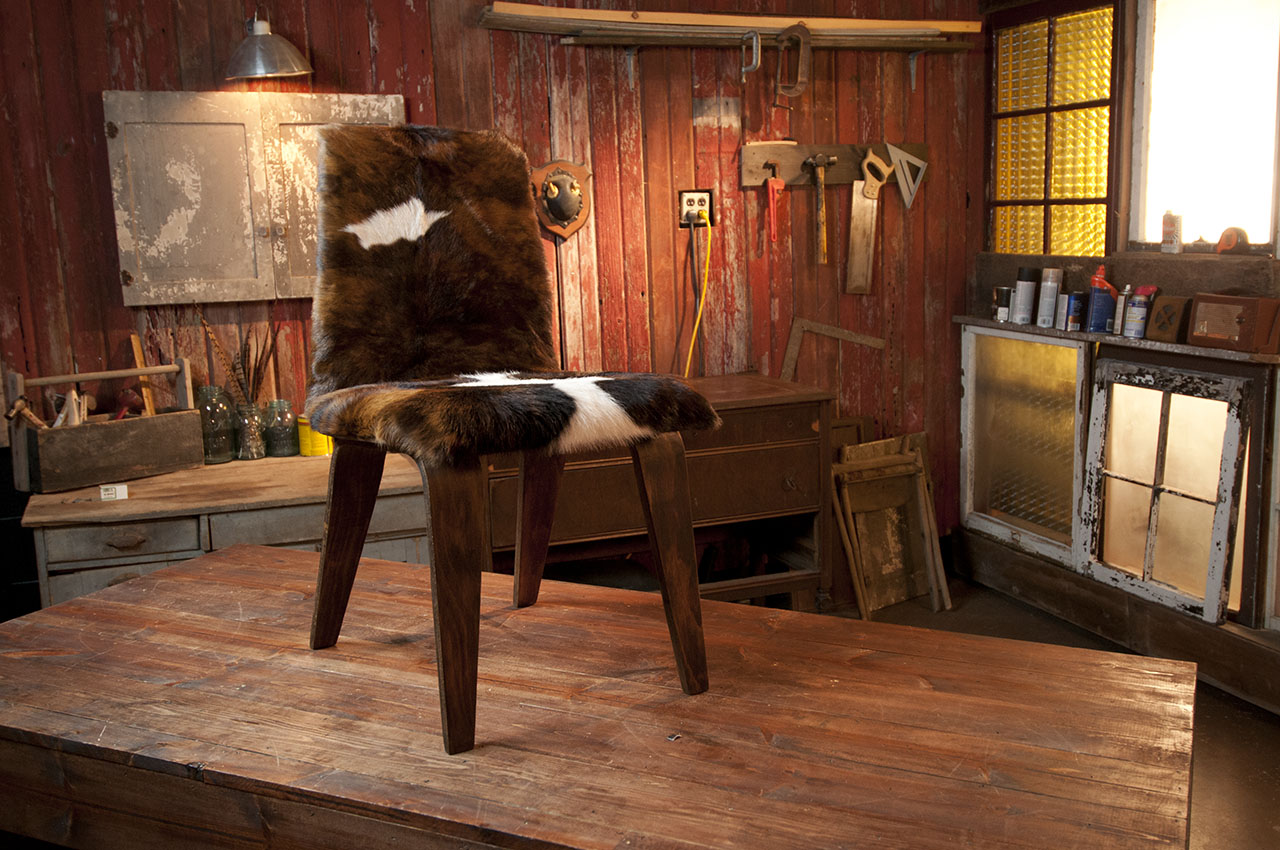
For just the cost of fabric and a little stain, this salvaged chair has become a stunning focal piece with tons of character and charm!
