Step-by-Step: Installing Urethane Column Wraps
-
font size
decrease font size
 increase font size
Contractor Steve Roth has installed more than three dozen column wraps and column wrap kits during the past decade. No matter how ugly, warped, or twisted a structural column he has to work with, Roth finds he can create the perfect column appearance with easy-to-install Fypon column wraps.
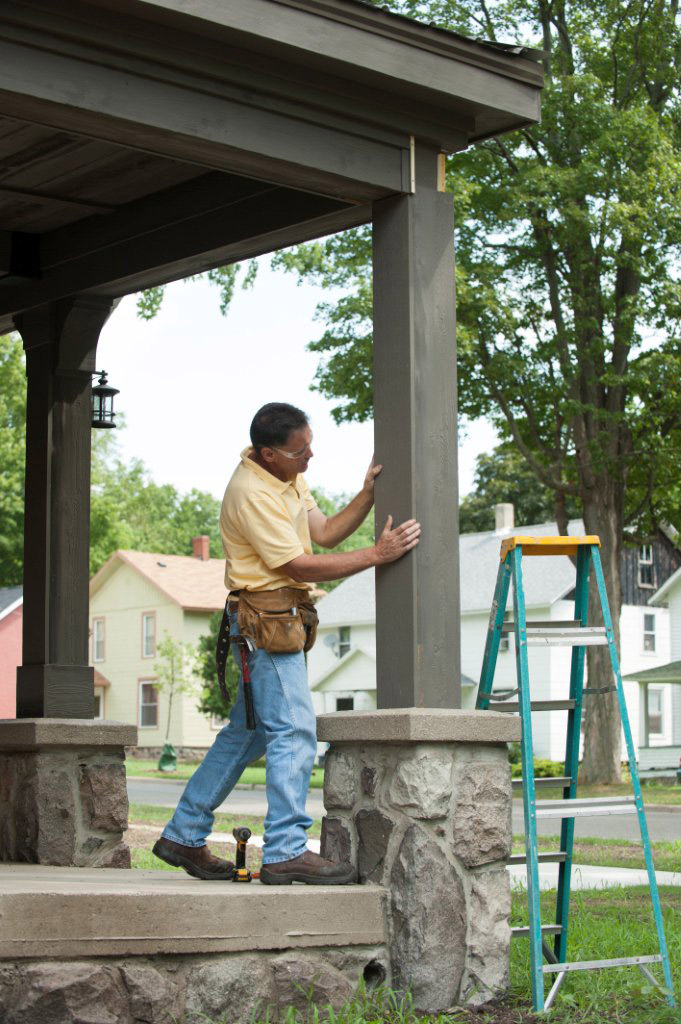
 The completed column wrap is inspected by contractor Steve Roth after being finished.
Image courtesy of Fypon
The completed column wrap is inspected by contractor Steve Roth after being finished.
Image courtesy of Fypon
�Urethane and PVC column wraps are one of the fastest ways I know of to transform a project,� says Roth. �They install in less than an hour and the kits have all the needed pieces. With the variety of styles available from Fypon, I�ve been able to use column wraps on a wide assortment of new construction and remodeling projects over the years.�
For one of his most recent projects, Roth decided to update the look of the porch on a Civil War era home in Michigan. He replaced rotted old wooden posts with standard 4x4 treated lumber posts. Then, to enhance the look of the home, Roth installed urethane post wrap kit pieces from the Fypon� Stone and Timber collection around the structural posts.

Step-by-Step Instructions:
-
Roth ordered four sets of the Post Wrap Kit (PSTWKIT8X96S) from the Fypon Stone and Timber collection. He also ordered four Post Wrap Caps (PSTWCAP8S) and four Post Wrap Bases (PSTWBASE8S) from the same collection to complete each column wrap.
-
Roth chose to paint the column wrap pieces prior to installation with a flat latex exterior paint. This made the entire project easier, since he could paint the pieces flat on the ground and then needed only to touch up areas after installation where nails or screws were installed.
-
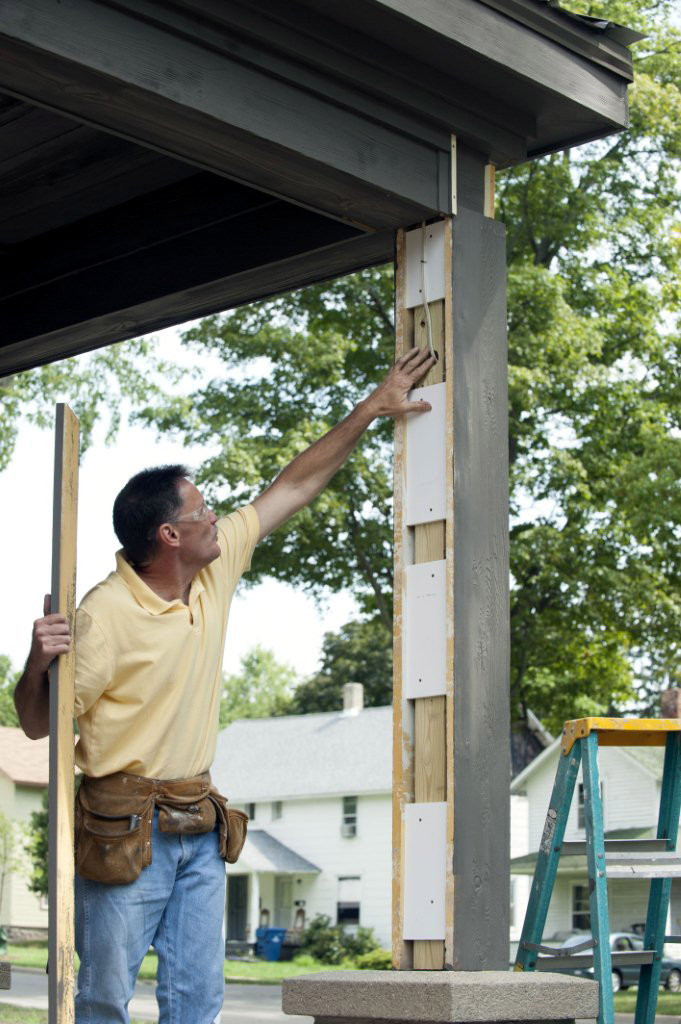
Because there was no secure way to attach the top and bottom of the wrap directly to the lumber posts for this project, Roth added inside blocking. After this was in place, he had an easy way to secure the wrap.
-
Roth measured the length of the column and cut the wrap to length with a hand saw.
-
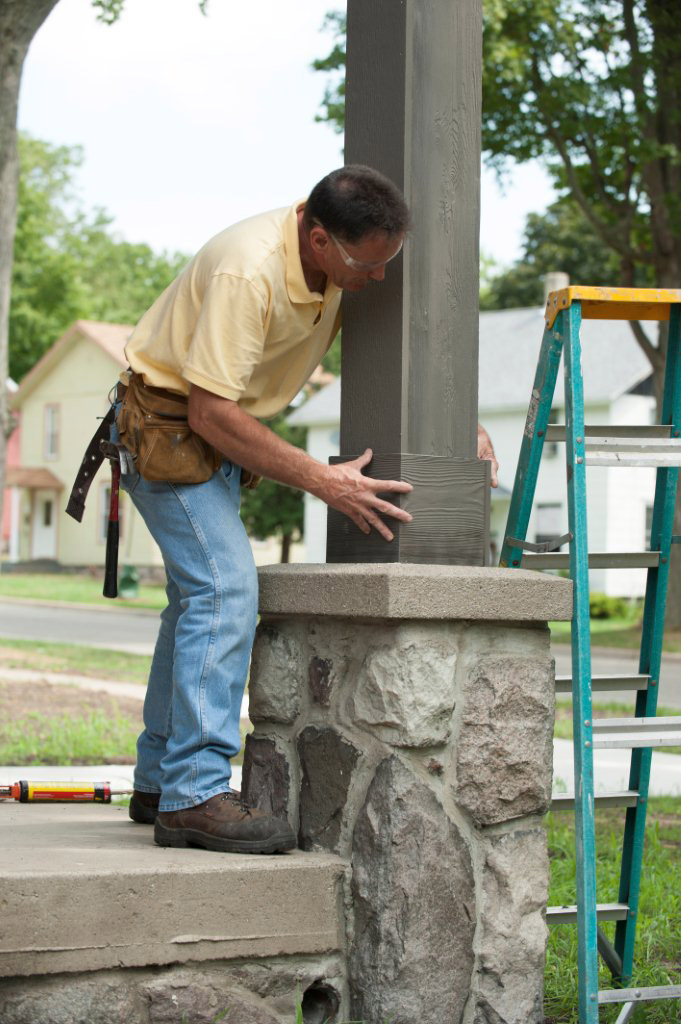
To assure a secure fit, Roth placed the U-shaped assembly in position around the structural post. He then dry-fitted the U-shaped piece with the flat backer piece to make sure the pieces fit together.
-
Making sure that the panels were aligned and square and the miter seam was tight, Roth used premium construction adhesive on the joints. Then he secured the backer piece to the U-shaped assembly with stainless steel deck screws�every 6"�8" through the outside of the shaft to the nailing blocks. (Alternatively, he could have used non-corrosive finish nails.)
-
Roth chose to add a column cap and base to the column wrap to enhance the overall look of the column wrap. These he secured with premium millwork adhesive and stainless steel deck screws.
-
In areas where deck screws were installed, Roth added lightweight spackling, smoothed it out, and then finished with touch-up paint.

Tips from the Pro:
According to Roth, this easy one-person project took about an hour per column from start to finish. He used a hand saw, cordless screw gun, caulk gun, paint brush, premium construction adhesive, and a ladder to complete each column wrap.
Roth offers these tips for contractors tackling a similar project:
-
For column wrap projects, first inspect the structural support post being covered. Make sure it�s made of steel or pressure-treated lumber and in good condition before adding the column wrap.
-
Pre-finish your materials before application. The Fypon� products come factory-primed, and it�s much easier to paint the products before they�re installed and then to go back and do light touch-up work afterward.
-
Use non-corrosive fasteners (such as deck screws) so your fastener heads do not rust.

Fypon
Fypon offers thousands of decorative millwork elements in a variety of architectural styles to enhance the interior and exterior of America�s homes. Each piece is crafted from tough, weather-resistant, high-performance materials that are resistant to decay, insect infestation, and water damage for long-lasting beauty and low maintenance.